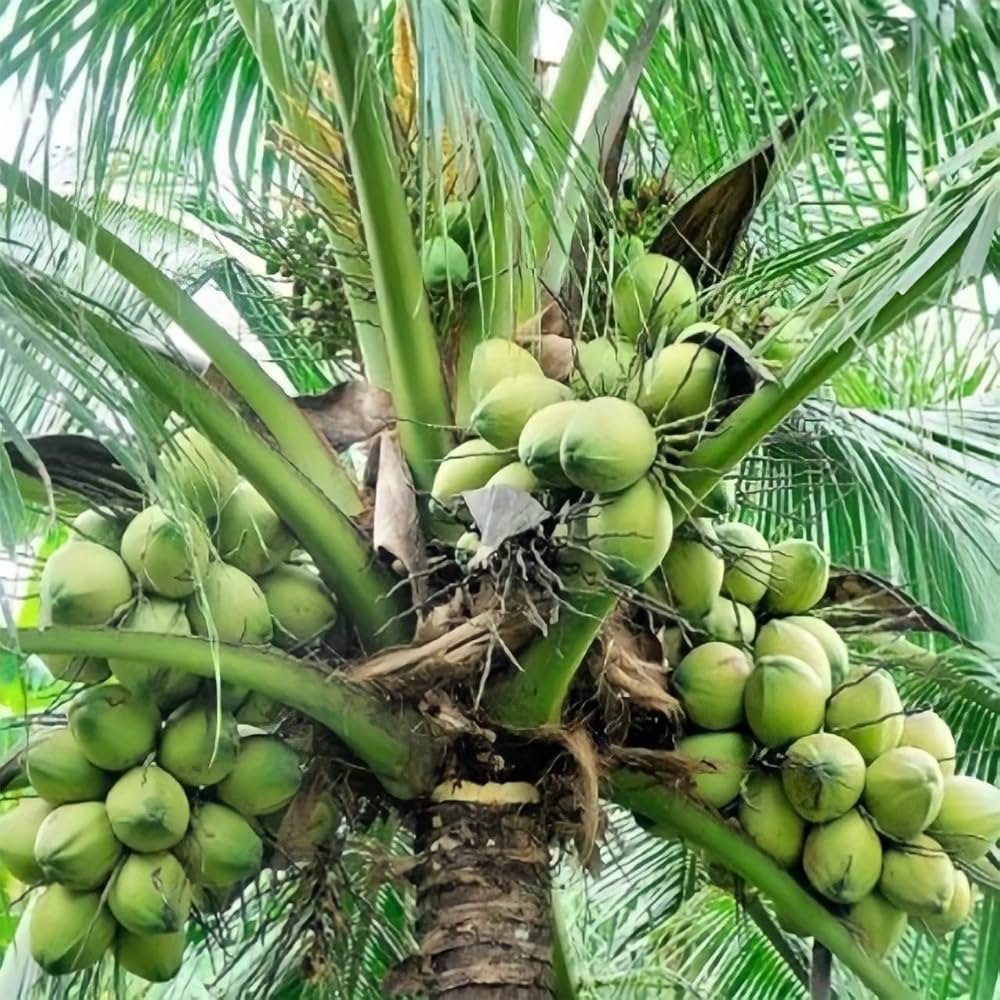
Coconut trees — with their tall, graceful trunks and lush fronds — are the very symbol of the tropics. But did you know you can actually grow your own coconut tree right at home, even if you don’t live by the beach? Whether you dream of harvesting fresh coconuts for your kitchen or simply want to bring a touch of tropical beauty to your garden, growing a coconut tree is entirely possible with the right approach.
In this post, inspired by the video “How to Grow and Plant Coconut Tree at Home | How to Get Higher Yield From Coconut Tree – Part 1,” we’ll walk through everything you need to know — from seed selection and germination to planting, early care, and tips for maximizing fruit production.
Let’s dive into the secrets of growing your very own productive coconut tree at home!
Step 1: Choosing the Right Coconut for Planting
The first and most important step in growing a coconut tree begins with choosing the right seed nut. Not every coconut you buy from the market will sprout — it needs to be mature and viable.
Here’s how to pick the perfect one:
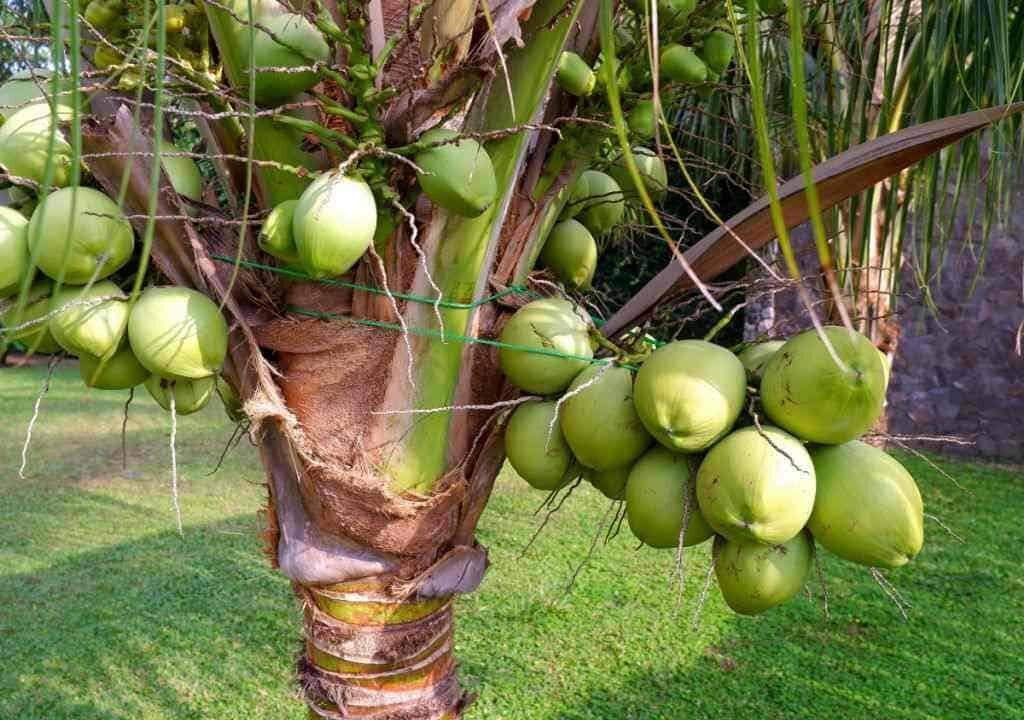
- Choose a fully mature brown coconut with husk intact. Green coconuts used for drinking are too young to germinate.
- Shake the coconut — if you hear the sloshing of water inside, it’s a good sign. That “coconut water” helps sustain the embryo inside.
- Avoid any nuts that have cracks, mold, or damage.
Pro Tip: If you can find a freshly fallen coconut from a healthy, fruiting tree, that’s even better. These tend to germinate faster and yield stronger plants.
Step 2: Sprouting the Coconut Seed
Once you have your seed nut, the next stage is germination — encouraging the embryo to sprout. This is where patience pays off.
Here’s a simple way to do it:
- Soak the coconut in water for 3–5 days to soften the husk and awaken the embryo.
- After soaking, place it on its side in a warm, shaded spot, ideally where the temperature stays between 27–32°C (80–90°F).
- Keep the area moist but not waterlogged. Spraying or misting daily helps.
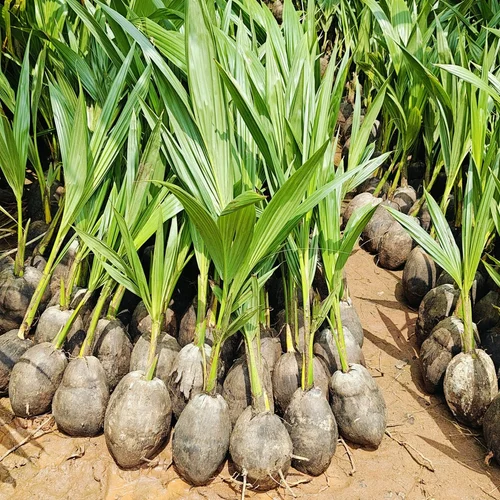
In about 30 to 90 days, you’ll notice a sprout emerging from one of the three “eyes” of the coconut. That’s your baby palm!
You can also use a plastic bag method — wrap the soaked coconut in a moist gunny bag or paper and keep it warm. This helps maintain humidity and speeds up germination.
Step 3: Preparing the Right Soil and Container
Coconut trees love well-draining, sandy soil — think of how they thrive on beaches. When growing at home or in a container, you’ll want to mimic that environment.
Ideal soil mix:
- 40% garden soil
- 30% river sand
- 20% compost or organic manure
- 10% coco peat or perlite for moisture retention
If planting in a container, choose one at least 20–25 inches deep to accommodate the large root system. Good drainage holes are a must.
Remember: Coconut roots don’t like “wet feet.” Avoid heavy clay soils or waterlogging, which can lead to root rot.
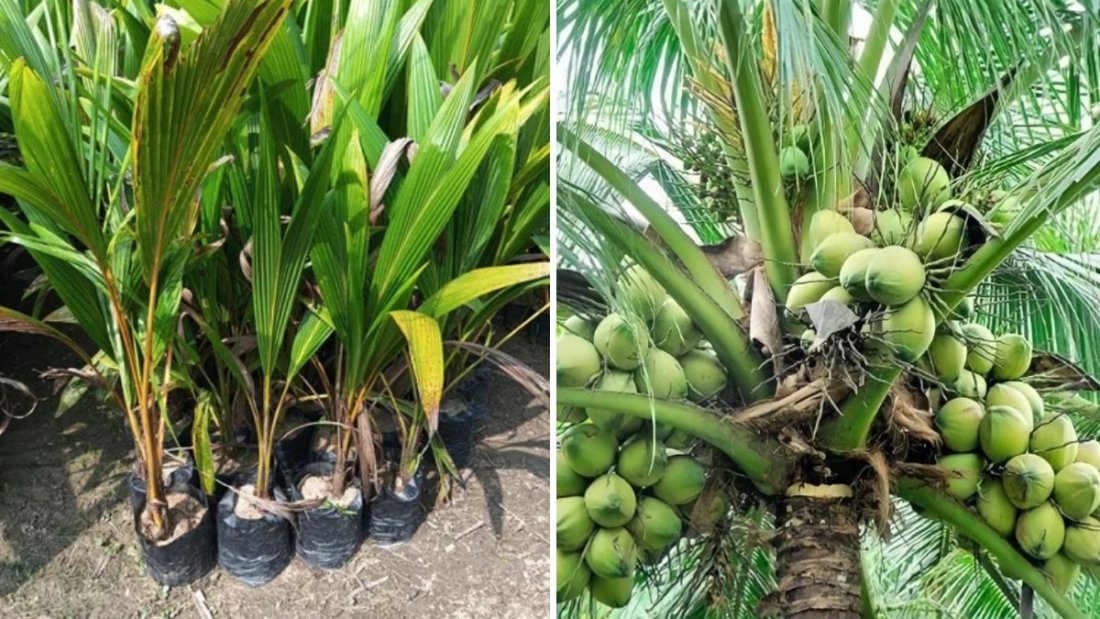
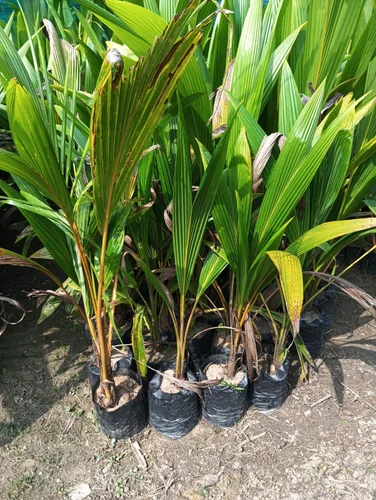
Step 4: Planting the Sprouted Coconut
Once your coconut seed has sprouted and grown a small shoot (around 6 inches long), it’s time to plant it.
Here’s how:
- Dig a hole about 1–1.5 feet deep and wide enough for the nut.
- Place the coconut on its side, with one-third of it above the soil surface. This helps prevent rot and ensures the shoot grows upward easily.
- Fill the hole with your soil mix, pressing lightly to secure it.
- Water thoroughly but gently.
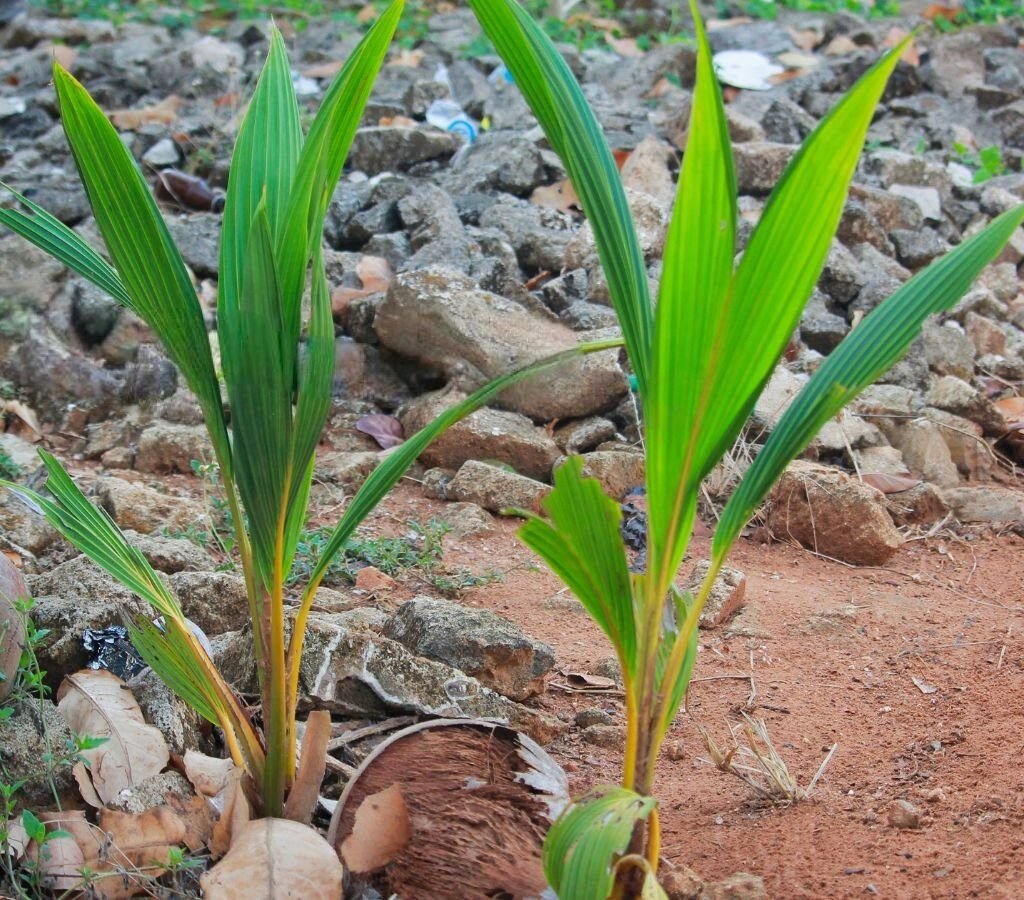
If growing in the ground, choose a sunny, open space where the tree will receive at least 6–8 hours of sunlight daily.
Step 5: Watering and Early Care
Coconut palms love moisture, especially during their early years, but balance is key.
- Water daily during the first 2–3 months after planting.
- Once established, reduce to 2–3 times a week.
- Mulch around the base with dry leaves or coconut husk to retain soil moisture and suppress weeds.
In container setups, ensure proper drainage to prevent root rot.
Step 6: Sunlight, Temperature, and Growth Conditions
Coconut trees are sun lovers — they need plenty of warmth and light to thrive.
- Sunlight: At least 6–8 hours daily.
- Temperature: Ideally between 25°C–35°C (77°F–95°F).
- Humidity: Moderate to high humidity encourages faster growth.
If you’re growing in a region with colder winters, move your container-grown coconut indoors or into a greenhouse to protect it from frost and chilly winds.
Step 7: Feeding Your Coconut Tree
For strong growth and abundant fruiting, feed your coconut tree regularly with a balanced fertilizer rich in nitrogen, phosphorus, and potassium.
A simple feeding schedule:
- Apply organic compost or cow dung manure every 2–3 months.
- Supplement with bone meal or seaweed fertilizer for trace minerals.
- Once the plant matures, use a fertilizer mix of NPK (8:8:8) every 4 months.
Additionally, spraying the leaves with liquid seaweed extract or compost tea can help strengthen foliage and improve disease resistance.
Step 8: Managing Pests and Diseases
Coconut palms are hardy, but a few common pests can affect them:
- Rhinoceros beetles can bore into the crown, damaging young shoots.
- Red palm weevils can harm the trunk.
- Mites and scales can infest leaves.
To prevent these issues:
- Regularly clean fallen fronds and debris around the tree.
- Apply neem oil spray monthly as a natural pesticide.
- Maintain healthy soil with good drainage and organic matter.
Step 9: Encouraging Higher Yields
A key question many home growers ask is: “How can I get my coconut tree to produce more coconuts?”
Here are proven techniques:
- Proper spacing: If you have multiple trees, maintain at least 25–30 feet between each to allow full canopy growth.
- Consistent feeding: Regular fertilization supports flower and nut development.
- Irrigation management: Water deeply once or twice a week during flowering and fruiting stages.
- Pollination: In home gardens, natural pollinators like bees can assist, but you can also hand-pollinate by gently transferring pollen between flowers.
Under ideal conditions, your tree may begin producing coconuts in 4–6 years (dwarf varieties) or 6–10 years (tall varieties).
Step 10: Maintenance and Longevity
Once established, a coconut palm can live for 60–80 years or more, offering decades of shade, beauty, and bounty.
To keep your tree healthy long-term:
- Trim dry leaves and old fronds regularly.
- Remove weeds around the base to reduce competition.
- Keep an eye out for fungal infections or nutrient deficiencies (yellowing leaves are an early sign).
Final Thoughts: Bringing the Tropics Home
Growing a coconut tree at home isn’t just about cultivating a tropical fruit — it’s about creating an oasis right in your backyard. From germinating your first seed to watching the tall palm sway in the breeze, each step brings joy and a deep connection to nature.
With patience, warmth, and care, you can enjoy fresh coconuts right from your own tree — whether it’s for delicious coconut water, rich coconut milk, or simply the beauty of a lush green palm.
Stay tuned for Part 2, where we’ll explore advanced tips for boosting yield, preventing nutrient deficiency, and harvesting coconuts at the perfect stage!