Growing mulberries at home is easier than you might think — even if you don’t have a big garden. These sweet, juicy berries can thrive beautifully in containers, making them perfect for balconies, patios, or small urban spaces. In this comprehensive guide, you’ll learn how to grow mulberry trees in pots successfully — from selecting the right variety and potting mix to watering, pruning, and harvesting.
Why Grow Mulberries in Containers?
Mulberries are not just delicious; they’re also highly nutritious. Packed with vitamins C and K, iron, and antioxidants, these berries support your immune system, improve digestion, and promote healthy skin. Growing them in containers is a practical solution for those with limited space or for gardeners who want easy mobility and control over soil conditions.
Container gardening lets you manage root growth, soil moisture, and sunlight exposure more efficiently. Plus, potted mulberries are easier to protect from pests and harsh weather conditions.
Best Mulberry Varieties for Container Growing
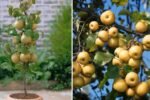
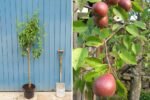
Not all mulberry trees are suitable for pots — some varieties grow too large. For container gardening, look for dwarf or semi-dwarf varieties that stay compact yet produce plenty of fruit.
Here are some excellent options:
- Dwarf Everbearing Mulberry (Morus nigra): Ideal for pots; grows 6–8 feet tall and produces fruits multiple times a year.
- Black Mulberry (Morus nigra): Slow-growing and compact, with sweet, dark berries.
- Pakistan Mulberry (Morus macroura): Produces long, juicy fruits and can adapt well to containers with proper pruning.
- Red Mulberry (Morus rubra): Native to North America; grows well in larger pots.
Choose a variety that matches your local climate and space availability.
Choosing the Right Container
The key to successfully growing mulberries in containers is giving their roots enough room to spread. Start with a large pot at least 18–24 inches deep and wide. Over time, you can repot into a larger container as the plant matures.
When choosing a container:
- Make sure it has adequate drainage holes at the bottom to prevent root rot.
- Opt for sturdy materials like terracotta, ceramic, or heavy-duty plastic to support the plant’s weight.
- Place a layer of gravel or broken clay pieces at the bottom to improve drainage.
If you’re growing a dwarf variety, a 20-gallon container will usually suffice for several years.
Best Potting Mix for Mulberries
Mulberries prefer well-draining, nutrient-rich soil with a slightly acidic to neutral pH (around 6.0–7.0). Avoid heavy clay soils, as they retain too much water.
A good potting mix for mulberries includes:
- 40% garden soil or loamy soil
- 40% compost or organic manure
- 20% coarse sand or perlite for aeration
You can also mix in some coco peat to retain moisture while keeping the soil light and fluffy. Mulberries are heavy feeders, so enriching the soil with organic matter or slow-release fertilizer will support strong growth and fruiting.
Planting the Mulberry Tree
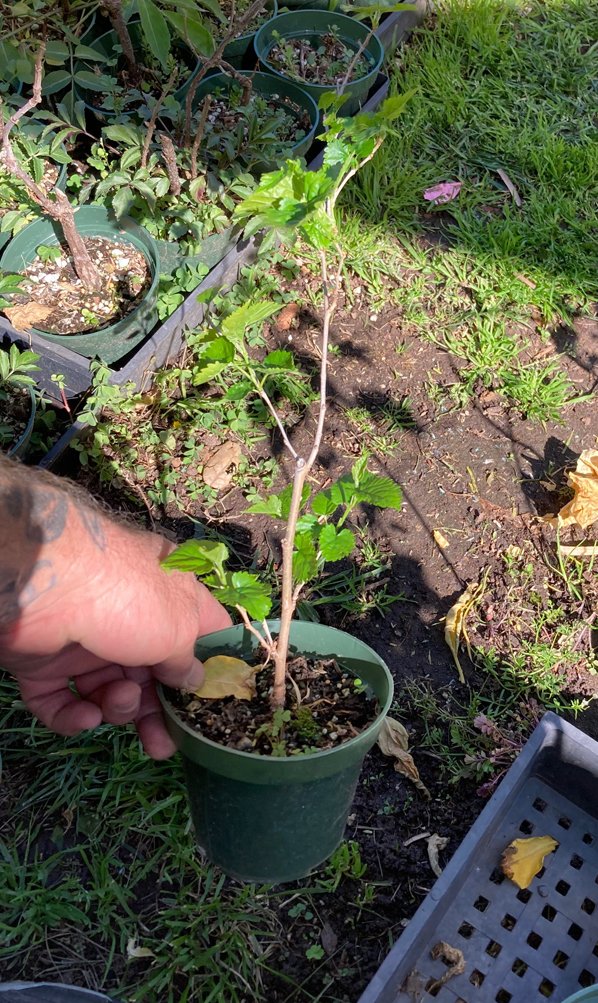
You can grow mulberries either from cuttings, nursery plants, or seeds, but for quicker fruiting, it’s best to start with a young sapling or rooted cutting.
Steps to Planting:
- Fill the Pot: Add your prepared potting mix, leaving a few inches of space at the top.
- Plant the Sapling: Place the young plant in the center, ensuring that the root ball sits just below the soil surface.
- Firm the Soil: Press the soil gently around the base to eliminate air pockets.
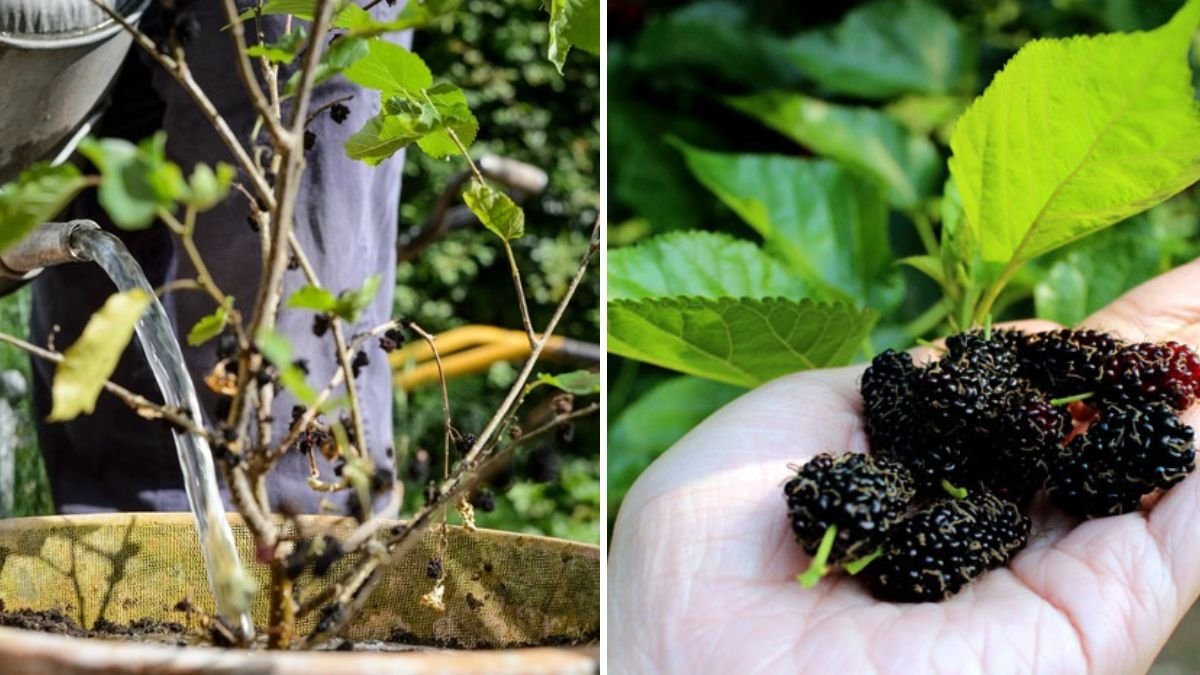
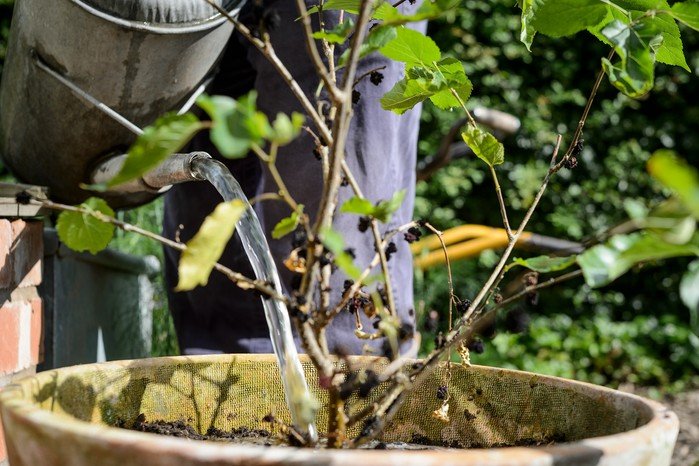
- Water Thoroughly: Give it a deep initial watering to help the roots settle.
- Add Mulch: Apply a 1–2 inch layer of organic mulch (like straw or dried leaves) on top to retain moisture.
Keep the pot in a sunny location where the plant receives at least 6–8 hours of sunlight daily.
Watering and Fertilizing Mulberries in Containers
Mulberries love consistent moisture, especially during their growing and fruiting seasons. However, overwatering can cause root rot.
Watering Tips:
- Water when the top 1–2 inches of soil feel dry.
- Avoid letting the pot sit in standing water.
- During hot summers, water more frequently (every 2–3 days).
- Reduce watering in winter when the tree goes dormant.
Fertilizing Schedule:
- Apply a balanced organic fertilizer (like 10-10-10 NPK) every 4–6 weeks during the growing season (spring to late summer).
- Alternatively, use compost tea or liquid seaweed fertilizer for organic feeding.
- Stop fertilizing during the dormant winter months.
Sunlight and Temperature Requirements
Mulberries thrive in full sun. For best results, keep your container in a spot that gets plenty of light throughout the day.
Ideal temperature:
- Between 20°C to 35°C (68°F to 95°F).
- Protect the plant from frost during winter by moving it indoors or covering it with a frost cloth.
If growing indoors, place the plant near a sunny window or under a grow light.
Pruning and Training Your Mulberry Tree
Pruning is essential to control the size and encourage more fruiting branches. Container-grown mulberries tend to grow vigorously, so regular pruning keeps them compact and productive.
How to Prune:
- Prune in late winter or early spring before new growth starts.
- Remove dead, diseased, or crossing branches.
- Trim the top branches to maintain the desired height.
- Cut back long shoots after harvesting to promote new growth.
You can also train your mulberry into a bush shape or a small tree form depending on your preference and space.
Pest and Disease Control
Mulberries are generally hardy, but a few pests may occasionally attack container plants.
Common Pests:
- Aphids
- Spider mites
- Whiteflies
- Mealybugs
To manage pests, spray the leaves with neem oil solution or insecticidal soap once every two weeks. Make sure to clean the leaves regularly with a damp cloth to remove dust and insects.
Common Diseases:
- Powdery mildew
- Leaf spot
Ensure good air circulation around the plant and avoid overwatering to prevent fungal infections.
Pollination and Fruiting
Most mulberry varieties are self-pollinating, so you only need one plant to produce fruit. However, having two or more plants nearby can improve yields.
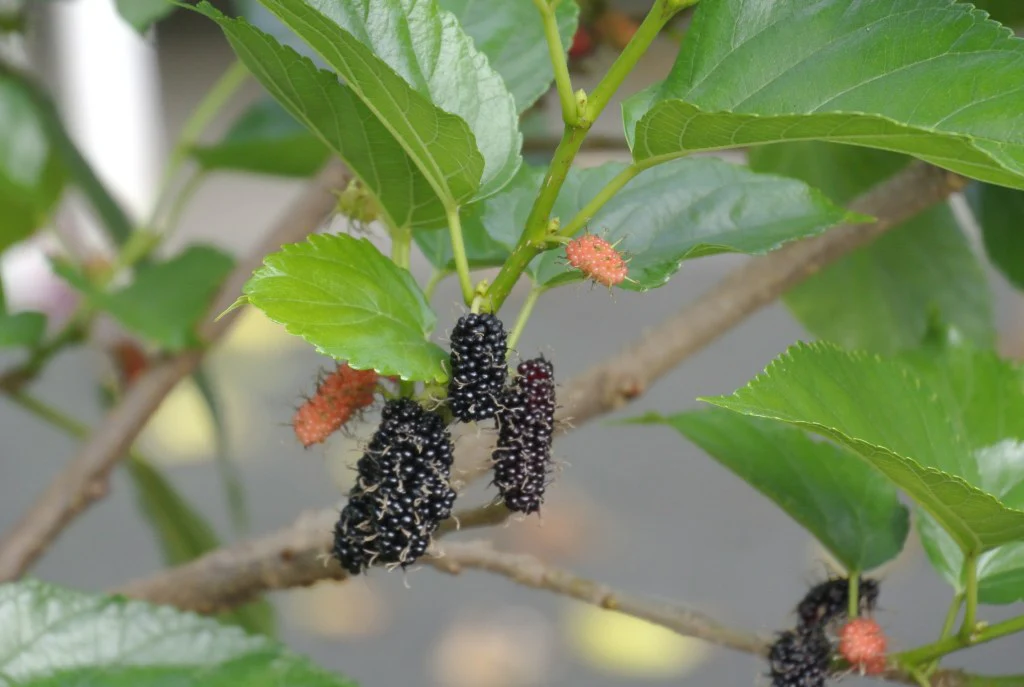
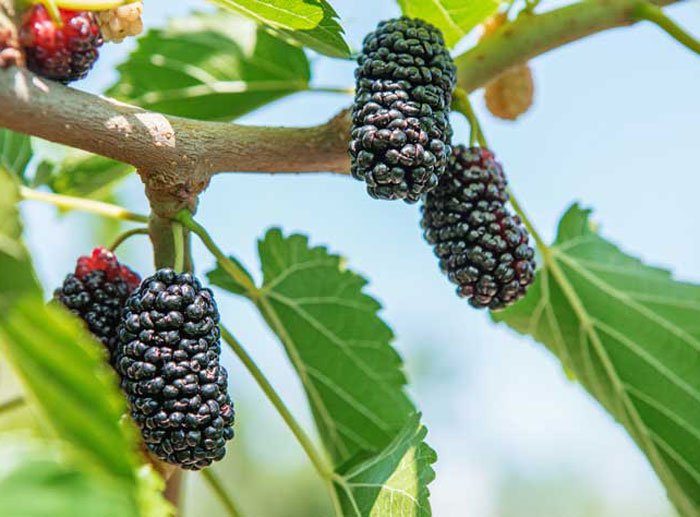
Mulberries usually start producing fruit within 1–2 years when grown from cuttings or young plants. Flowers appear in spring, and fruits ripen in summer. The berries change from green to red and finally to deep purple or black when ripe.
Harvesting Mulberries in Containers
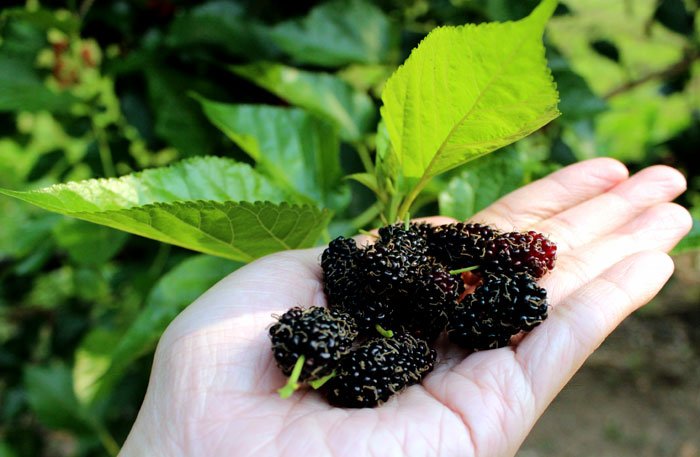
Harvesting mulberries is a rewarding experience. Once ripe, the berries come off easily with a gentle tug or can be shaken off onto a cloth placed under the plant.
Tips for Harvesting:
- Pick berries every few days during the fruiting season.
- Wear gloves to avoid stains on your hands.
- Use the fruits fresh, or store them in the refrigerator for up to a week.
You can enjoy them in smoothies, jams, pies, or simply as a healthy snack.
Winter Care for Potted Mulberries
In colder regions, mulberry trees lose their leaves and go dormant during winter. Protect your potted plant by:
- Moving it indoors or to a sheltered area.
- Reducing watering significantly.
- Avoiding fertilization until spring.
If your winters are mild, simply wrap the container with burlap or bubble wrap to protect the roots from extreme cold.
Propagation Tips
You can easily propagate new mulberry plants from stem cuttings:
- Take a 6–8 inch cutting from a healthy branch in late winter.
- Dip the cut end in rooting hormone.
- Plant it in a pot with moist soil or sand.
- Keep it in a warm, bright location until roots develop.
Once established, transplant the cutting into a larger container or the ground.
Final Thoughts
Growing mulberries in containers is a fun and fruitful gardening project. With proper care — the right container, nutrient-rich soil, adequate sunlight, and regular pruning — you can enjoy a steady supply of delicious, homegrown mulberries right from your balcony or patio.

Whether you’re an experienced gardener or a beginner, container-grown mulberries offer a perfect mix of beauty, nutrition, and convenience. Start today, and soon you’ll be harvesting baskets of sweet, juicy berries from your very own potted tree.
Leave A Comment