
Growing your own ginger at home is one of the most rewarding and practical gardening projects you can take on. Not only is ginger an essential ingredient in countless dishes, teas, and home remedies, but it’s also surprisingly easy to grow—even if you don’t have a garden! With the right care, a single pot of ginger can provide your family with a year-round supply of this flavorful and health-boosting root.
In this guide, we’ll walk you through everything you need to know about growing ginger at home—from choosing the right variety and preparing the soil, to harvesting and storing it for continuous use.
Why Grow Ginger at Home?
Ginger (Zingiber officinale) is a tropical plant known for its aromatic rhizomes, which are widely used in cooking, herbal medicine, and drinks. Growing it at home has several benefits:
- Fresh supply all year round: You’ll never run out of ginger for cooking or tea.
- Chemical-free harvest: No pesticides or chemicals—just pure, natural ginger.
- Space-friendly: It grows perfectly in pots, grow bags, or containers.
- Low maintenance: Once planted, ginger requires very little attention.
- Multiple uses: You can harvest both the roots and the leaves for culinary purposes.
Step 1: Choosing the Right Ginger Rhizomes
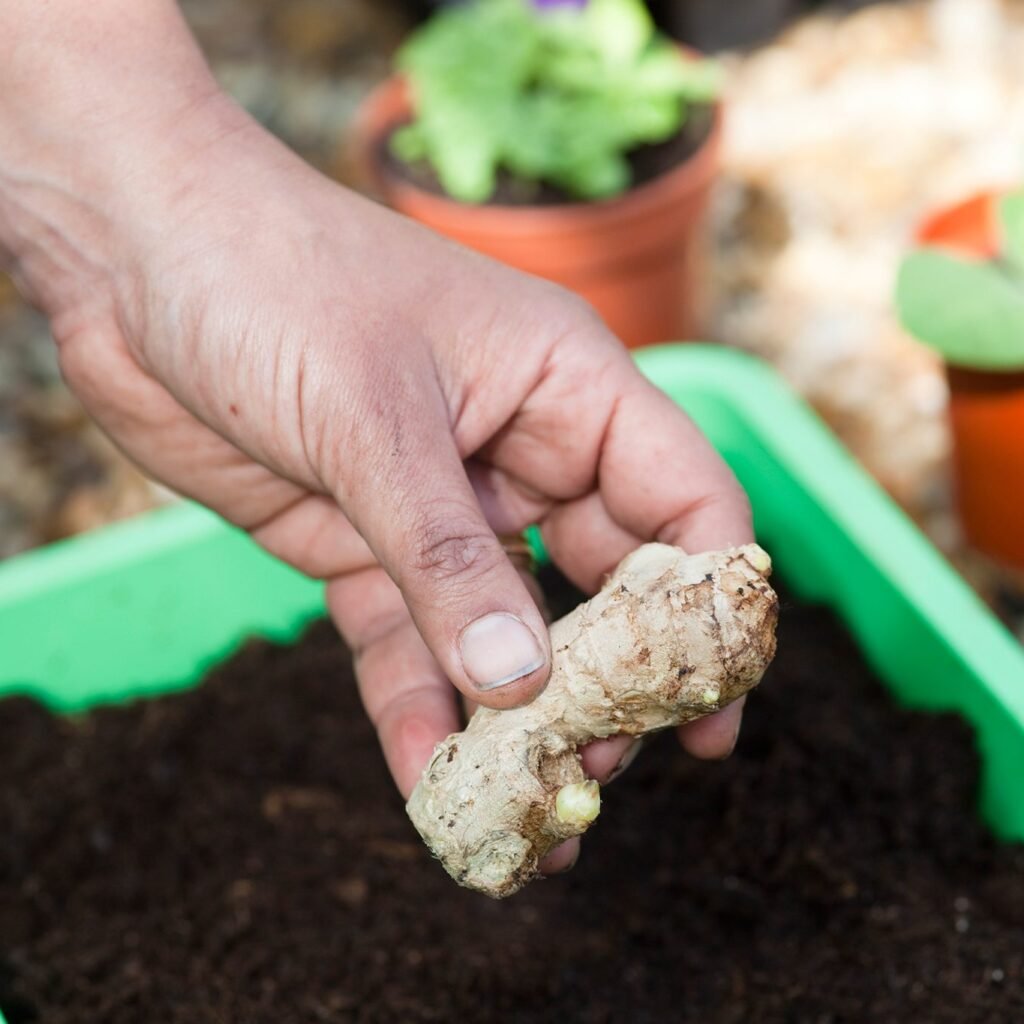
The first step in growing ginger successfully is selecting good-quality rhizomes.
- Source: Purchase organic ginger rhizomes from a garden center or use store-bought ginger that hasn’t been treated with growth inhibitors (avoid the ones that look dry or shriveled).
- Look for buds: Choose rhizomes with several visible “eyes” or growth buds—these are the points from which new shoots will emerge.
- Healthy roots: Select firm, plump, and disease-free pieces.
Tip: If you’re using store-bought ginger, soak it in warm water overnight to remove any chemical residues that might prevent sprouting.
Step 2: Preparing the Growing Medium
Ginger thrives in loose, well-draining, and nutrient-rich soil. Since it grows underground, compact or heavy soil will restrict rhizome development.
Ideal potting mix:
- 50% garden soil
- 30% compost or well-rotted manure
- 20% sand or coco peat for drainage
You can also add a handful of neem cake or organic fertilizer to keep the soil fertile and pest-free.
Container requirements:
- Choose a pot or grow bag that is at least 12 inches deep and 12–16 inches wide.
- Make sure it has proper drainage holes to prevent waterlogging.
Step 3: Choosing the Right Location
Ginger loves warm, humid, and partially shaded conditions. It’s a tropical plant that does best in temperatures between 25°C to 30°C (77°F to 86°F).
- Indoors: Place the pot near a bright window with indirect sunlight.
- Outdoors: Keep it in a semi-shaded area—avoid direct harsh sun, which can burn the leaves.
During cold months, bring the plant indoors or keep it in a greenhouse to protect it from frost.
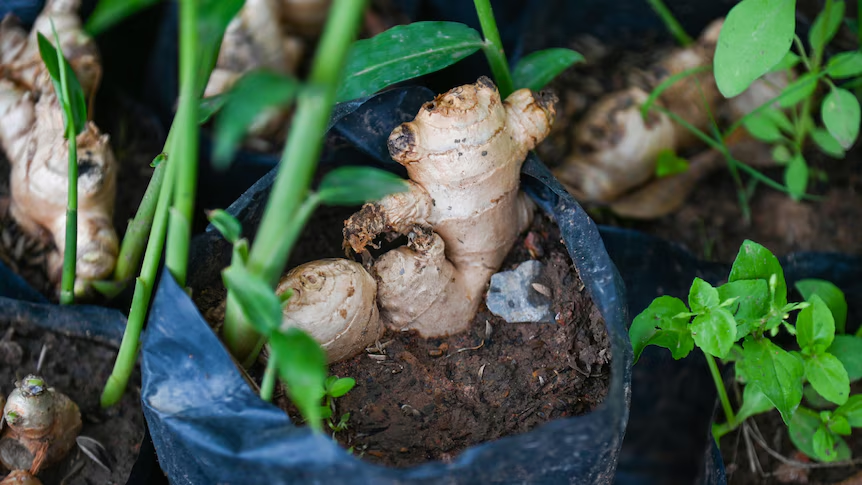
Step 4: Planting the Ginger
Now comes the fun part—planting your ginger!
- Cut the rhizome into small pieces, each with at least one or two buds.
- Let the cut pieces dry for a day or two to prevent rot.
- Fill your pot with the prepared soil mix.
- Place the rhizome pieces horizontally about 2 inches below the surface with the buds facing upward.
- Gently cover them with soil and water lightly.
Pro Tip: Avoid overwatering in the early stages—too much moisture can cause rotting.
Step 5: Watering and Fertilizing
Ginger needs consistently moist but not soggy soil.
- Watering frequency: Water every 2–3 days or when the top inch of soil feels dry. During the growing season, increase frequency slightly, especially in hot weather.
- Fertilizer: Every 3–4 weeks, feed your ginger with organic compost, liquid seaweed, or cow dung tea to boost growth.
You can also mulch the top of the soil with dried leaves or straw to retain moisture and regulate temperature.
Step 6: Caring for Growing Ginger
Once the shoots start emerging (usually within 3–4 weeks), the plant grows steadily throughout the season.
Care tips:
- Keep the soil consistently moist.
- Mist the leaves occasionally to maintain humidity.
- Remove weeds that compete for nutrients.
- Add more soil around the base of the plant as it grows taller—this encourages rhizome expansion.
Ginger plants usually reach 2–3 feet in height and develop lush, green leaves that can be harvested for cooking or herbal teas.
Step 7: Harvesting Ginger Leaves
You don’t have to wait for months to enjoy your homegrown ginger—its leaves are edible too!
- Timing: You can start harvesting the leaves about 2–3 months after planting.
- How to use: The leaves have a mild gingery flavor and can be used in soups, curries, or teas for a refreshing aroma.
Simply snip off a few leaves from the top without damaging the main stem or rhizomes.
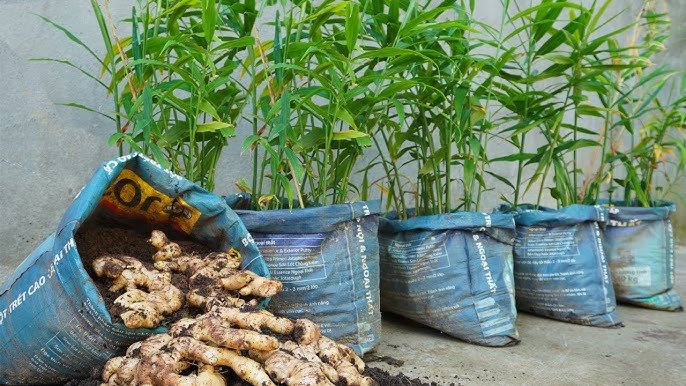
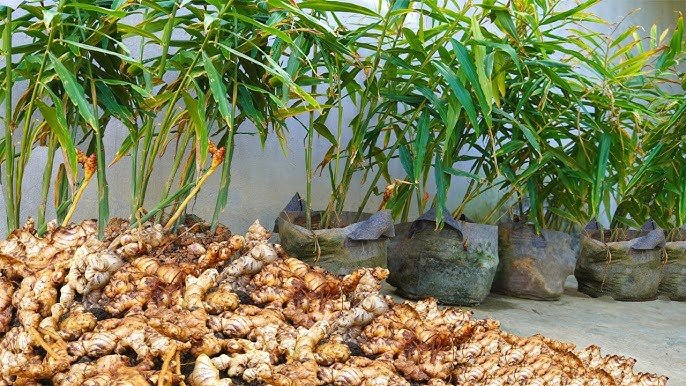
Step 8: Harvesting Ginger Rhizomes
After about 8–10 months, your ginger is ready for harvesting. The yellowing and drying of leaves are signs that the rhizomes have matured.
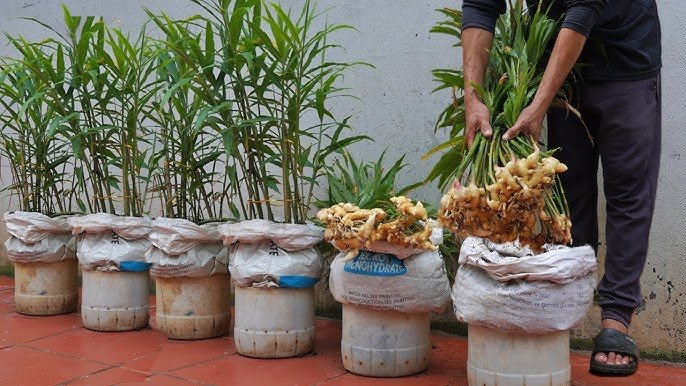
Steps to harvest:
- Stop watering 2–3 weeks before harvest to allow the soil to dry slightly.
- Gently dig up the plant using your hands or a small trowel.
- Shake off excess soil and wash the rhizomes carefully.
If you want a continuous supply, harvest only a portion of the rhizomes and let the rest continue growing. This way, you can enjoy fresh ginger throughout the year.
Step 9: Curing and Storing Ginger
To preserve ginger for long-term use, curing and proper storage are important.
Curing process:
- Lay the freshly harvested rhizomes in a cool, dry, shaded area for about a week.
- This helps toughen the skin and extend shelf life.
Storage tips:
- Store unpeeled ginger in the refrigerator in a paper bag for up to 3–4 weeks.
- For long-term use, freeze peeled ginger or make ginger paste and store it in airtight containers.
Bonus idea: You can also pickle or dry slices of ginger to enjoy its benefits year-round!
Step 10: Propagating for a Continuous Supply
To ensure your family always has ginger, reserve a few rhizomes from your harvest for replanting.
- Choose young, healthy pieces with multiple buds.
- Replant them in fresh soil or another container following the same steps above.
- This cycle allows you to grow ginger continuously without buying new rhizomes every season.
Health Benefits of Homegrown Ginger
Fresh, organic ginger from your home garden offers numerous health benefits:
- Boosts immunity and digestion
- Reduces inflammation and nausea
- Helps with cold and cough relief
- Promotes better circulation
- Supports healthy metabolism
Adding a few slices of fresh ginger to your tea, meals, or smoothies can do wonders for your overall well-being.

Final Thoughts
Growing ginger at home is a simple, satisfying project that rewards you with both flavor and health. Whether you’re cultivating it in a balcony pot or a backyard garden, this tropical plant adapts easily to different conditions with minimal effort.
With just a few rhizomes, you can ensure a year-round supply of this versatile spice for your family—straight from your garden to your kitchen.
So grab a pot, plant a few ginger pieces today, and enjoy the endless benefits of homegrown ginger every season!
Leave A Comment