If you’ve ever wanted to grow your own turmeric but thought it required a big garden or expensive containers—think again! You can easily grow organic turmeric in something as simple as an old plastic bag. That’s right—those unused shopping or grain bags lying around your home can become the perfect growing containers for one of nature’s most powerful healing plants.
In this step-by-step guide, you’ll learn how to grow turmeric quickly and organically using recycled plastic bags. We’ll cover everything—from preparing your planting material to caring for the plants and harvesting big, healthy rhizomes. Whether you’re a beginner gardener or a seasoned grower, this low-cost method will let you enjoy an abundant turmeric harvest at home.
Why Grow Turmeric at Home?
Turmeric (Curcuma longa) is a tropical spice plant known for its bright yellow rhizomes, which are rich in curcumin, a compound celebrated for its anti-inflammatory and antioxidant properties.
Here’s why growing it at home makes sense:
- You get fresh, chemical-free turmeric for cooking or home remedies.
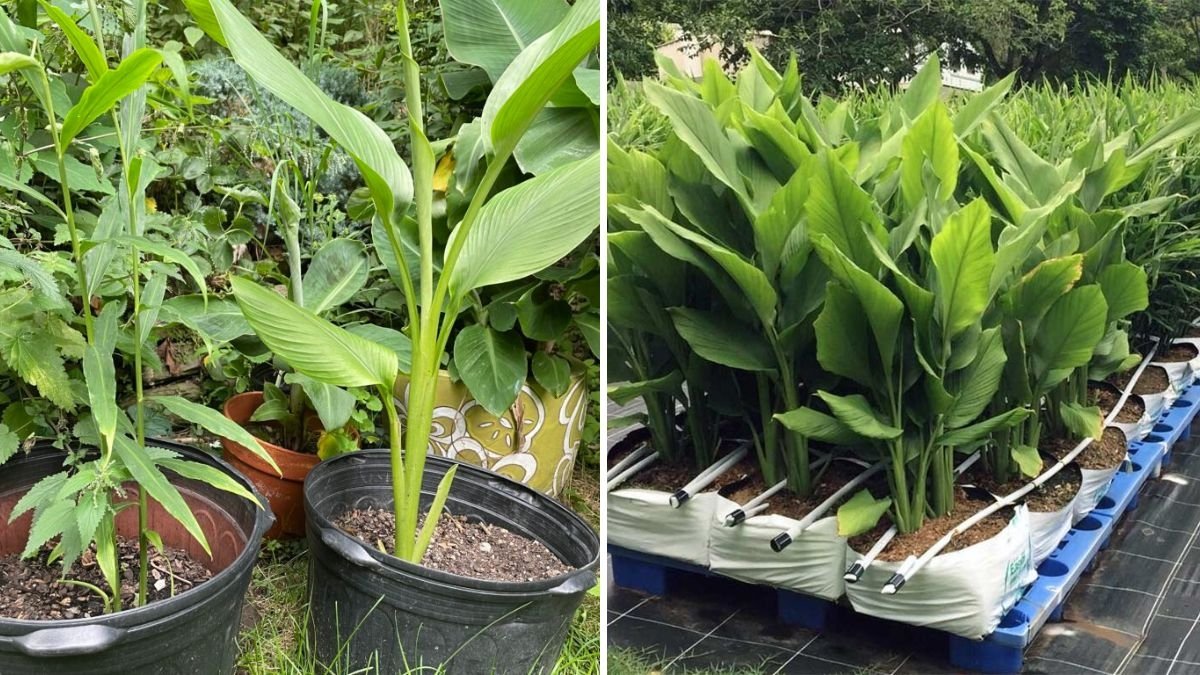
- It’s easy to grow in containers or plastic bags.
- You can reuse waste materials, making it eco-friendly.
- You’ll get a year’s supply from just a few plants.
Even if you live in an urban area with limited space, turmeric grows beautifully in bags on balconies, patios, or rooftops.
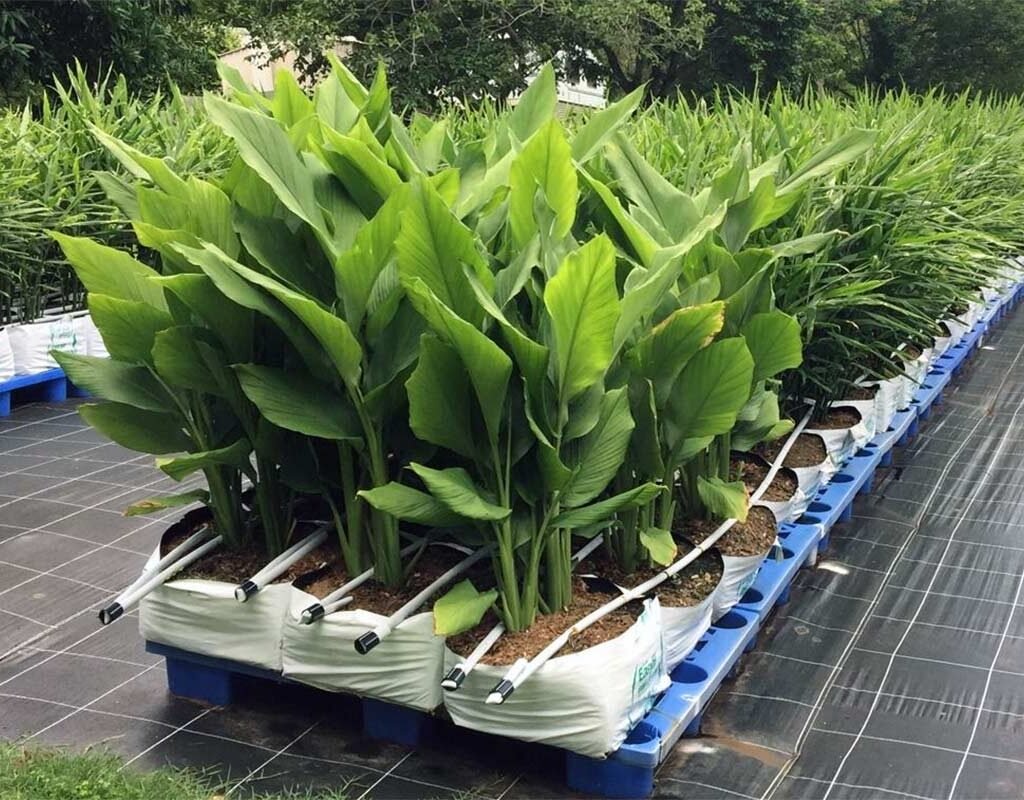
Step 1: Choosing and Preparing Your Plastic Bag
You don’t need fancy planters—just a used rice sack, fertilizer bag, or any thick plastic bag that can hold soil.
Things to check:
- The bag should be strong enough to hold moist soil.
- It should be 12–15 inches deep and wide enough to accommodate the plant’s spread.
- Punch 8–10 small holes at the bottom and lower sides for proper drainage.
To strengthen the structure, you can place the bag inside a crate or bucket, or roll down the top edge to make it sturdier.

This method not only reuses waste plastic but also prevents it from ending up in landfills—making it both eco-friendly and cost-effective.
Step 2: Preparing the Soil Mix
Turmeric grows best in rich, loose, and well-draining soil. Since the rhizomes develop underground, compact soil can limit their size and growth.
Ideal soil mix:
- 50% garden soil
- 30% organic compost or cow dung manure
- 20% sand, coco peat, or rice husk for aeration
Mix the components thoroughly. Add a handful of neem cake or vermicompost to enhance soil fertility and protect against root pests.
Tip: Turmeric prefers slightly acidic to neutral soil with a pH of 5.5–7.
Step 3: Selecting Healthy Turmeric Rhizomes
The success of your crop depends largely on the quality of your planting material.
How to choose:
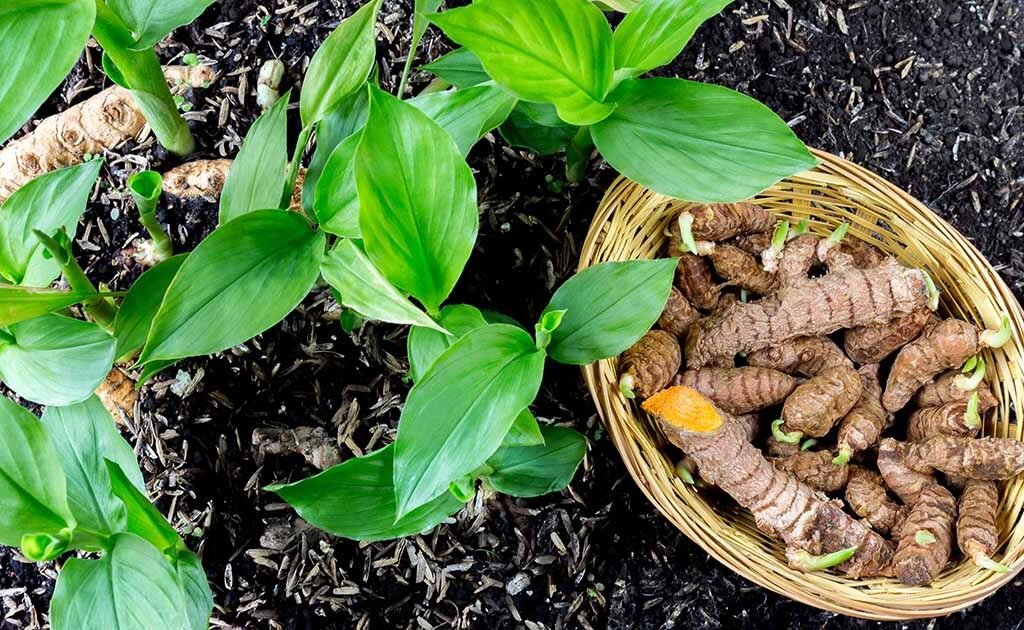
- Select plump, firm rhizomes with at least 2–3 visible buds or eyes.
- Avoid shriveled, moldy, or damaged pieces.
- If possible, use organic turmeric from a trusted source or previous harvest.
Before planting, soak the rhizomes in warm water overnight to soften their skin and encourage faster sprouting. Some gardeners also soak them in a mild fungicide or turmeric solution to prevent rot.

Step 4: Planting the Rhizomes

Now it’s time to turn that “useless” bag into a mini turmeric garden!
How to plant:
- Fill the bag with soil, leaving 3–4 inches of space at the top.
- Place each rhizome horizontally about 2 inches deep, with the buds facing upward.
- Space them 4–5 inches apart to allow room for new growth.
- Cover gently with soil and water lightly.
Watering tip: Keep the soil evenly moist but not waterlogged—too much water at this stage can cause the rhizomes to rot.
Step 5: Choosing the Right Growing Conditions
Turmeric loves warm, humid, and partially shaded conditions. It’s a tropical plant that grows best in temperatures between 25°C and 35°C (77°F–95°F).
- Light: Place your bag in a spot that receives 4–5 hours of indirect sunlight daily. Avoid harsh afternoon sun.
- Temperature: If it’s cold where you live, grow the bagged turmeric indoors or in a greenhouse.
- Humidity: Mist the leaves occasionally to maintain humidity, especially in dry climates.
Step 6: Watering and Fertilizing
For fast growth and big harvests, maintaining proper moisture and nutrition is essential.
Watering schedule:
- Keep the soil consistently moist, watering every 2–3 days.
- During hot or windy weather, increase frequency slightly.
- Avoid standing water—it can cause rhizome rot.
Organic fertilizer routine:
- Every 3–4 weeks, feed your plant with compost tea, liquid cow dung, or seaweed fertilizer.
- Midway through the growing season, add another layer of compost or vermicompost on top of the soil—this boosts nutrient levels and supports rhizome expansion.
Pro Tip: Mulching with dry leaves or straw helps retain soil moisture and keeps weeds away.

Step 7: Caring for the Growing Plant
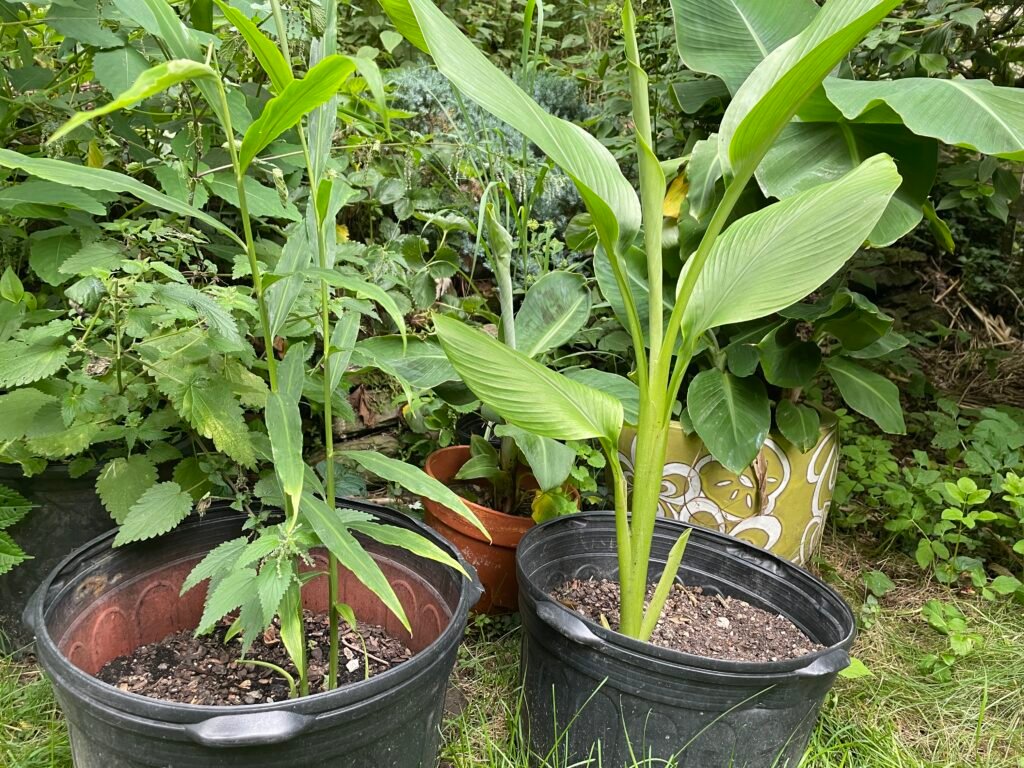
Once your turmeric starts sprouting, you’ll notice bright green shoots that can grow up to 3 feet tall. The leaves are beautiful and can also be used in cooking for their subtle flavor.
Care checklist:
- Remove weeds regularly—they compete for nutrients.
- Keep the soil loose by gently stirring the top layer every few weeks.
- Protect plants from pests like aphids or mites by spraying neem oil or garlic extract.
Turmeric is a slow-growing plant, taking 8–10 months to reach maturity. Patience is key—but the results are worth the wait!
Step 8: Signs Your Turmeric is Ready for Harvest
You’ll know it’s time to harvest when:
- The leaves and stems turn yellow and begin to dry.
- The plant starts to look withered or dies back naturally.
This usually happens around 8–10 months after planting, depending on your climate and growing conditions.
Stop watering about 2–3 weeks before harvest to let the soil dry and make it easier to dig up the rhizomes.
Step 9: Harvesting Your Big Organic Turmeric
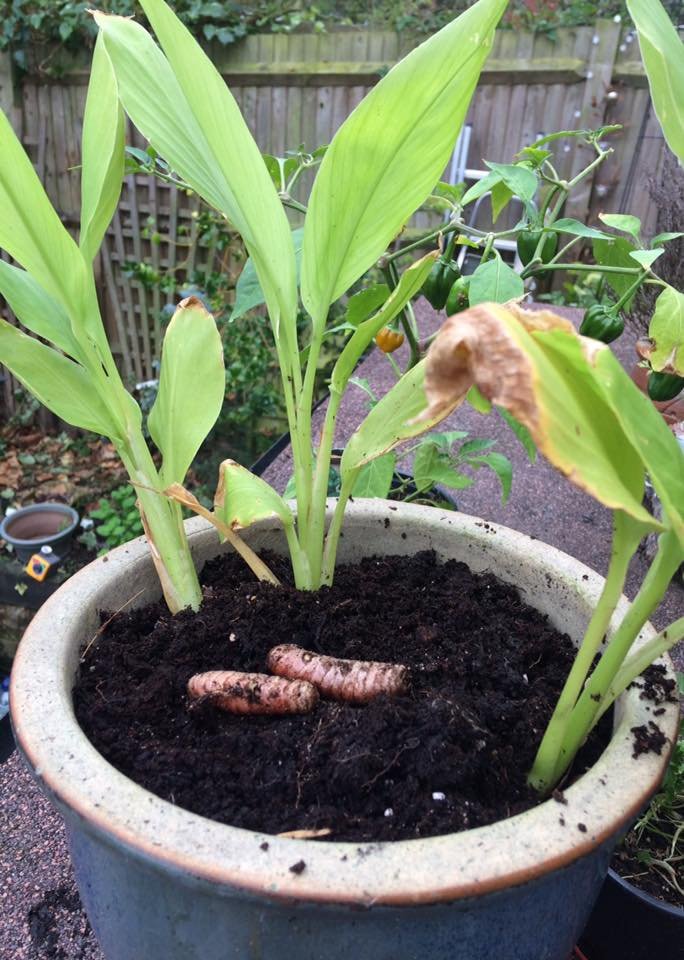
To harvest, gently remove the plant from the bag. Loosen the soil and pull out the rhizomes carefully to avoid breaking them.
Shake off excess soil and rinse the rhizomes under running water. You’ll notice the bright orange-yellow flesh inside—a sure sign of healthy, mature turmeric!

From a single bag, you can often get 2–3 kilograms (4–6 lbs) of fresh turmeric if grown with proper care.
Step 10: Curing and Storing Turmeric
To preserve turmeric’s flavor and shelf life, you’ll need to cure it after harvesting.
Curing steps:
- Boil the fresh rhizomes in water for 45 minutes to 1 hour.
- Drain and allow them to dry under the sun for 7–10 days until completely moisture-free.
- Once dry, store the rhizomes in airtight containers in a cool, dark place.
If you prefer, you can grind the dried rhizomes into turmeric powder for daily use in cooking and herbal remedies.
Step 11: Replanting for Continuous Supply
To keep your turmeric cycle going, reserve a few of the healthiest rhizomes from your harvest for replanting next season.
- Store them in slightly moist sand or sawdust until it’s time to plant again.
- Reuse the same bag after refreshing the soil with compost and organic matter.
This simple habit ensures a year-round supply of homegrown turmeric with almost zero additional cost.
Health and Household Benefits of Homegrown Turmeric
Fresh, organic turmeric isn’t just a kitchen spice—it’s a powerful natural medicine. Here are some of its incredible benefits:
- Boosts immunity and fights infections
- Reduces inflammation and joint pain
- Improves digestion and liver function
- Supports glowing skin when used in face masks or drinks
- Acts as a natural antibiotic and antioxidant
You can use it in countless ways—add to curries, teas, smoothies, or golden milk for a daily dose of health.

Eco-Friendly Bonus: Turning Waste into Growth
By growing turmeric in unused plastic bags, you’re doing more than cultivating a spice—you’re upcycling waste into a sustainable gardening solution. This simple method reduces plastic pollution and proves that even waste materials can become a source of life and nourishment.
It’s a powerful example of how small steps at home can make a big environmental difference.
Final Thoughts
Growing turmeric in useless plastic bags is one of the easiest, cheapest, and most eco-friendly ways to produce your own organic spice. With minimal effort, a bit of care, and plenty of patience, you can enjoy a massive harvest of fresh, golden turmeric right from your balcony or backyard.
From planting the rhizomes to harvesting the golden roots, every stage of this journey is rewarding. You’ll not only save money but also experience the joy of growing your own powerful superfood—naturally and sustainably.
So grab those old plastic bags, prepare your soil, and start your own turmeric-growing adventure today. Your garden—and your family’s health—will thank you!
Leave A Comment