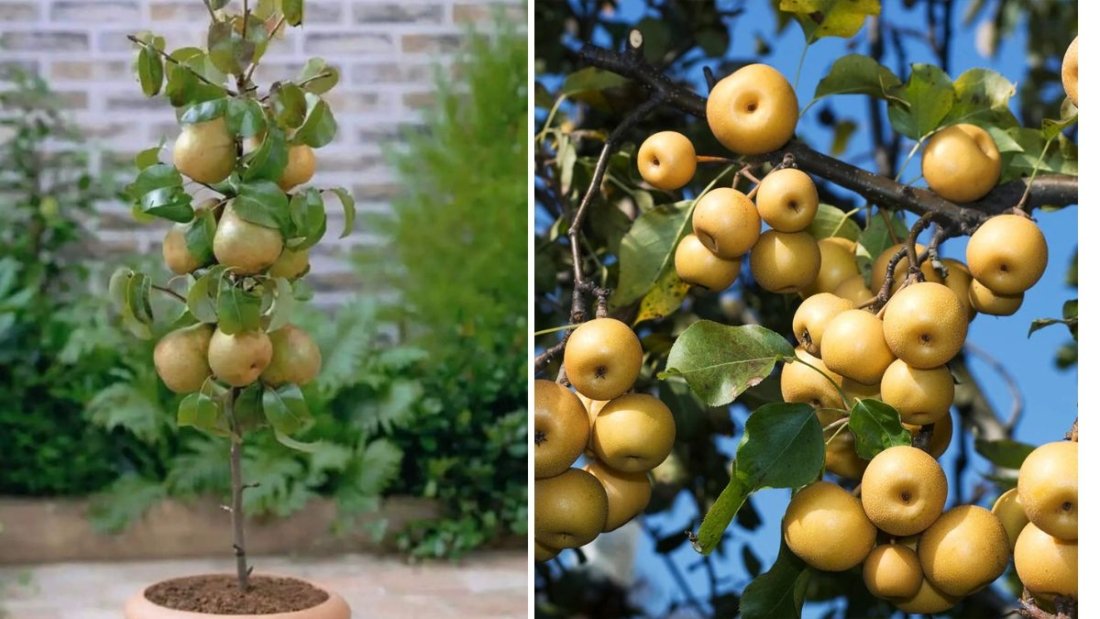
When it comes to growing unique and rewarding fruit trees in your garden, Asian pears truly stand out as a hidden gem. Sometimes called “apple pears” because of their crisp texture and round shape, Asian pears combine the sweetness of traditional pears with the crunch of apples. They’re juicy, fragrant, and refreshingly crisp—a fruit that’s both exotic and familiar at the same time.
In this detailed guide inspired by “Asian Pears: The Ultimate Rare Fruit You Must Try Growing!”, we’ll explore everything you need to know about these remarkable fruits. From their fascinating origins and varieties to step-by-step growing, care, and harvesting tips, you’ll discover why adding an Asian pear tree to your home garden might be one of the best decisions you make this year.
What Makes Asian Pears So Unique?
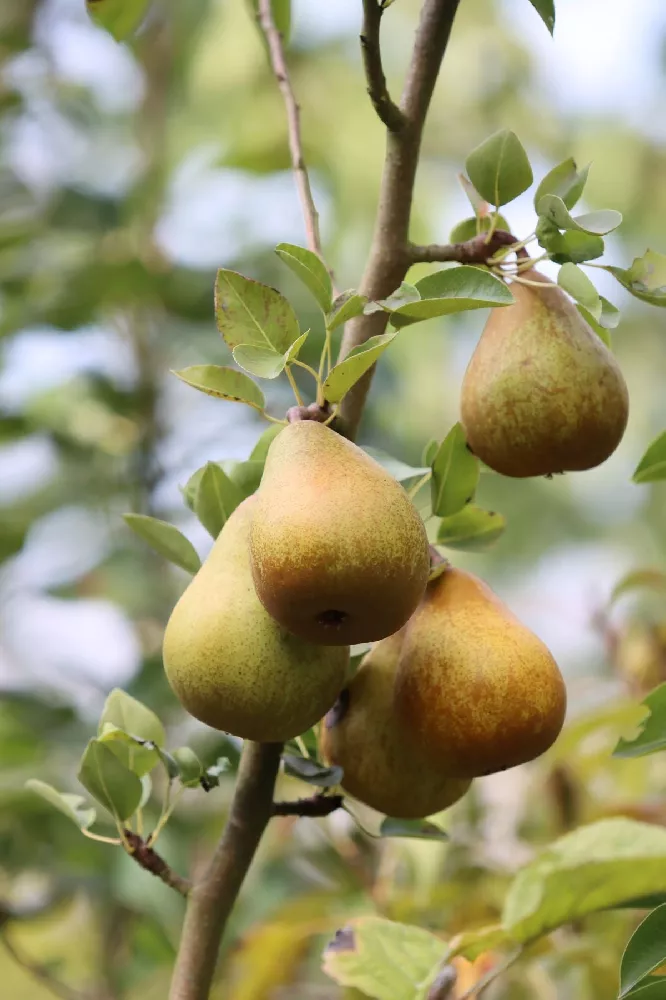
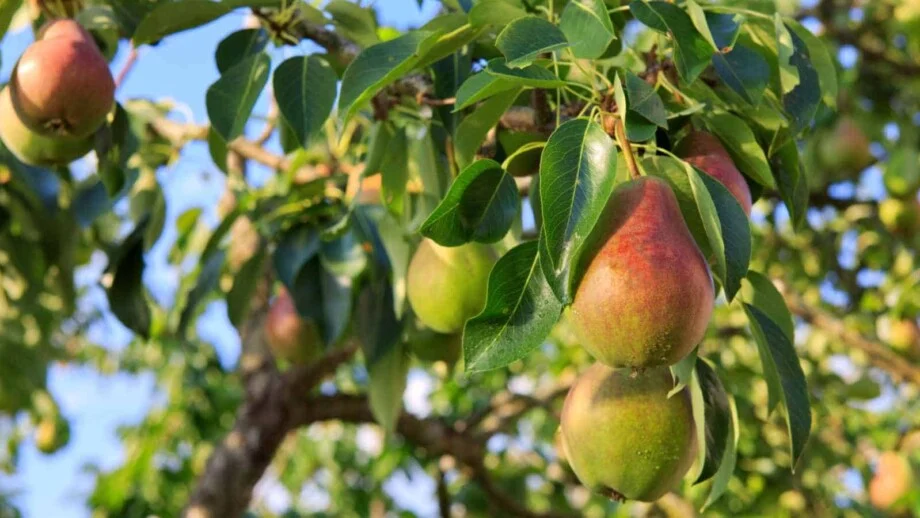
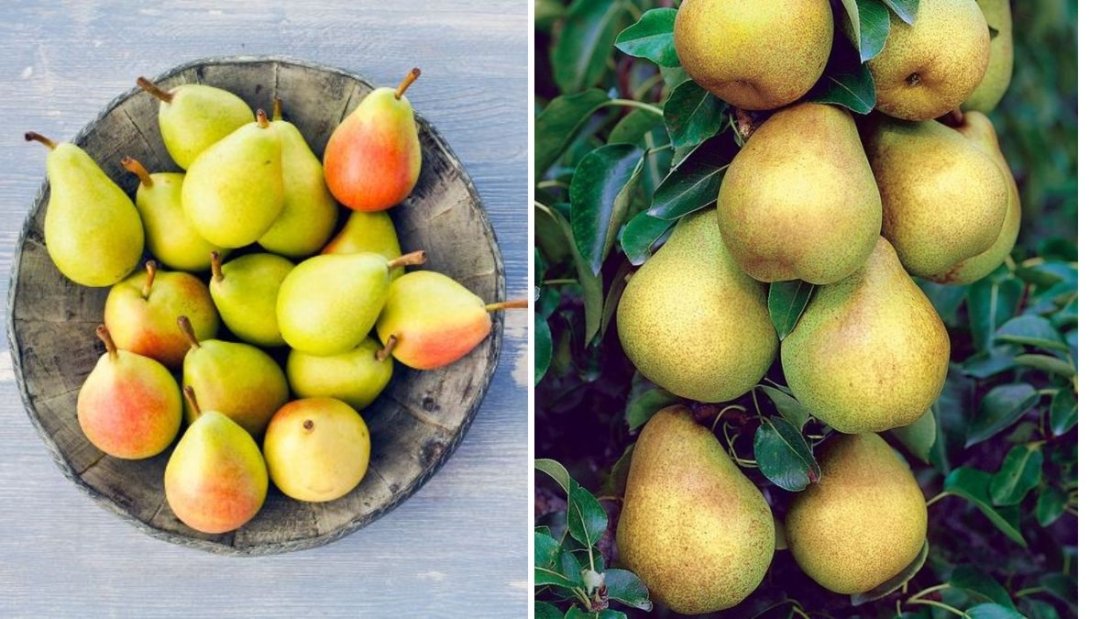
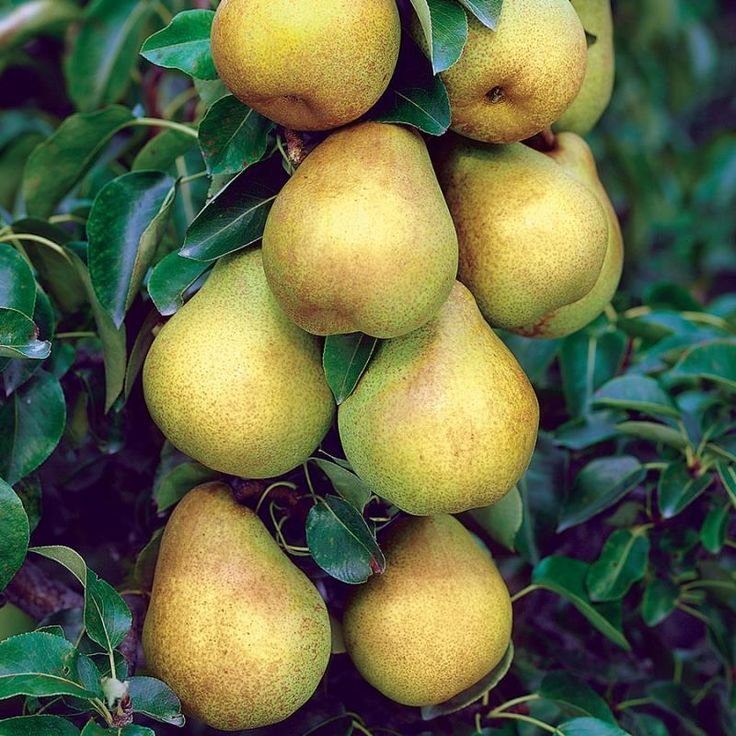
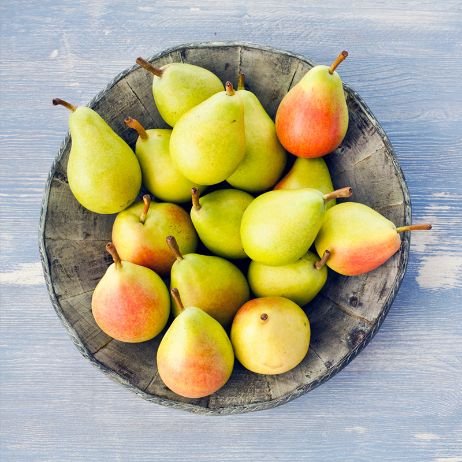
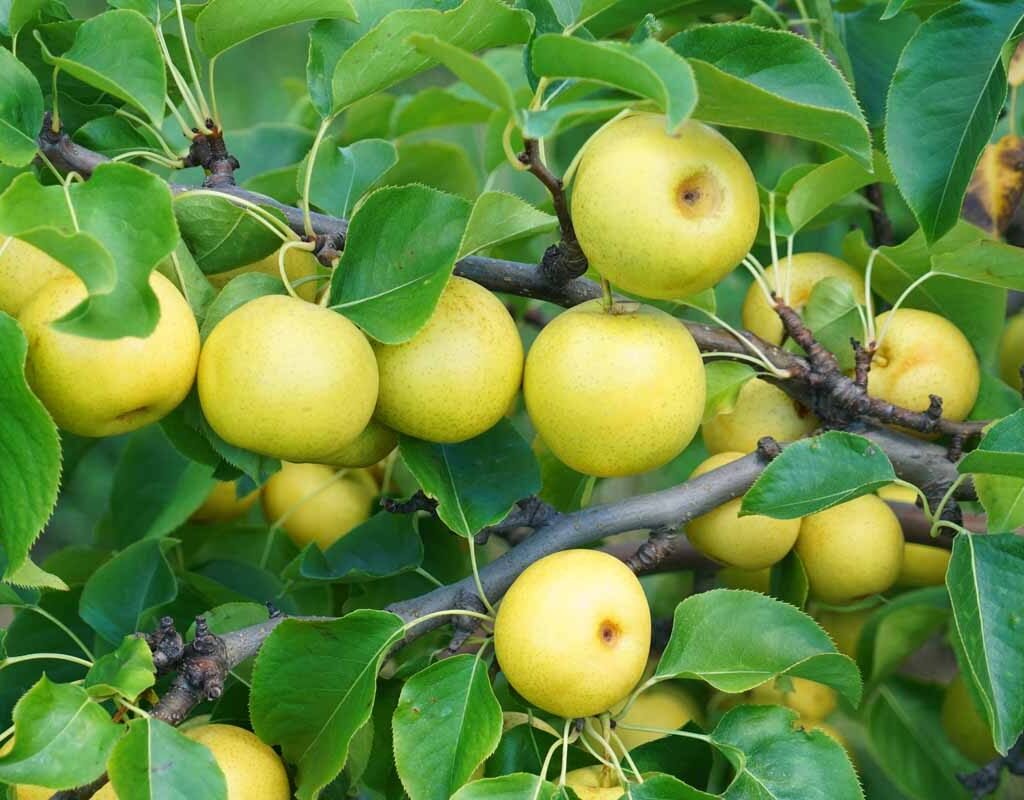
Asian pears (Pyrus pyrifolia) originate from East Asia—mainly Japan, China, and Korea—where they’ve been cultivated for thousands of years. Unlike European pears, which soften as they ripen, Asian pears maintain their crisp texture even when fully ripe. This makes them a refreshing fruit for eating fresh right off the tree.
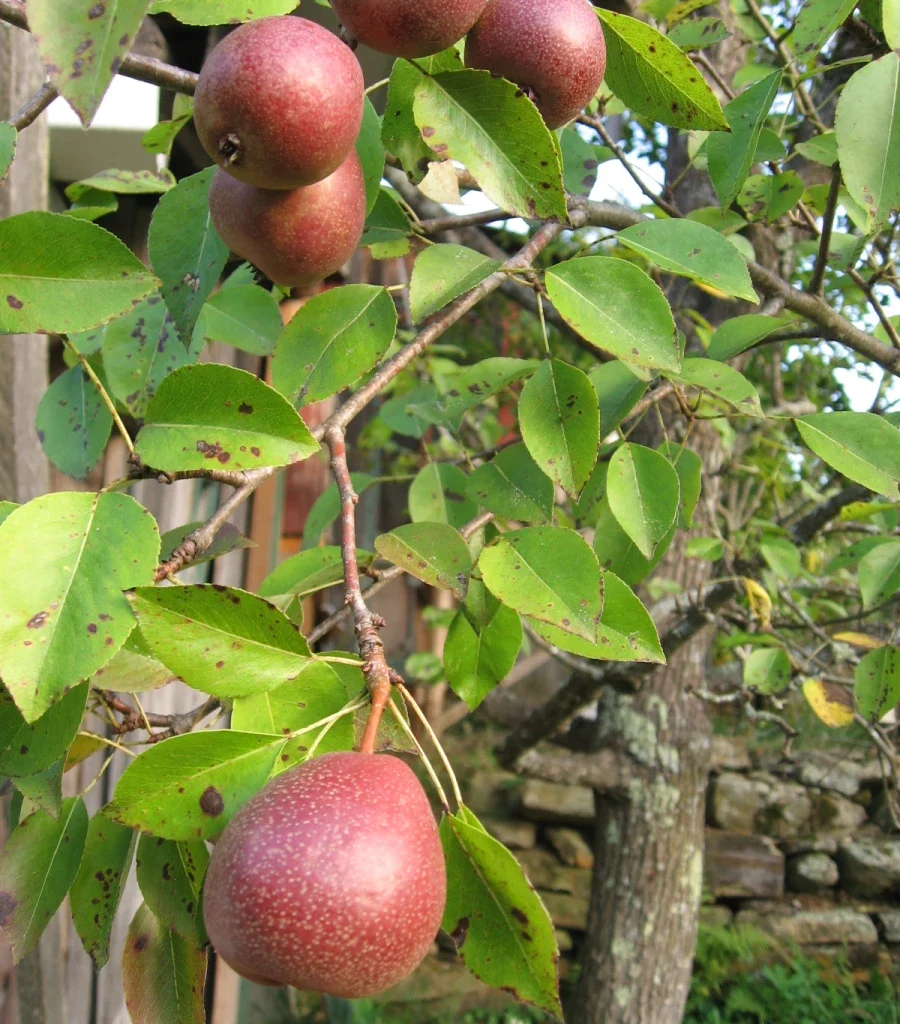
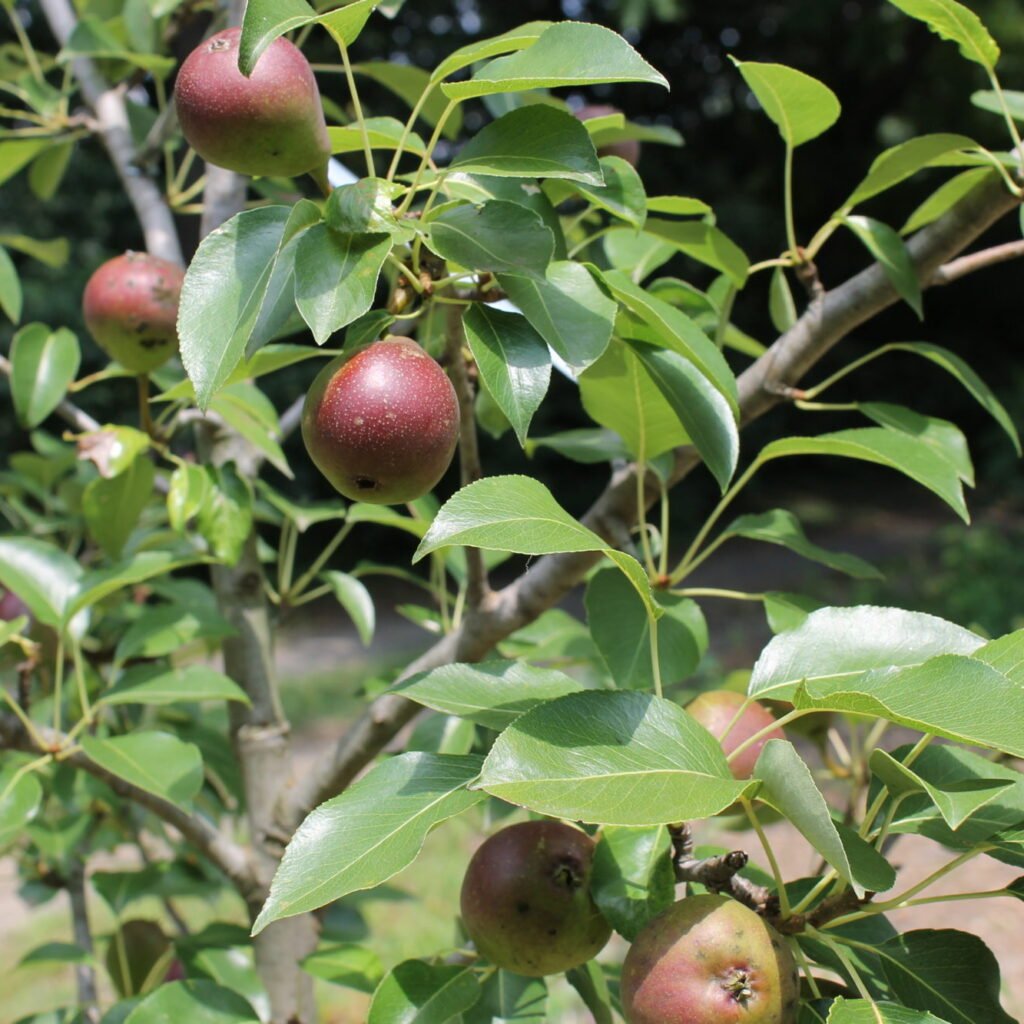
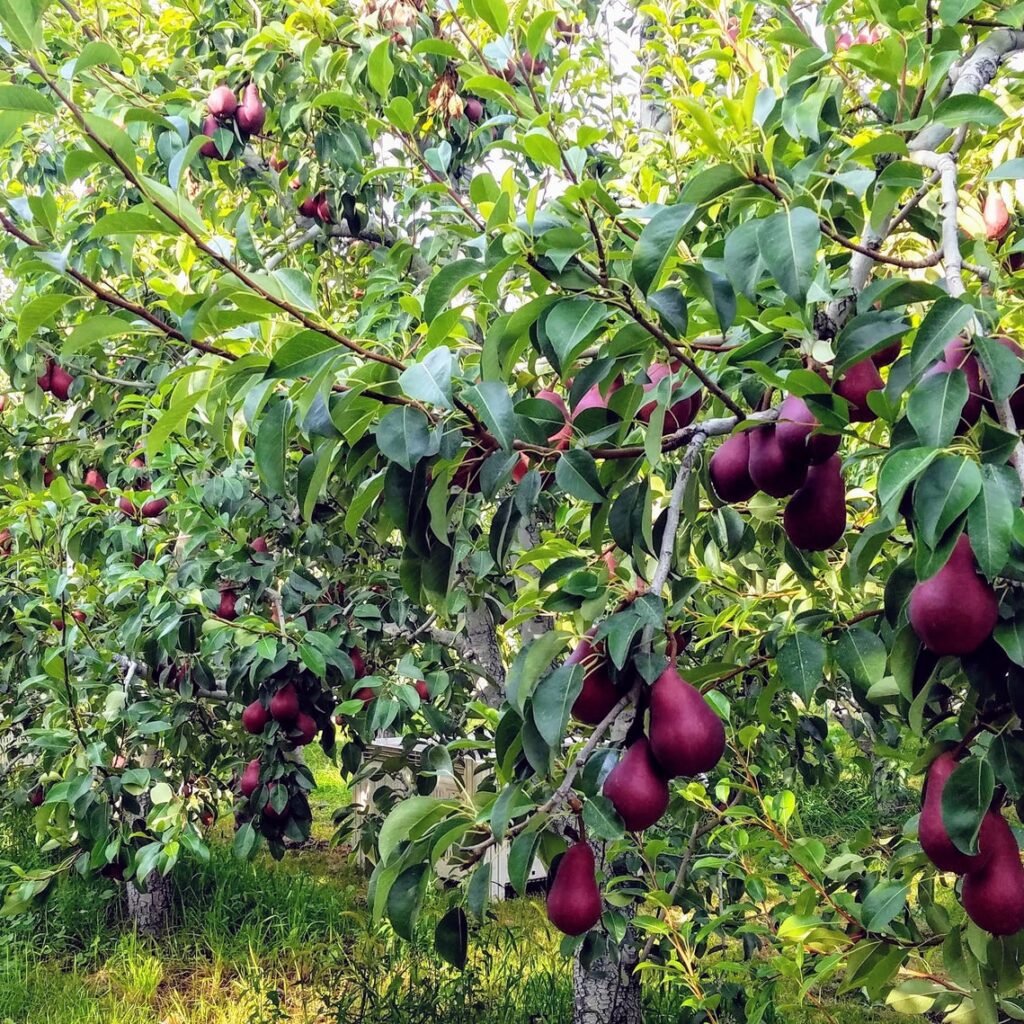
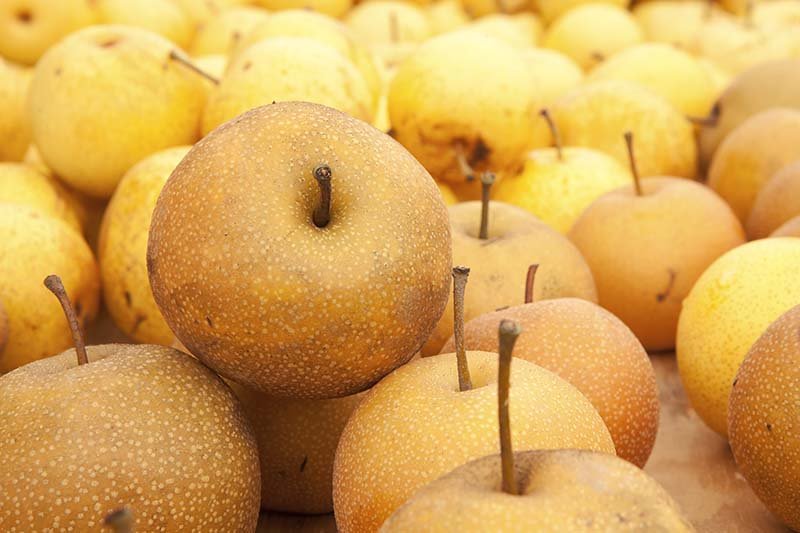
They come in a wide range of flavors and appearances, from golden-yellow to bronze-brown, and some varieties even have russeted skins. Each has its own delicate balance of sweetness and aroma, making Asian pears a gourmet favorite worldwide.
Beyond their taste, Asian pears are also admired for their ornamental beauty. Their spring blossoms are pure white and fragrant, and their lush green foliage adds elegance to any landscape.
Health Benefits of Asian Pears

Asian pears are not just delicious—they’re also incredibly nutritious. Here are a few key health benefits that make them a valuable addition to your diet:
- Rich in Fiber: One medium pear contains up to 10% of your daily fiber needs, promoting good digestion and gut health.
- Hydrating and Low-Calorie: With a high water content and low calorie count, they make for an excellent healthy snack.
- Packed with Vitamins: They provide vitamin C, vitamin K, and essential minerals like potassium, which help regulate blood pressure.
- Antioxidant Power: The fruit’s natural antioxidants help reduce inflammation and protect cells from damage.
- Boosts Immunity: Regular consumption supports immune function and overall wellness.
In short, Asian pears are a perfect mix of indulgence and nourishment—nature’s way of giving you a treat that’s actually good for you!
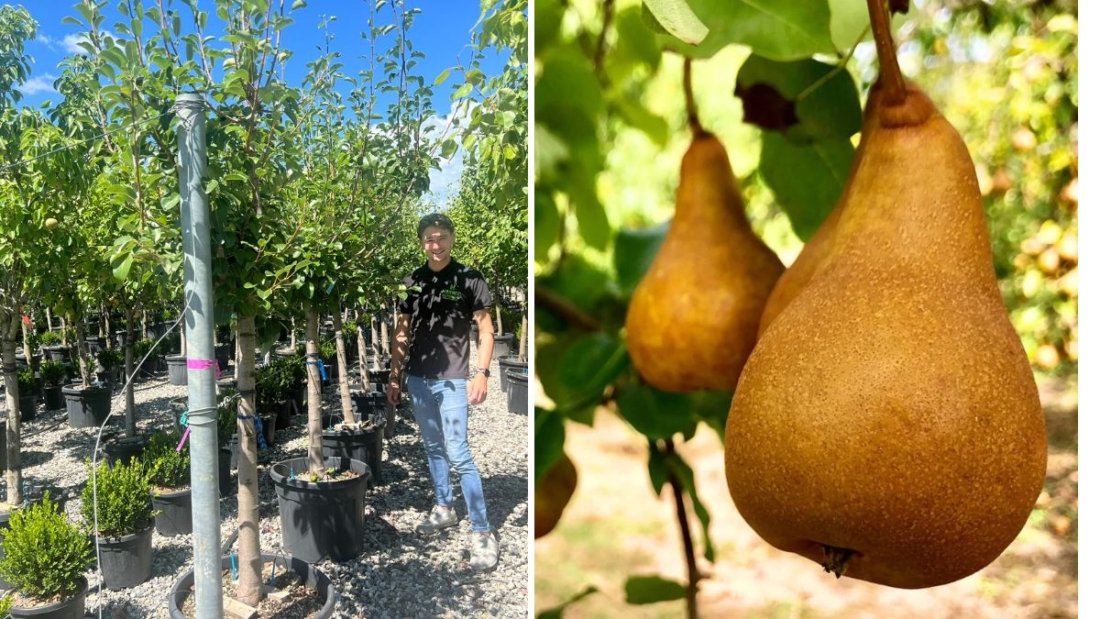
Popular Asian Pear Varieties You Can Grow
One of the exciting things about Asian pears is the wide variety available. Here are a few popular types worth growing at home:
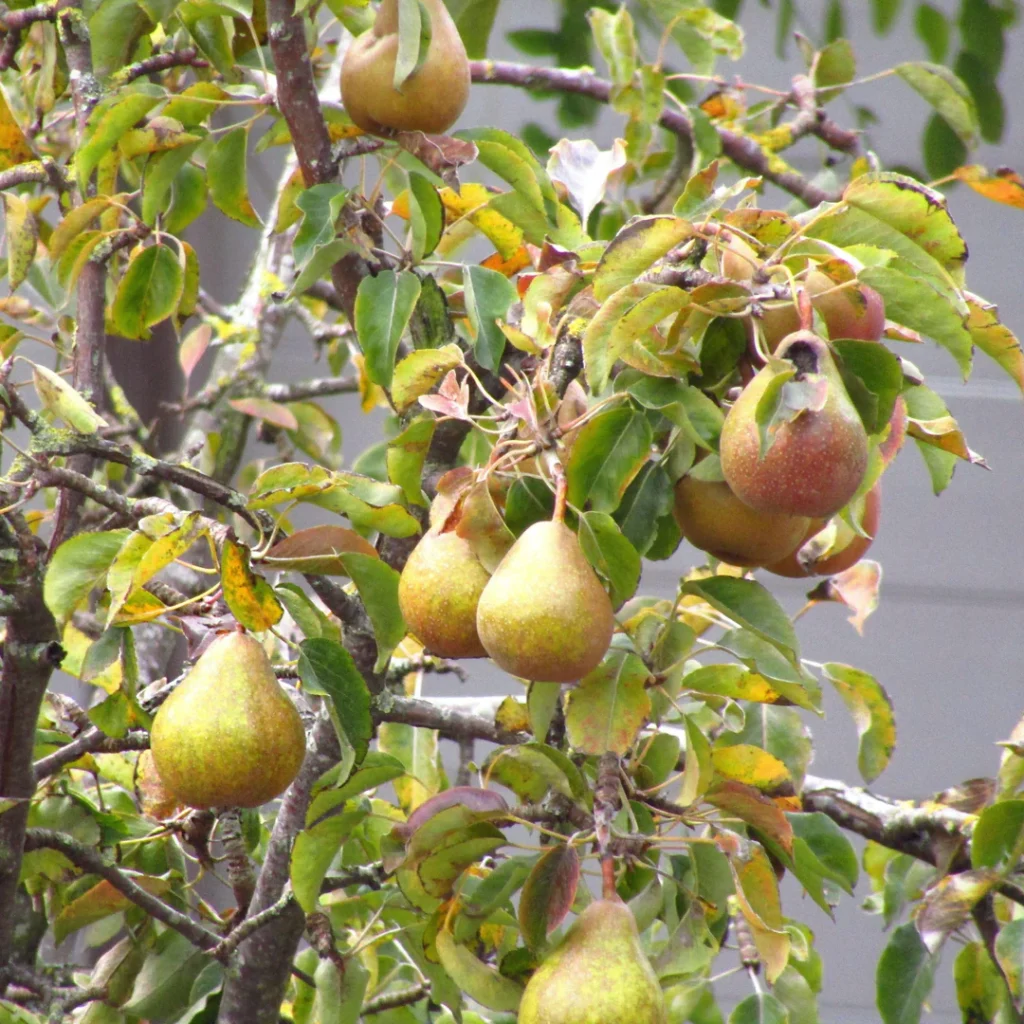
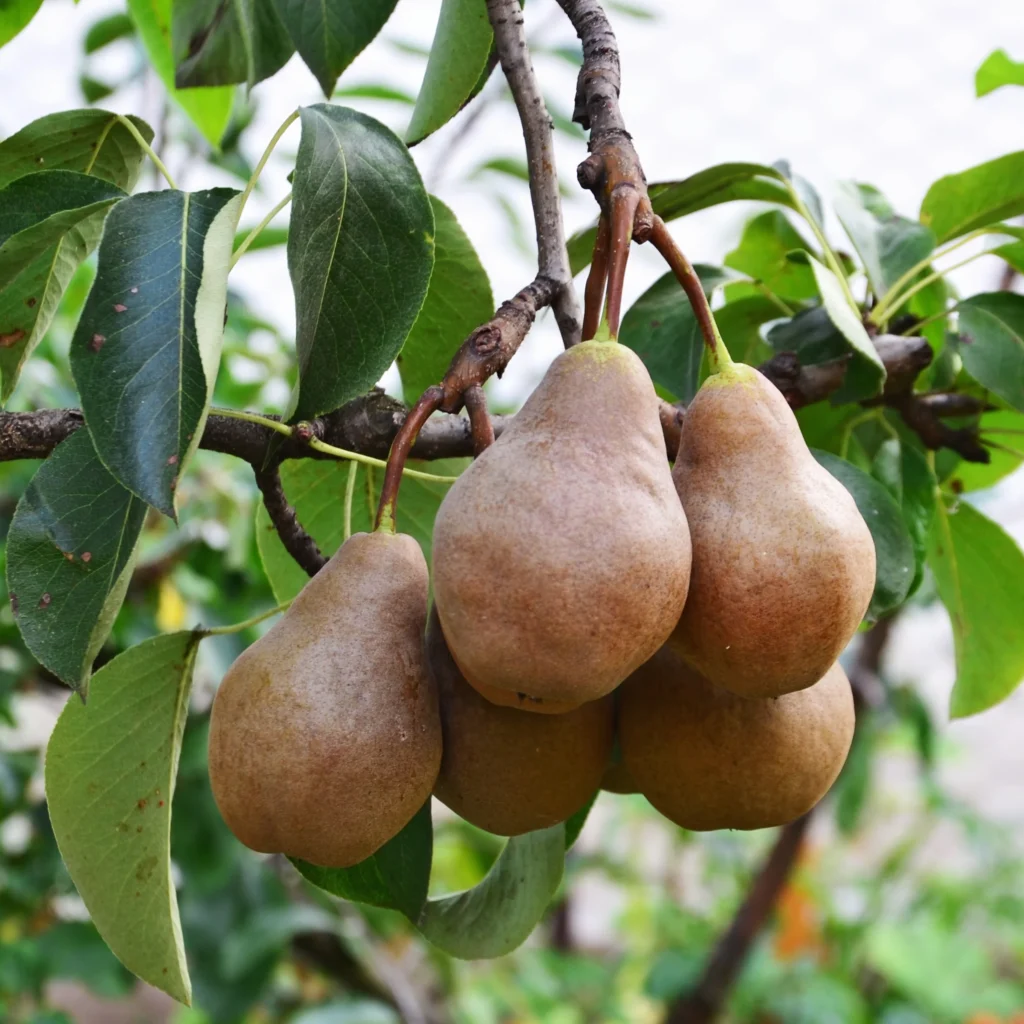
- Hosui: Known for its bronze skin and exceptional juiciness, Hosui pears are sweet, crisp, and aromatic. They ripen early in the season.
- Shinseiki: A yellow-skinned variety that’s easy to grow and produces abundantly. Its fruit has a smooth texture and mild sweetness.
- Kosui: Another bronze-skinned favorite with a strong fragrance and honey-like flavor.
- 20th Century (Nijisseiki): Perhaps the most famous Japanese variety, known for its perfect round shape and balanced sweetness.
- Chojuro: A russet-colored pear with rich flavor, excellent for eating fresh or canning.
- Ya Li: A Chinese variety with a more elongated shape and a delicate, refreshing taste.
Each of these varieties has slightly different ripening times, flavors, and textures—so you can choose one that suits your climate and taste preferences.
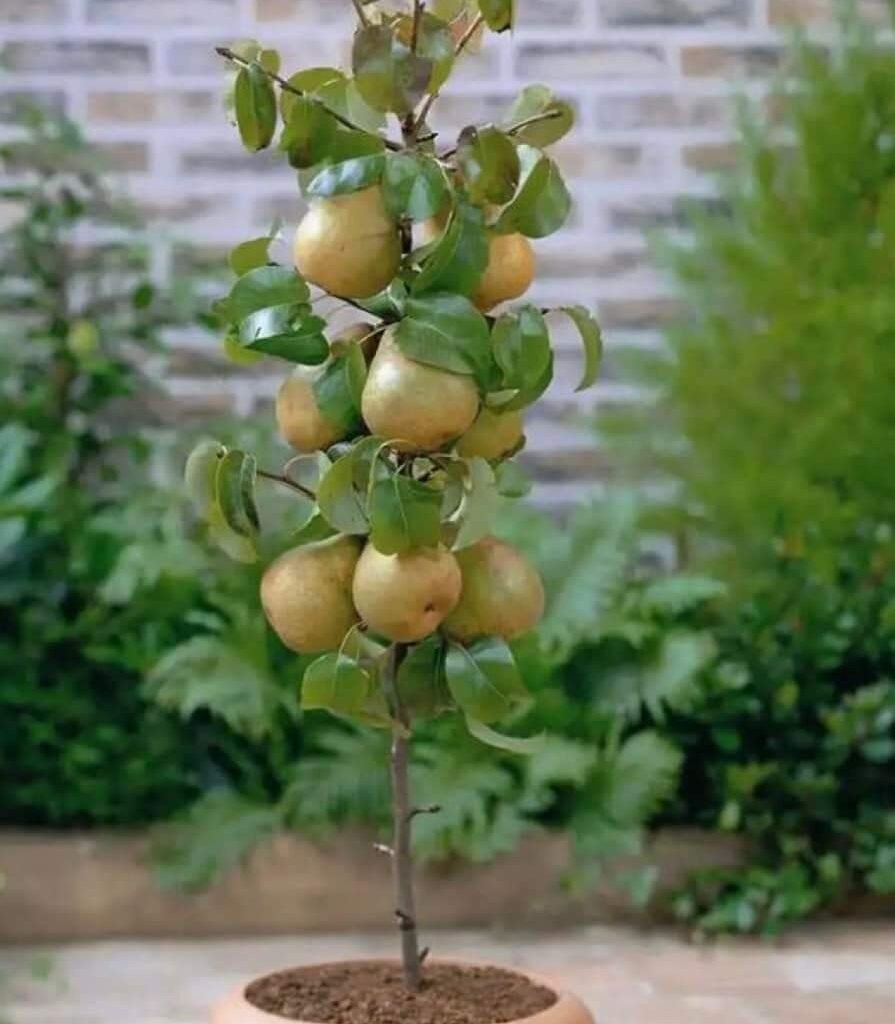
How to Grow Asian Pear Trees at Home
Growing Asian pears is easier than you might think. They’re hardy, adaptable, and productive when given the right care. Here’s a complete step-by-step guide to help you get started:
1. Choose the Right Planting Site
Asian pear trees need full sun—at least six to eight hours daily. Select a site with well-draining soil, as pears dislike “wet feet.” A slightly loamy or sandy soil with good organic content is ideal.
Avoid frost pockets or low-lying areas where cold air settles, as this can damage blossoms in spring.
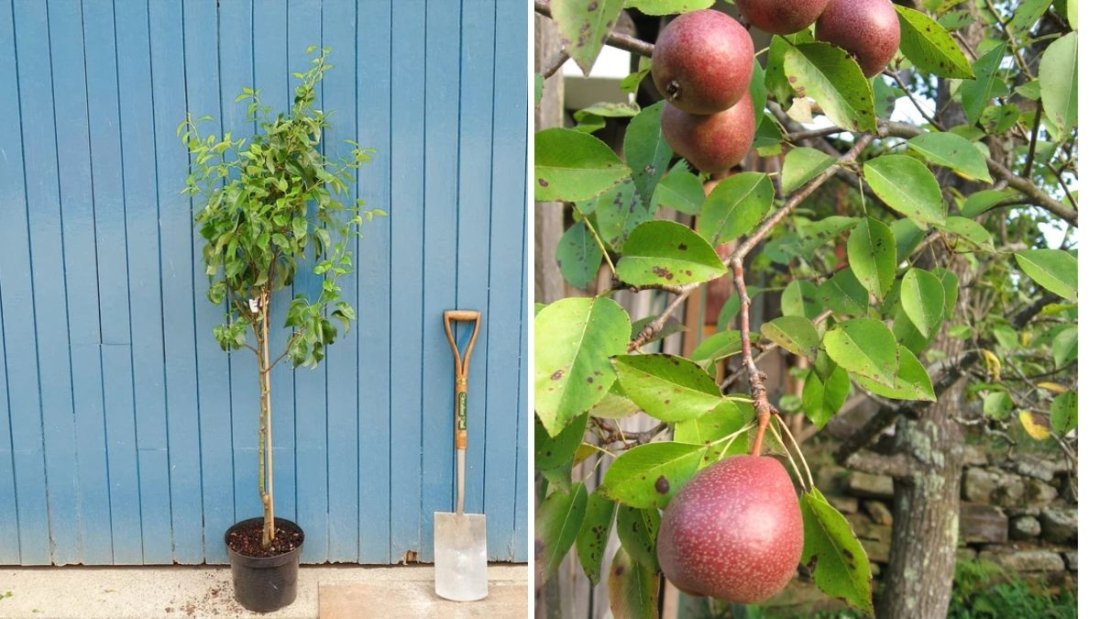
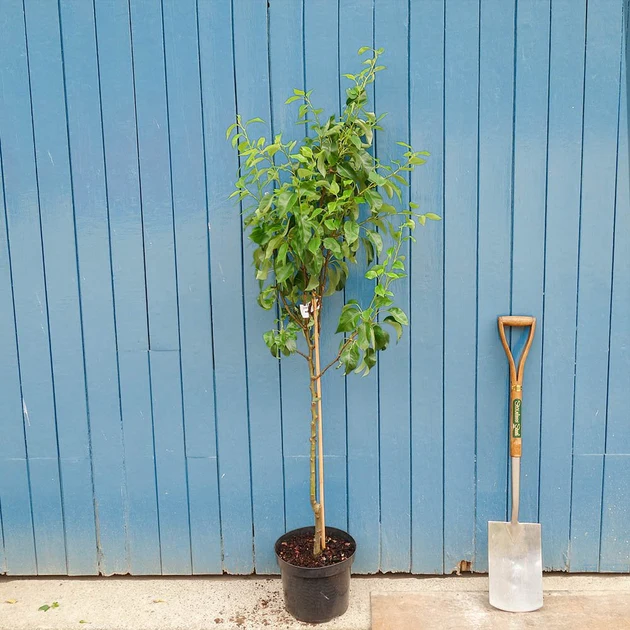
2. Planting the Tree
Plant your tree in early spring or fall. Dig a hole twice the width of the root ball but only as deep as its height. This allows the roots to spread easily while preventing the tree from sinking too deep.
Place the tree so that the graft union (the swollen part above the roots) is 2–3 inches above the soil line. Backfill with native soil mixed with compost, tamp down gently, and water thoroughly to remove air pockets.
3. Watering and Mulching
Young Asian pear trees need consistent moisture. Water deeply once or twice a week during dry spells, especially in the first year. Apply a 2–3 inch mulch layer around the base to conserve moisture and prevent weeds, but keep it a few inches away from the trunk.
4. Fertilizing
Feed your tree in early spring with a balanced organic fertilizer (such as 10-10-10). Avoid overfertilizing, as this can cause excessive leafy growth instead of fruit production. A yearly top-dressing of compost is often enough for mature trees.
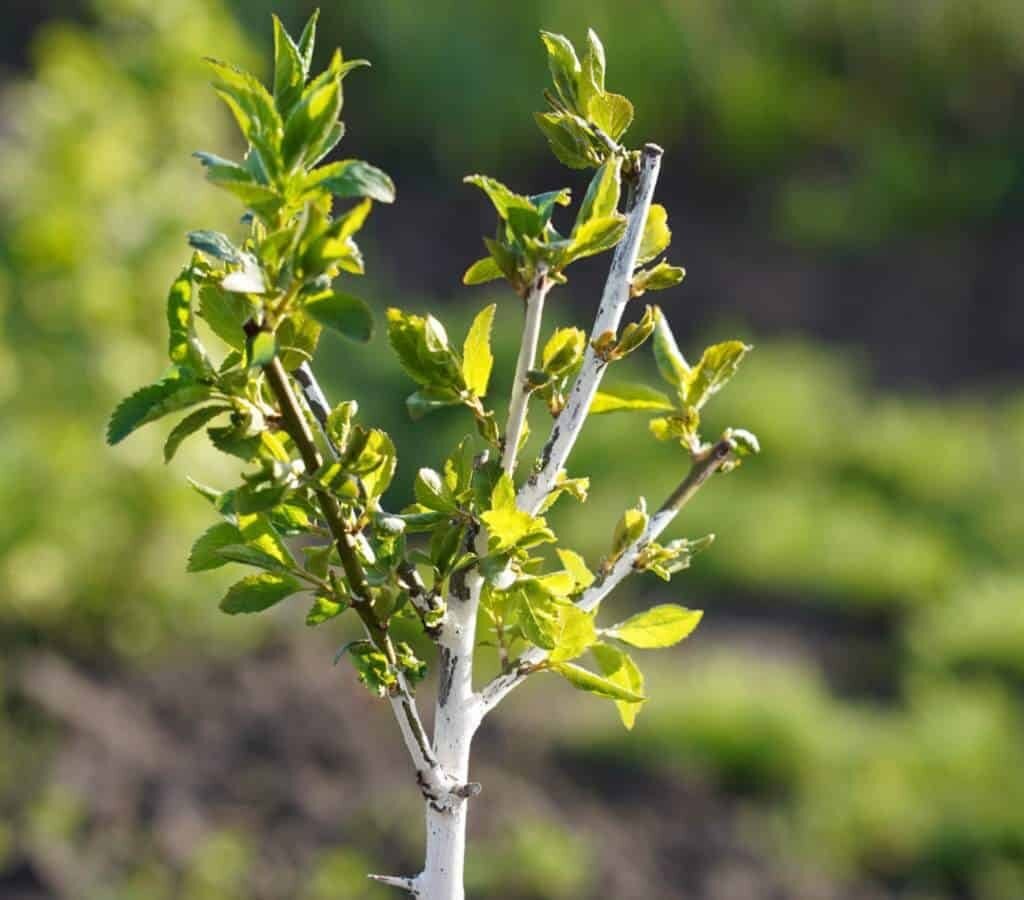
5. Pruning for Shape and Health
Pruning is essential for light penetration, air circulation, and fruit quality. Prune in late winter or early spring before new growth begins. Aim for an open-center shape (similar to peach trees), removing crowded or inward-facing branches.
Also, thin out some developing fruits in summer—leaving one pear every 4–6 inches on a branch—to ensure larger, healthier fruit.
6. Pollination and Fruit Set
Most Asian pear varieties are partially self-fertile, meaning they can produce some fruit on their own. However, for best yields, plant two different varieties that bloom around the same time. Pollinators like bees play a crucial role, so avoid heavy pesticide use during flowering.
Managing Pests and Diseases
Asian pears are generally hardy, but they can still face occasional issues. Here’s how to manage common ones naturally:
- Fire Blight: This bacterial disease can affect blossoms and shoots. Prune infected branches well below the damaged area and sterilize tools between cuts.
- Pear Psylla: These tiny insects feed on sap, causing sticky honeydew residue. Neem oil or insecticidal soap sprays work effectively.
- Codling Moth: Protect ripening fruit with mesh bags or pheromone traps.
- Fungal Leaf Spots: Good air circulation and removing fallen leaves help prevent fungal buildup.
By maintaining clean garden practices and encouraging beneficial insects, you can keep your trees healthy without harsh chemicals.
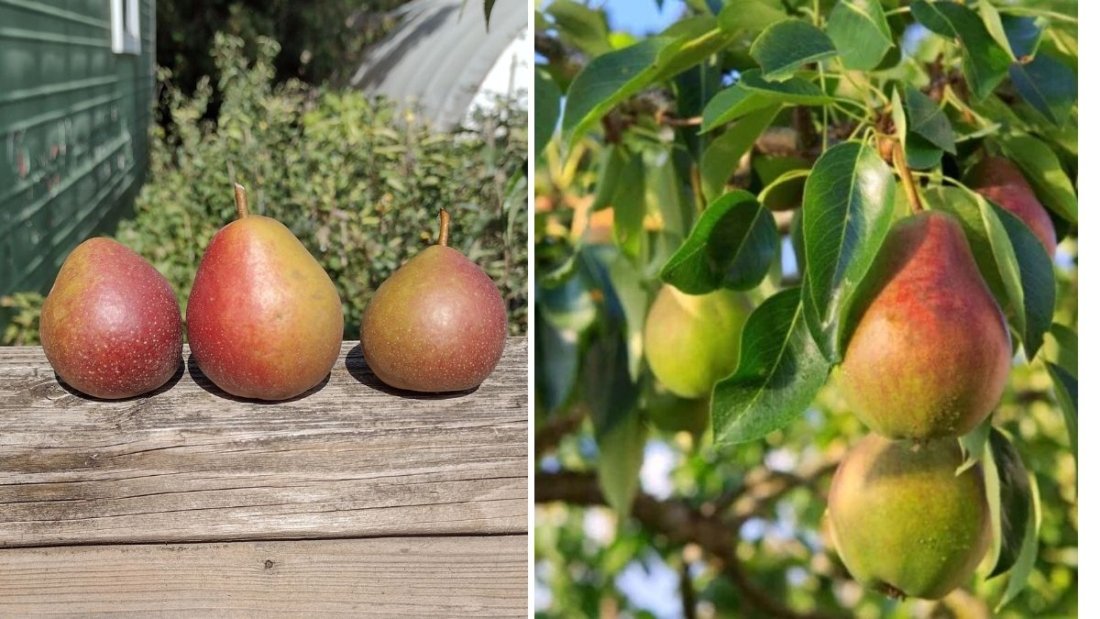
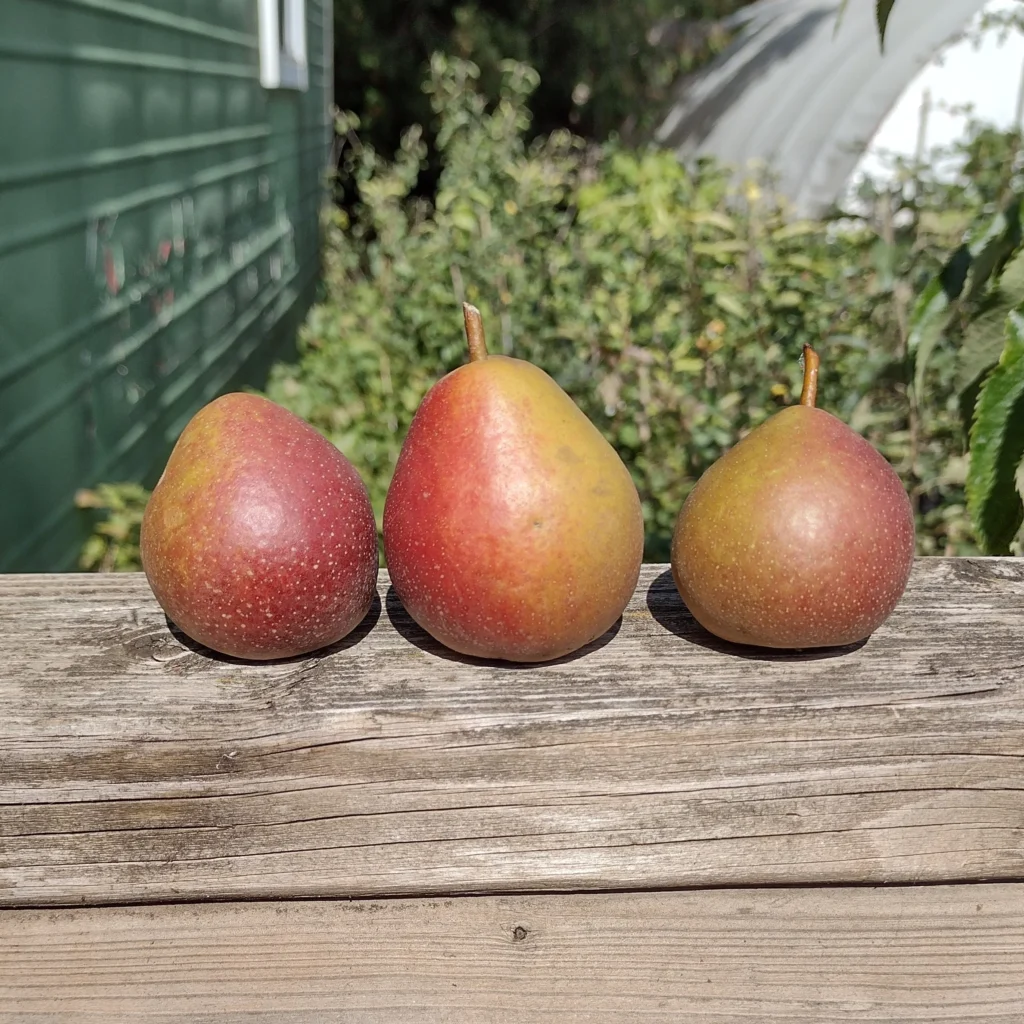
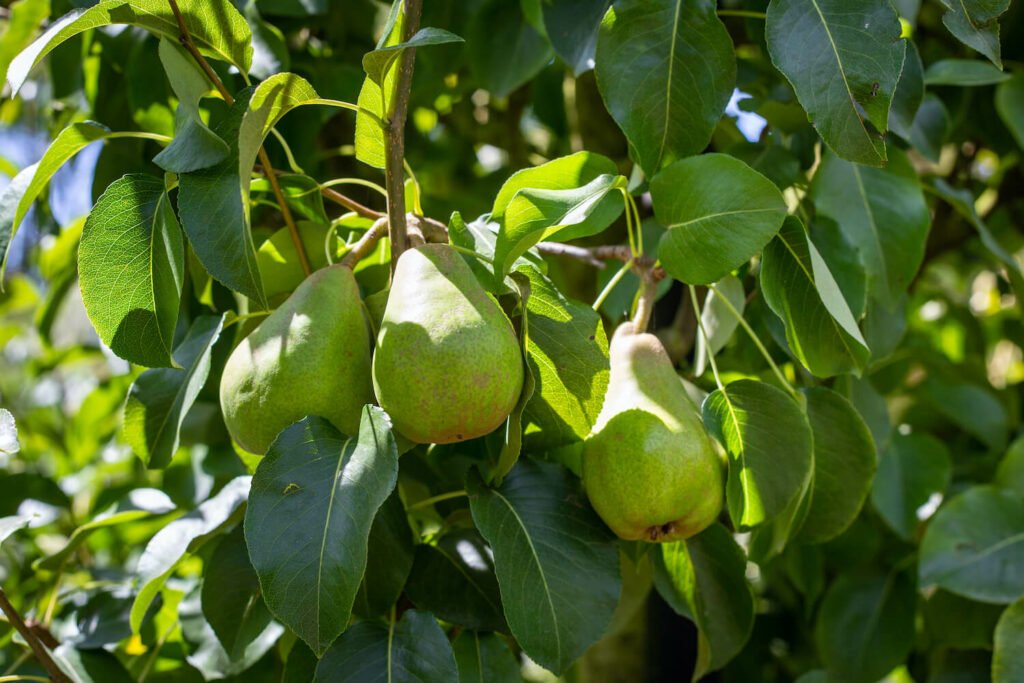
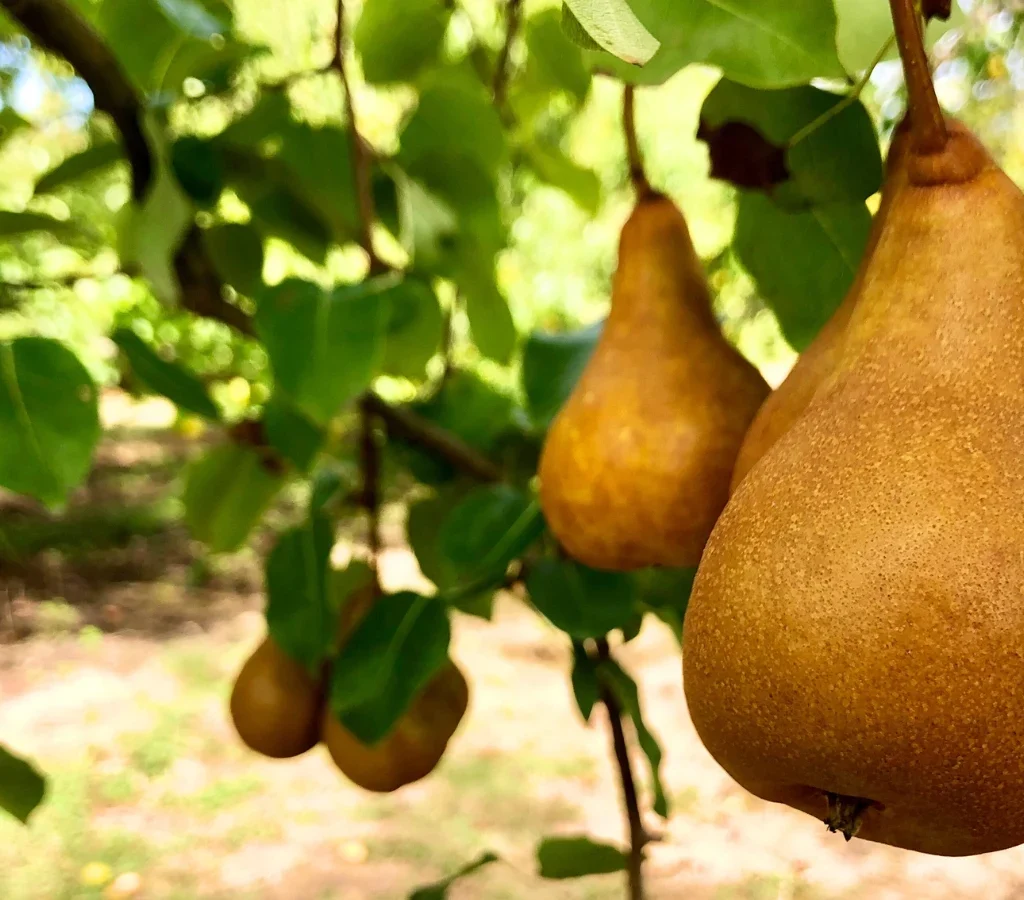
When and How to Harvest Asian Pears
One of the greatest joys of growing Asian pears is harvesting them at peak perfection. Unlike European pears that ripen off the tree, Asian pears ripen on the tree—ready to eat as soon as they’re picked.
Here’s how to tell they’re ready:
- The skin color changes from green to golden or bronze.
- The fruit emits a sweet aroma.
- A gentle twist should easily separate the pear from the branch.
Handle them carefully—Asian pears bruise easily due to their high water content. Store them in a cool, dry place for up to a month or refrigerate them for longer freshness.
Enjoying the Fruits of Your Labor
Asian pears are incredibly versatile. You can enjoy them fresh, chilled, or sliced into salads for a juicy crunch. They also pair wonderfully with cheeses, cured meats, or yogurt for a gourmet snack.
In the kitchen, they can be used in desserts, jams, or even savory dishes—adding a natural sweetness and refreshing texture. In Asian cuisine, they’re often used to tenderize meat in marinades due to their natural enzymes.
For long-term storage, consider dehydrating slices or canning them in light syrup. The fruit’s natural sugar content ensures it retains flavor beautifully.
Why You Should Try Growing Asian Pears
If you’ve been looking for a fruit tree that’s beautiful, productive, and out of the ordinary, Asian pears are a perfect choice. Here’s why gardeners love them:
- Unique Texture and Taste: A crisp, refreshing bite that’s unlike any other fruit.
- Long Shelf Life: They stay fresh for weeks after harvest—no need for rapid consumption.
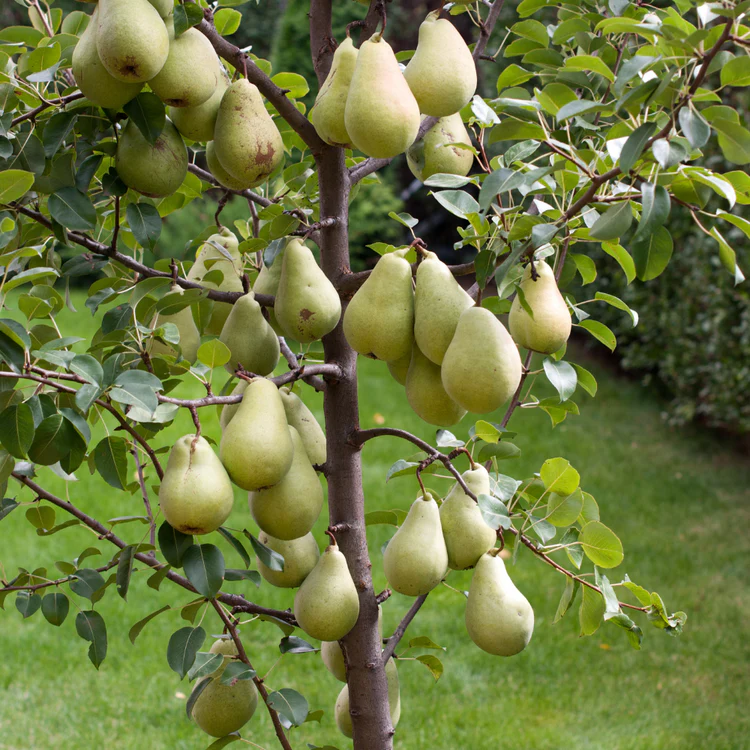
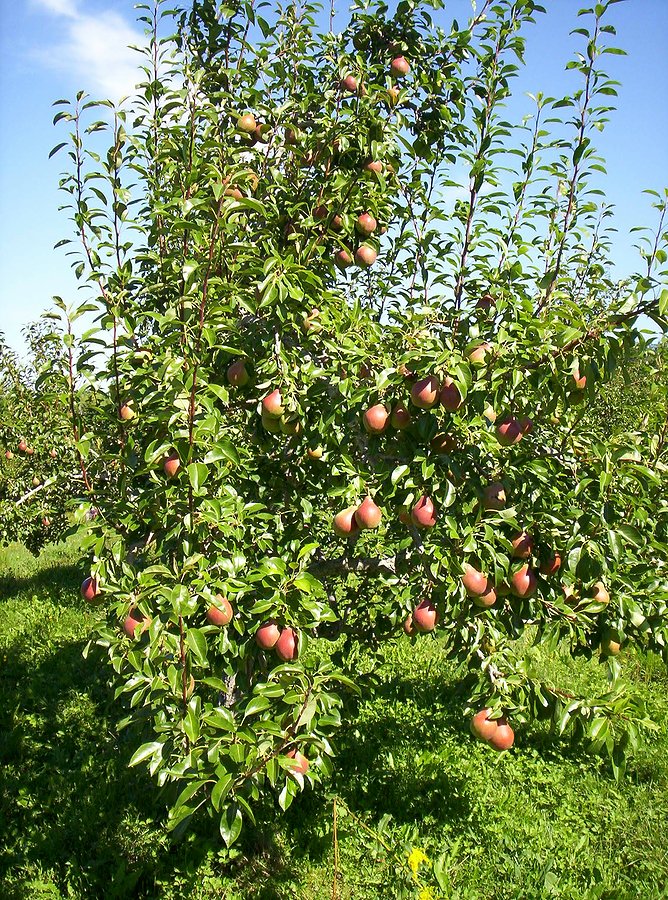
- Heavy Yields: Mature trees can produce dozens of pounds of fruit each season.
- Beautiful Trees: Lovely spring blossoms and decorative foliage make them excellent landscape features.
- Cold Hardy and Adaptable: Many varieties thrive in USDA zones 5–9.
Whether you have a small backyard or a larger homestead orchard, Asian pears are a valuable addition that’s both ornamental and fruitful.
Final Thoughts
Asian pears are truly one of the most rewarding and rare fruits you can grow at home. Their perfect balance of sweetness, crispness, and juiciness makes them a standout in any garden. Plus, they’re easy to care for, productive, and adaptable to various climates.
By choosing the right variety, following good planting practices, and providing consistent care, you’ll soon enjoy baskets of beautiful, golden fruit right from your own backyard. Once you taste your first homegrown Asian pear, you’ll understand why gardeners around the world call it “the ultimate rare fruit you must try growing!”