If you’ve ever dreamed of growing a huge harvest of flavorful, colorful Hungarian peppers without spending endless hours in the garden, then you’re in for a treat. Imagine harvesting over 200 healthy peppers from just a few plants—all grown in a self-growing planter like the Torpedopot. Sounds too good to be true? It’s not!
This guide will walk you through how it’s possible to grow hundreds of Hungarian peppers—lush, spicy, and delicious—in a self-watering, self-aerating system like the Torpedopot. We’ll dive into everything from setting up the planter, planting and caring for the peppers, to organic feeding tips and maximizing yield. Whether you’re a gardening enthusiast or a beginner with limited space, you’ll see how this modern, eco-friendly system makes high-yield gardening simple and sustainable.
Understanding Hungarian Peppers
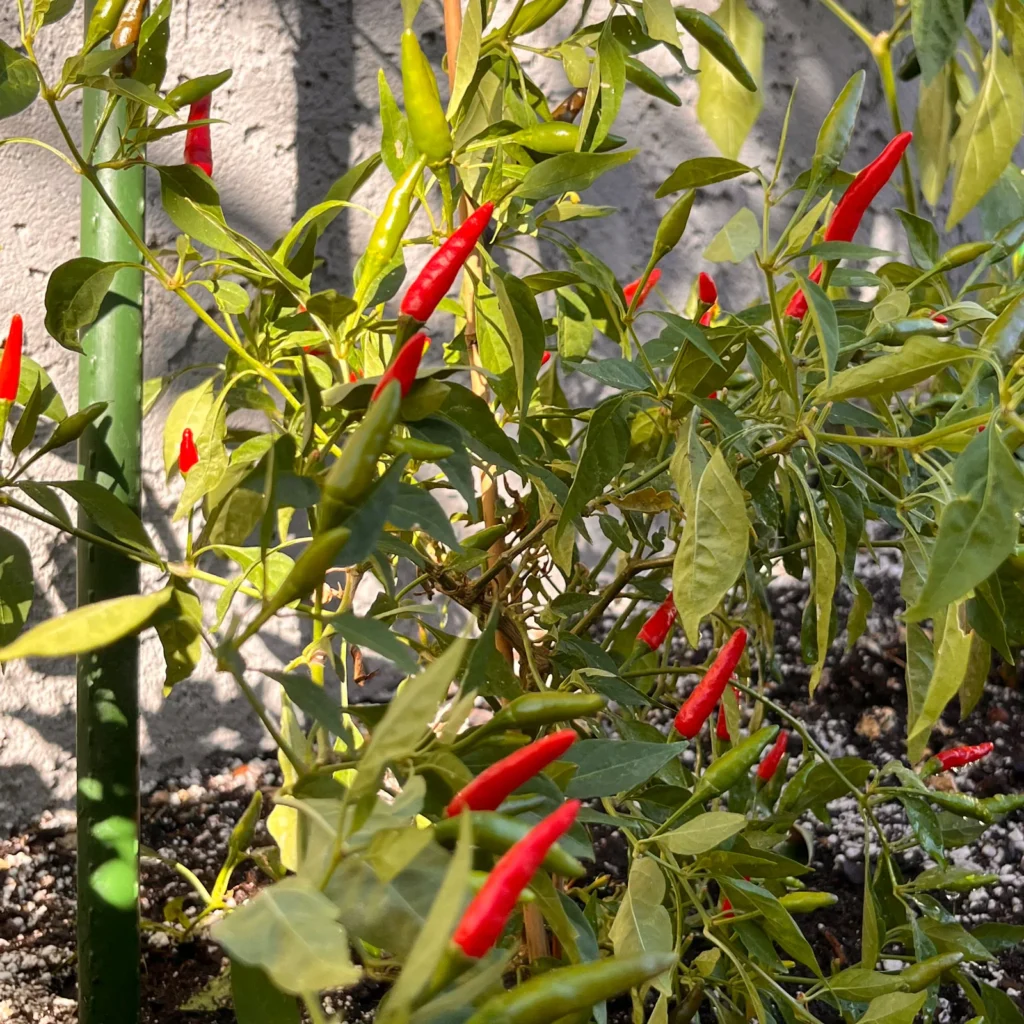
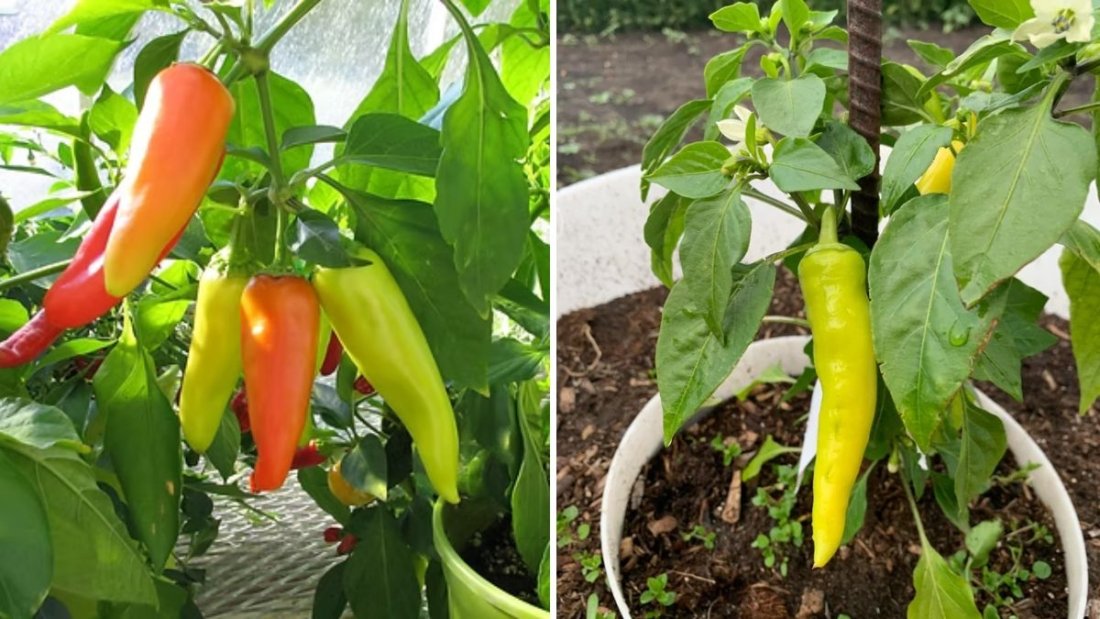
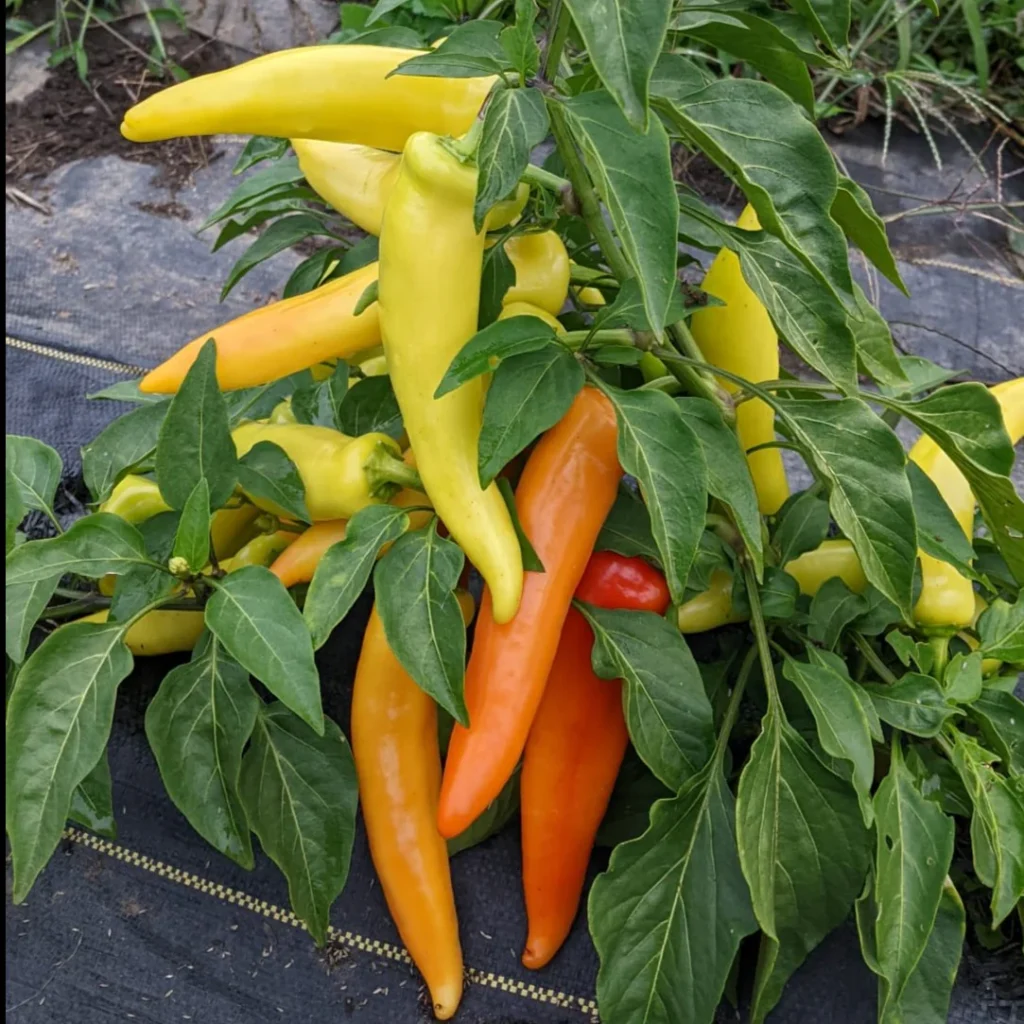
Hungarian peppers, sometimes called Hungarian Wax Peppers, are medium-hot chili peppers that range between 5,000–10,000 Scoville Heat Units (SHU)—just enough heat to excite your taste buds without overpowering your food.
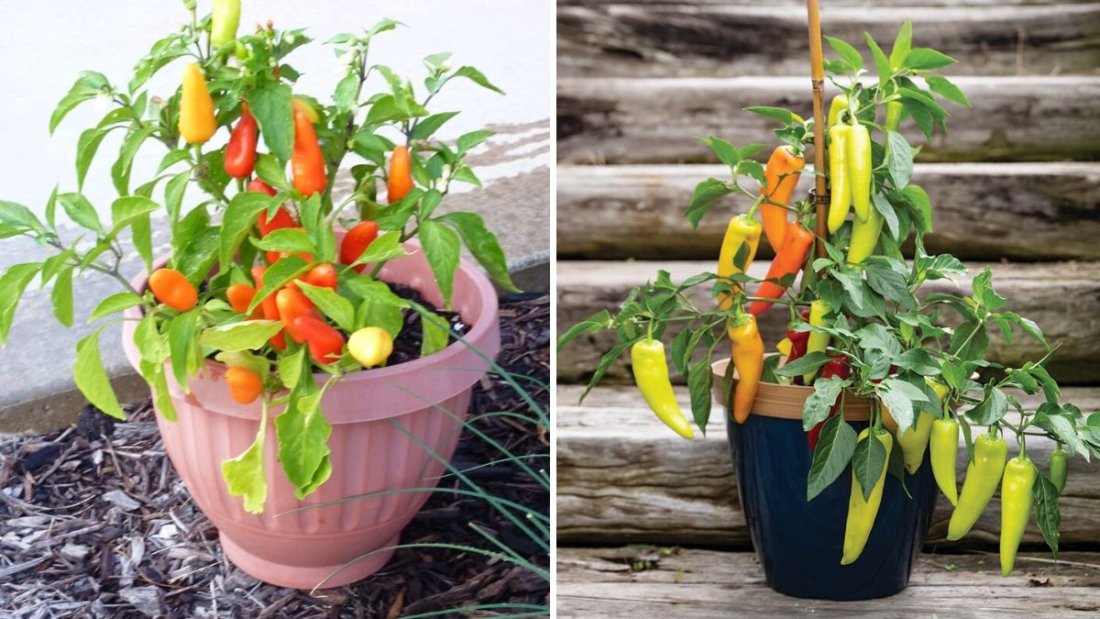
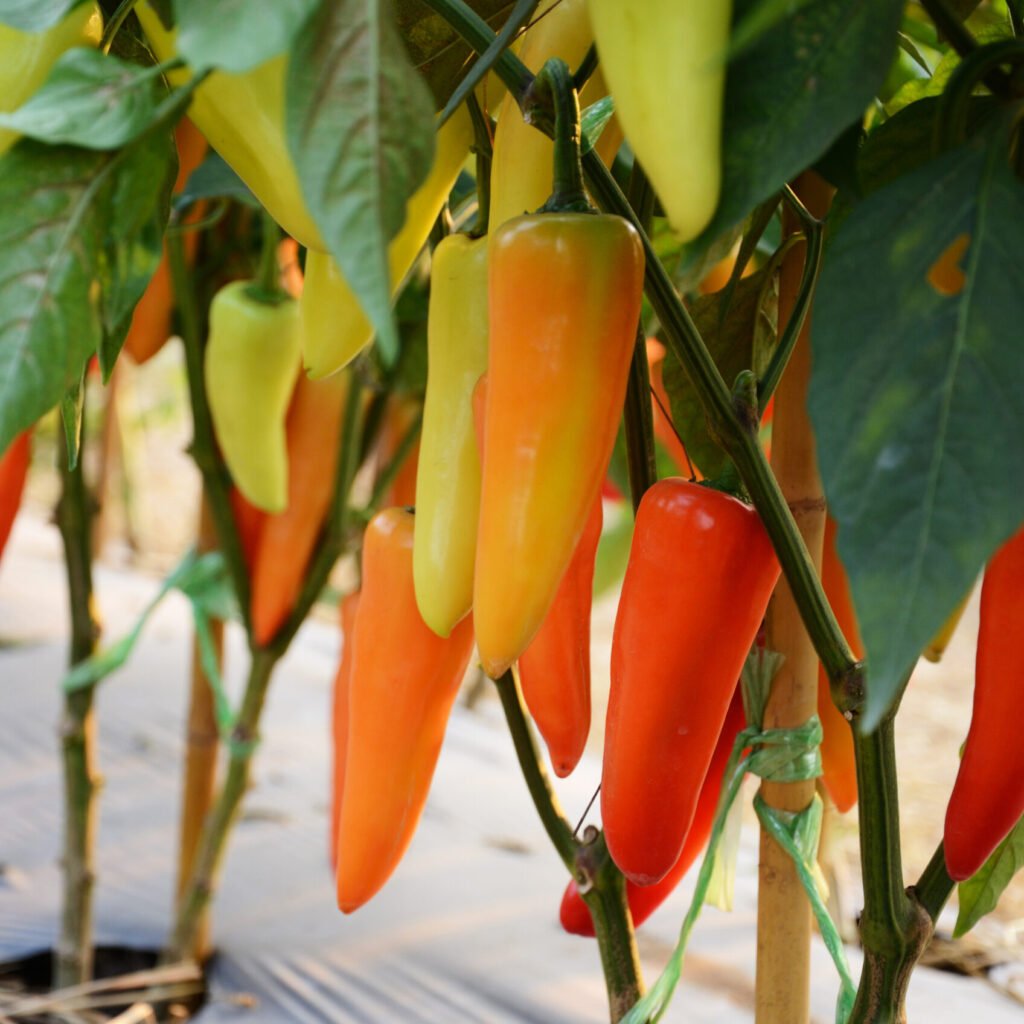
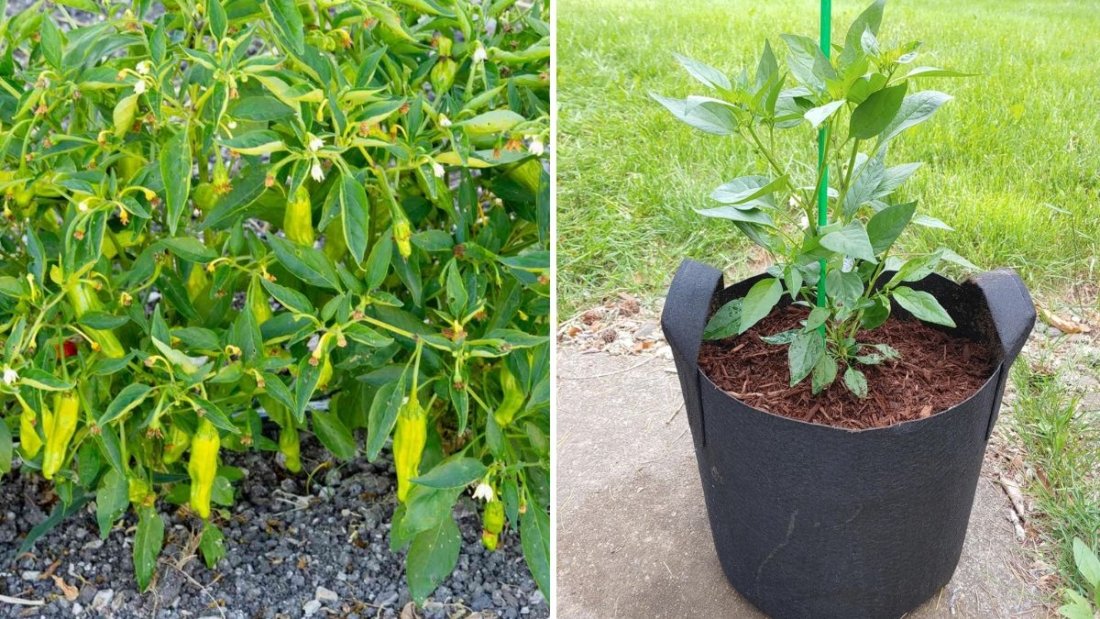
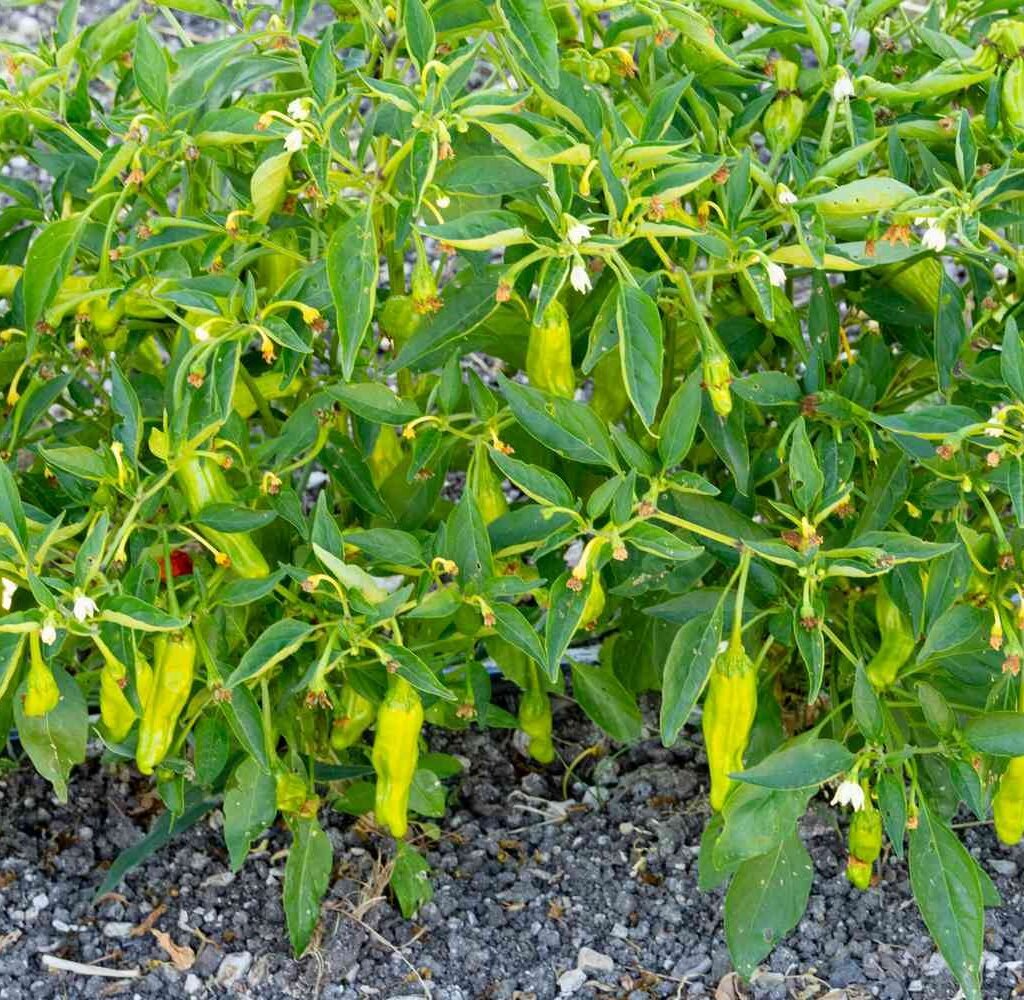
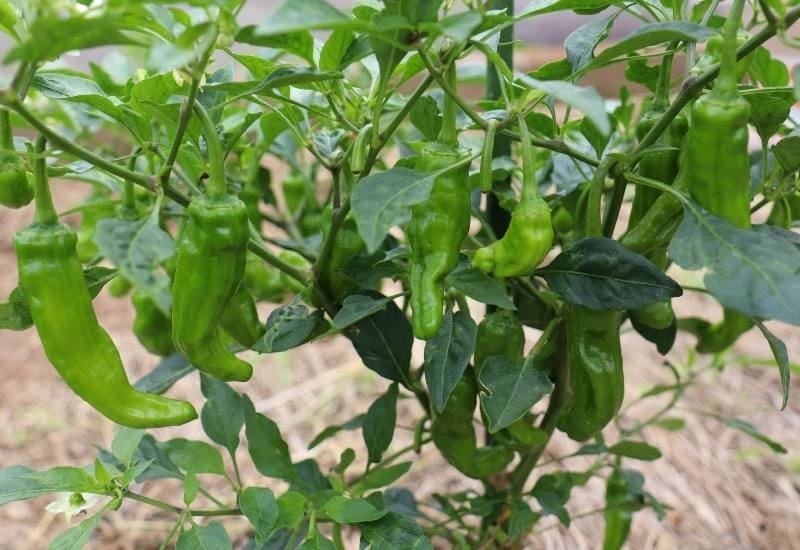
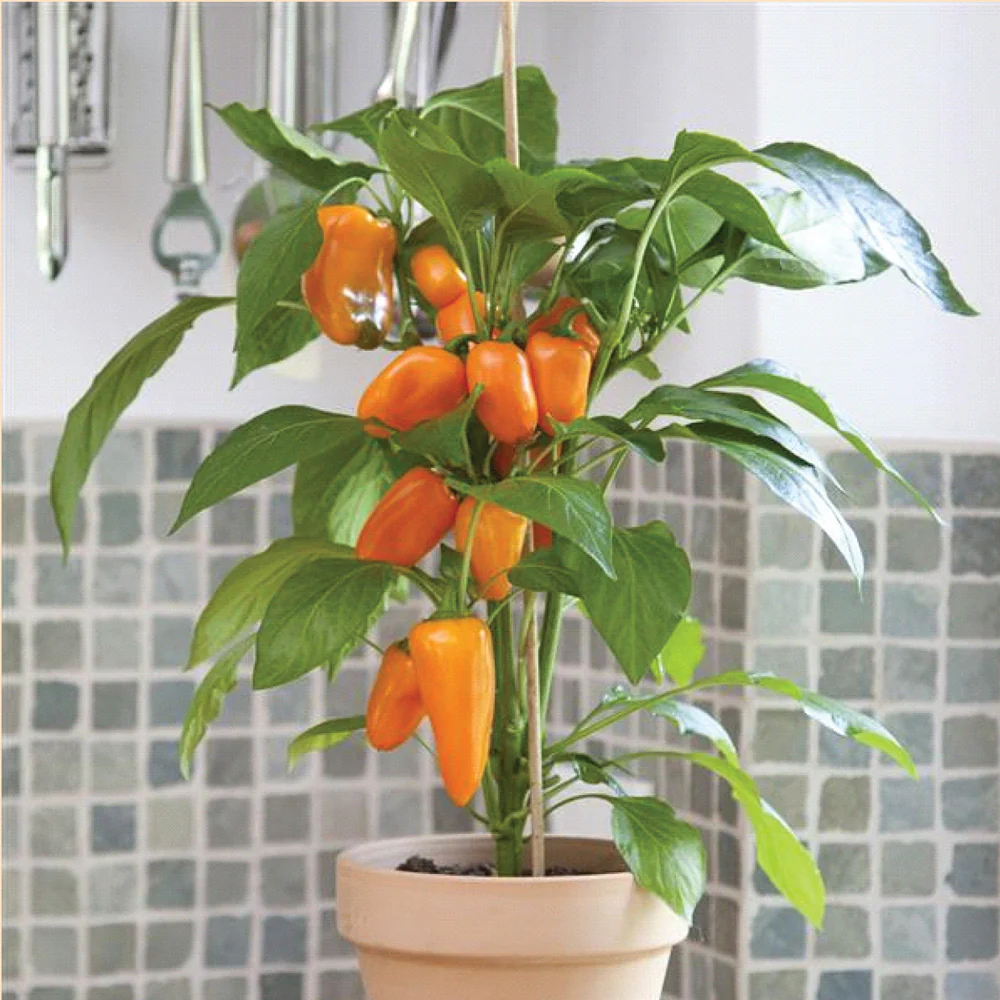
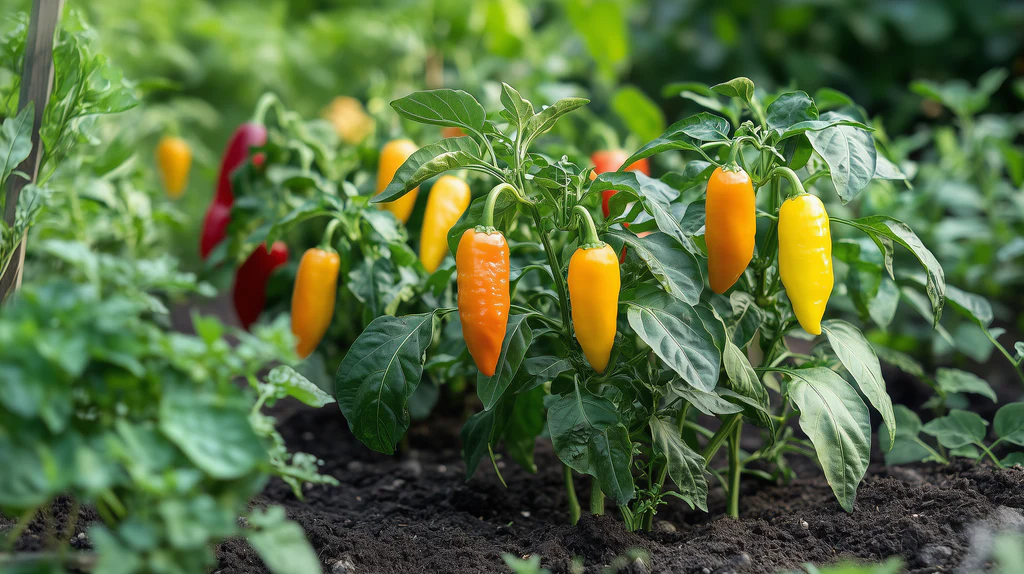
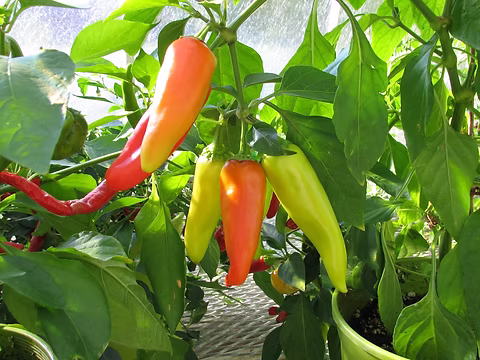
They’re known for their smooth, waxy skin that ripens from light green to orange, then bright red. These peppers are perfect for pickling, roasting, or stuffing and make a vibrant addition to any dish.
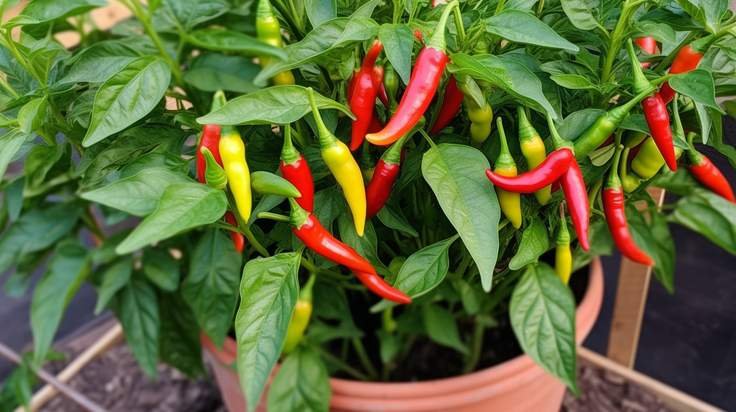
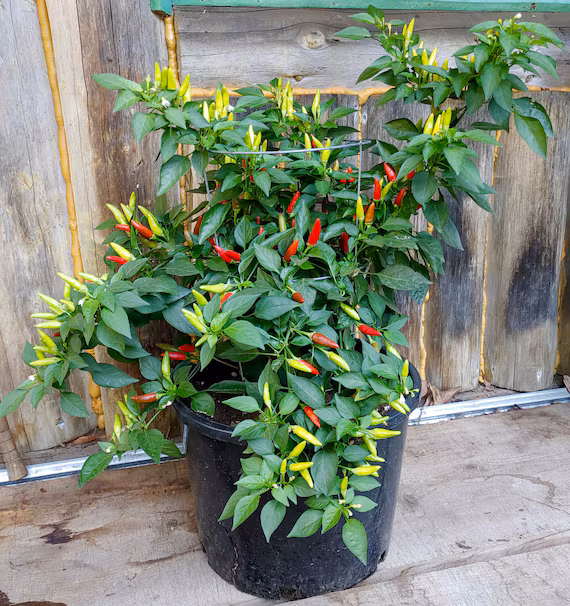
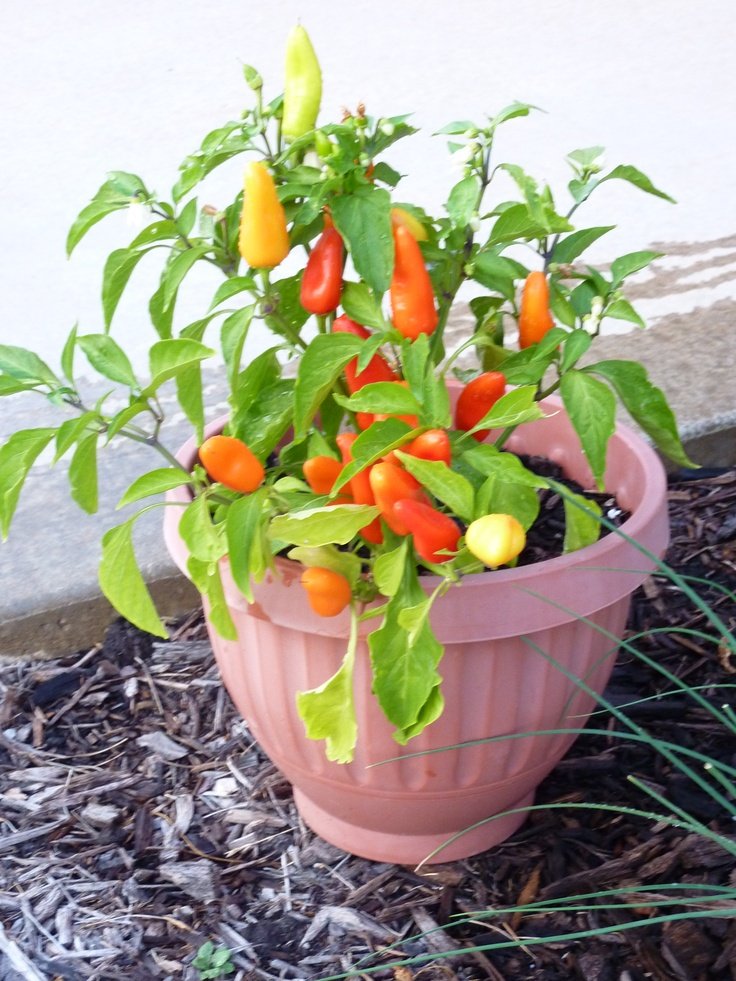
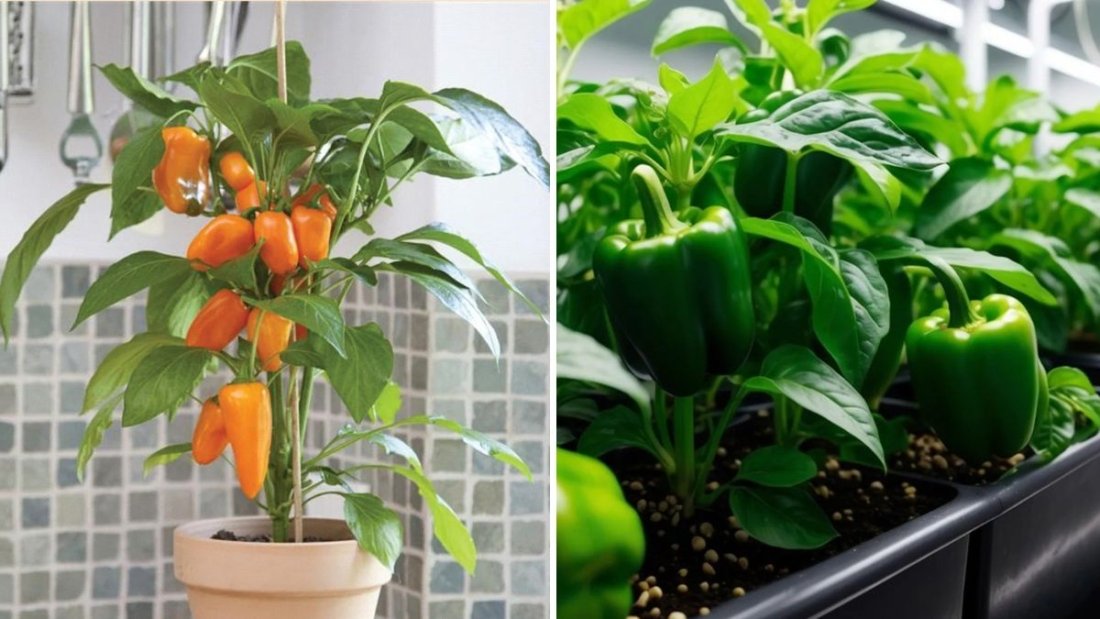
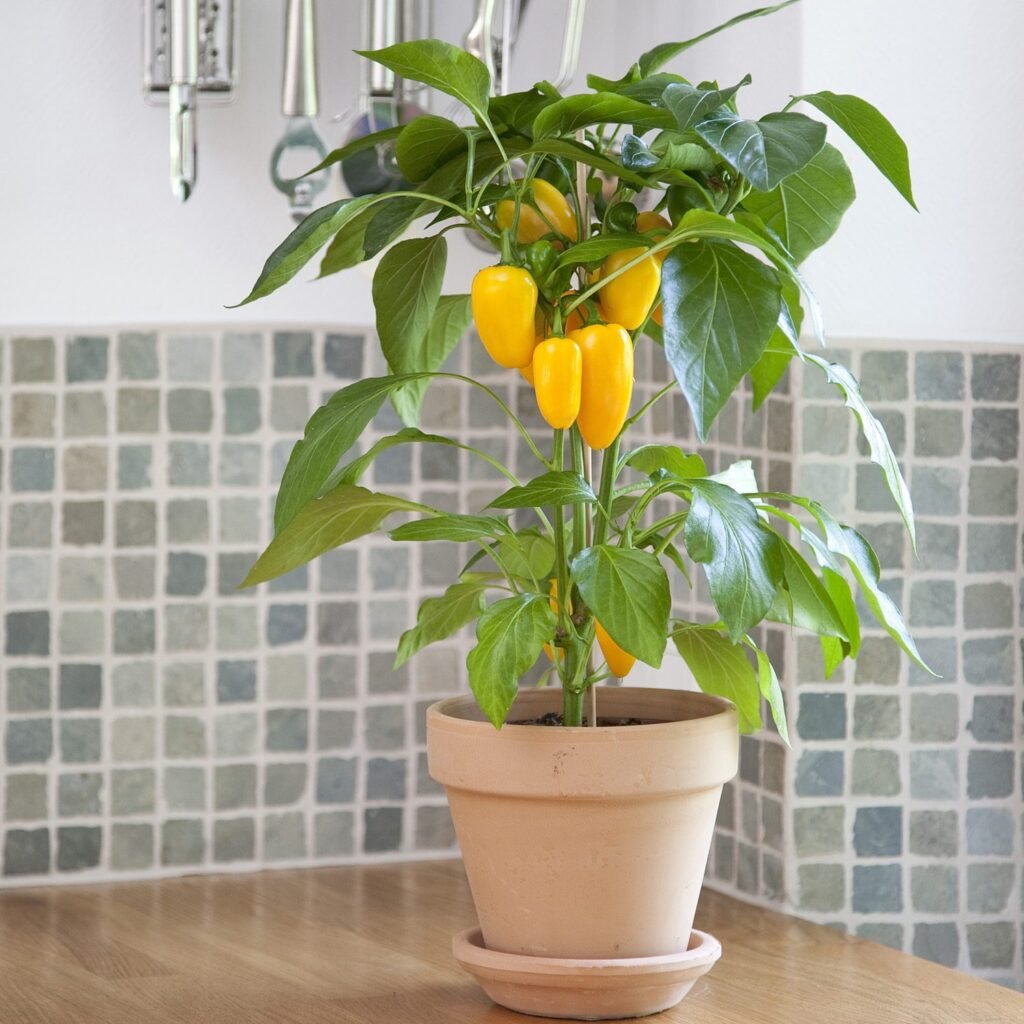
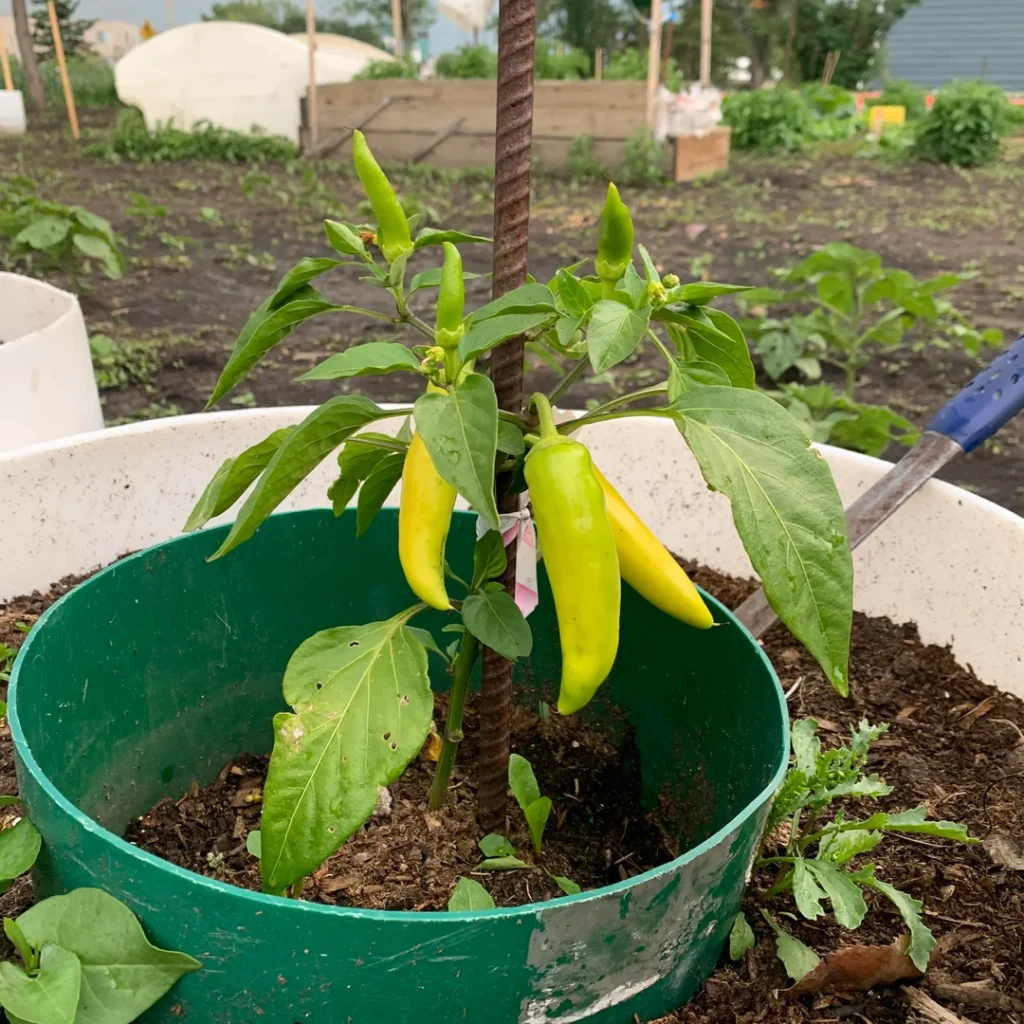
Hungarian pepper plants are compact, ideal for container gardening, and can produce generously when grown under the right conditions—especially in systems like the Torpedopot, which provides a controlled environment for optimal growth.
What Is a Torpedopot?
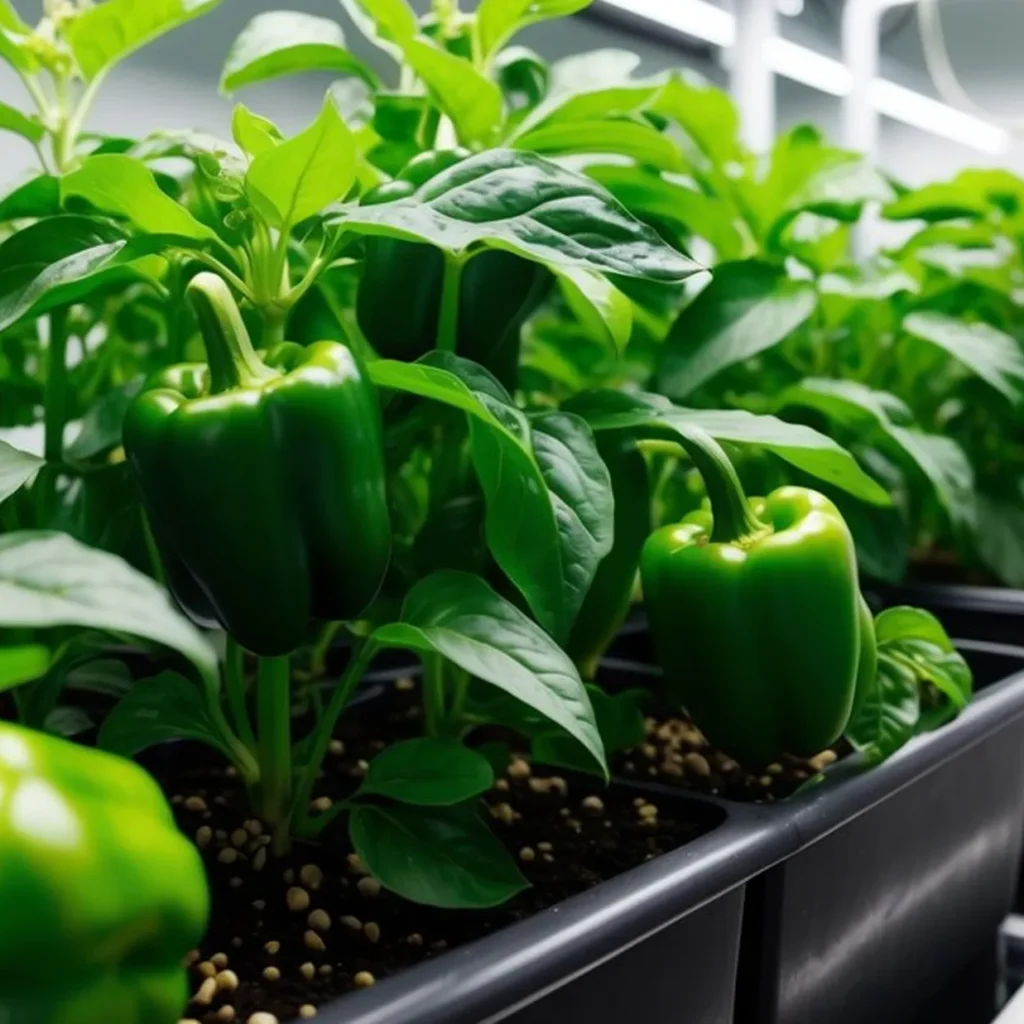
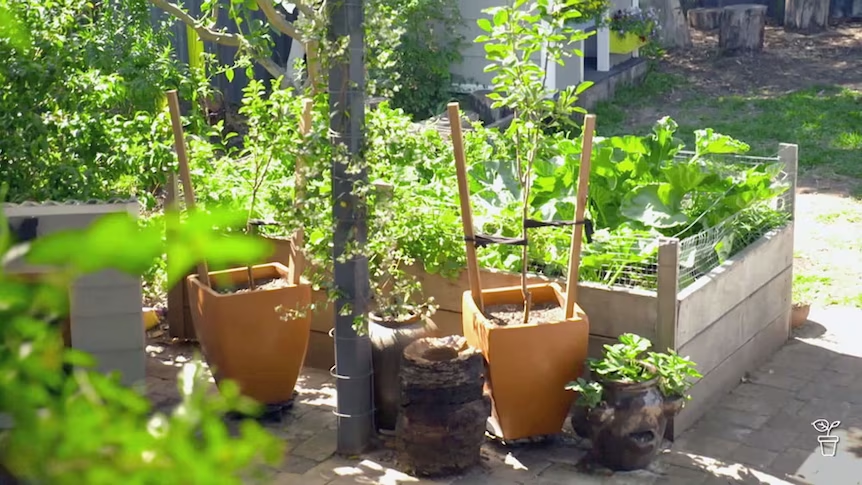
The Torpedopot is a revolutionary self-growing planter designed to automate much of the work gardeners usually do manually. It’s a self-watering, self-feeding, and self-aerating system that mimics a natural ecosystem, allowing plants to thrive with minimal effort.
It works by distributing water and nutrients directly to the roots in a controlled manner, ensuring plants get what they need without overwatering or nutrient loss.
Key benefits of the Torpedopot system include:
- Consistent moisture for strong root development
- Oxygen-rich soil to prevent root rot
- Efficient nutrient delivery
- Reduced maintenance and weeding
- Exceptional yield per plant
For Hungarian peppers—which love consistent warmth, moisture, and nutrients—this planter creates the perfect growing environment.
Getting Started: Setting Up Your Torpedopot
1. Choose the Right Pot Size
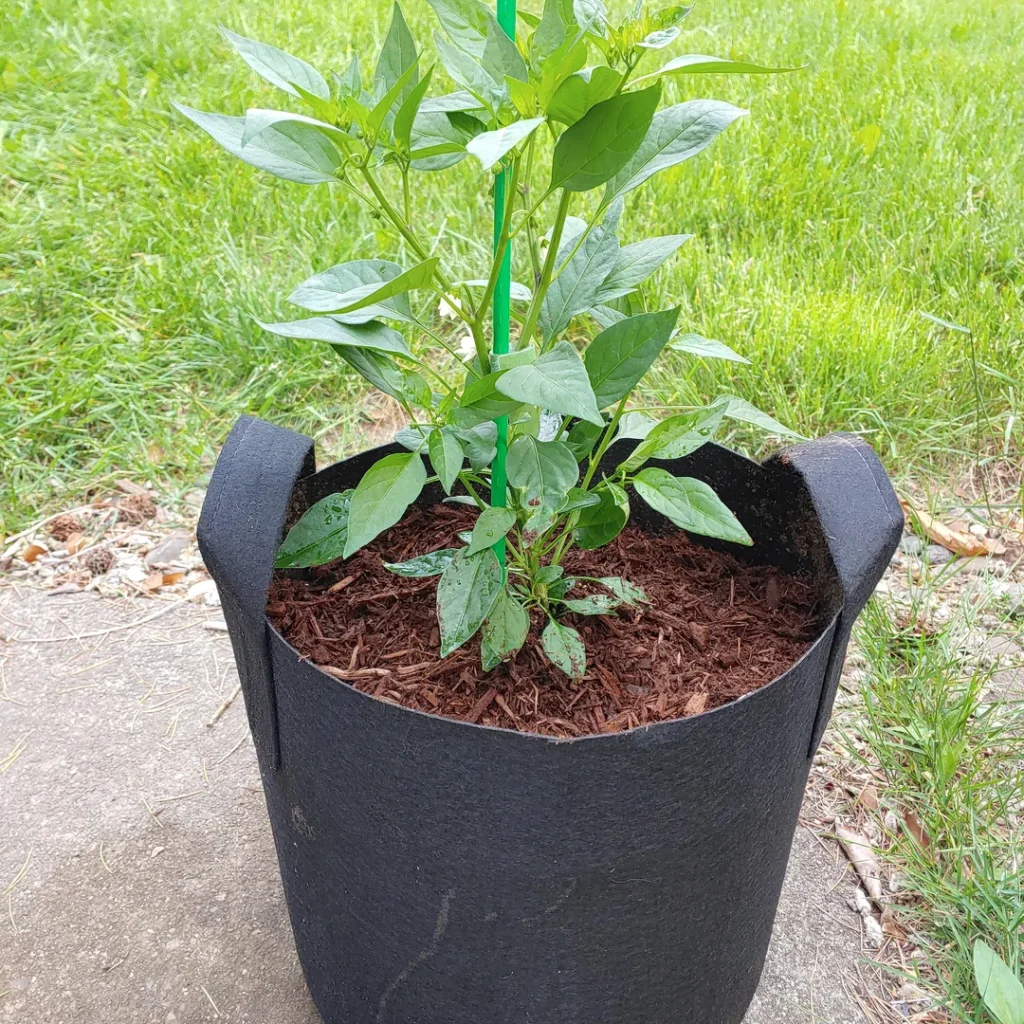
Hungarian peppers have a moderate root system. A medium-sized Torpedopot (around 14–16 inches deep) works perfectly. Ensure it has the built-in watering and aeration system properly connected before adding soil.
2. Prepare the Organic Soil Mix
Even though the Torpedopot manages moisture and aeration, using rich organic soil is essential. Create a blend like this:
- 40% organic compost or aged cow manure
- 30% coco coir or peat moss
- 20% garden loam or topsoil
- 10% perlite or coarse sand for aeration
Add a handful of bone meal or neem cake powder for natural nutrients and pest protection.
3. Add Seeds or Seedlings
You can start Hungarian peppers from seeds or purchase healthy seedlings from a nursery. If starting from seed:
- Sow them indoors in small pots 8–10 weeks before the growing season.
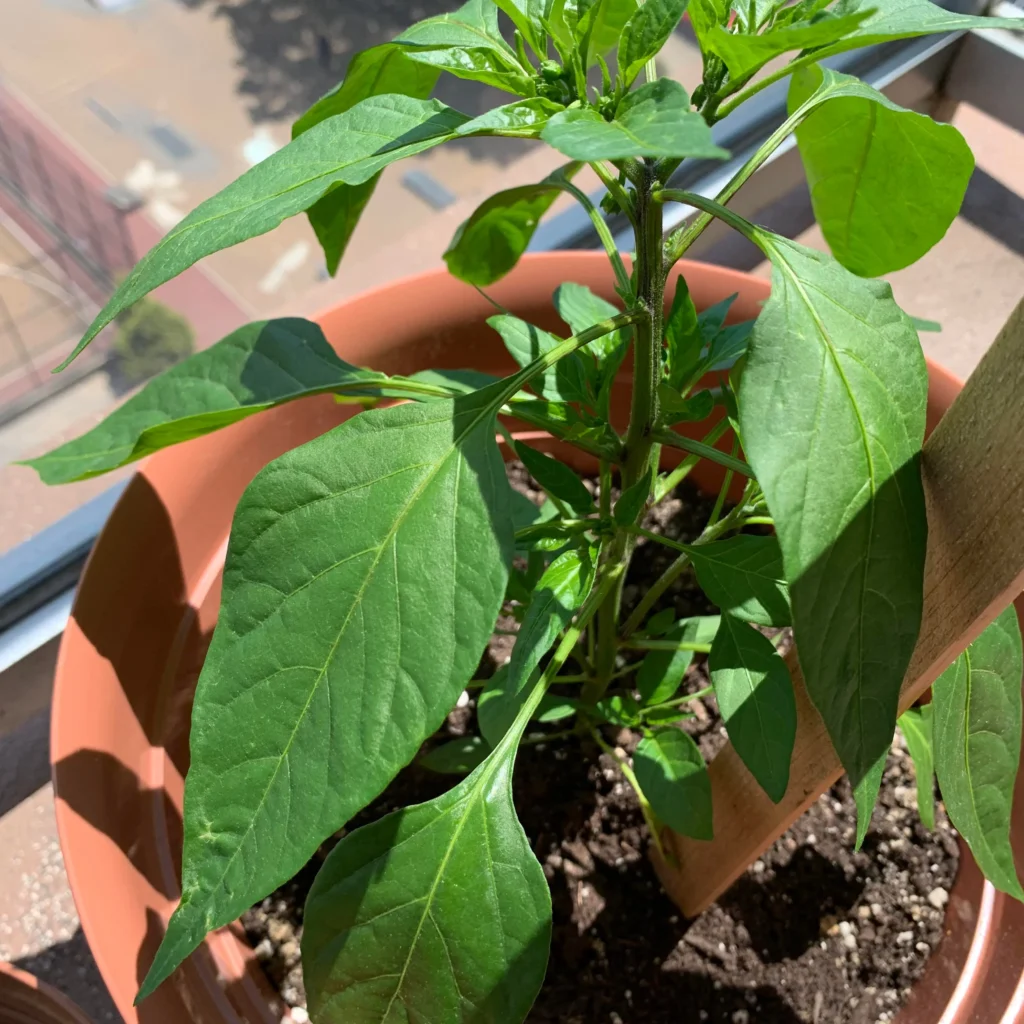
- Once seedlings are 5–6 inches tall, transplant them into the Torpedopot.
For faster results, start with transplants. Space them about 8–10 inches apart if growing multiple plants in one large system.
The Perfect Growing Conditions
Light Requirements
Hungarian peppers thrive in 6–8 hours of direct sunlight each day. Position your Torpedopot in a bright area, preferably a south-facing wall, balcony, or patio.
Temperature
Peppers love warmth. Ideal temperature:
- Daytime: 25–32°C (77–90°F)
- Night: not below 18°C (64°F)
If you’re growing in cooler regions, use a greenhouse cover or place your Torpedopot in a sunlit indoor area during early growth.
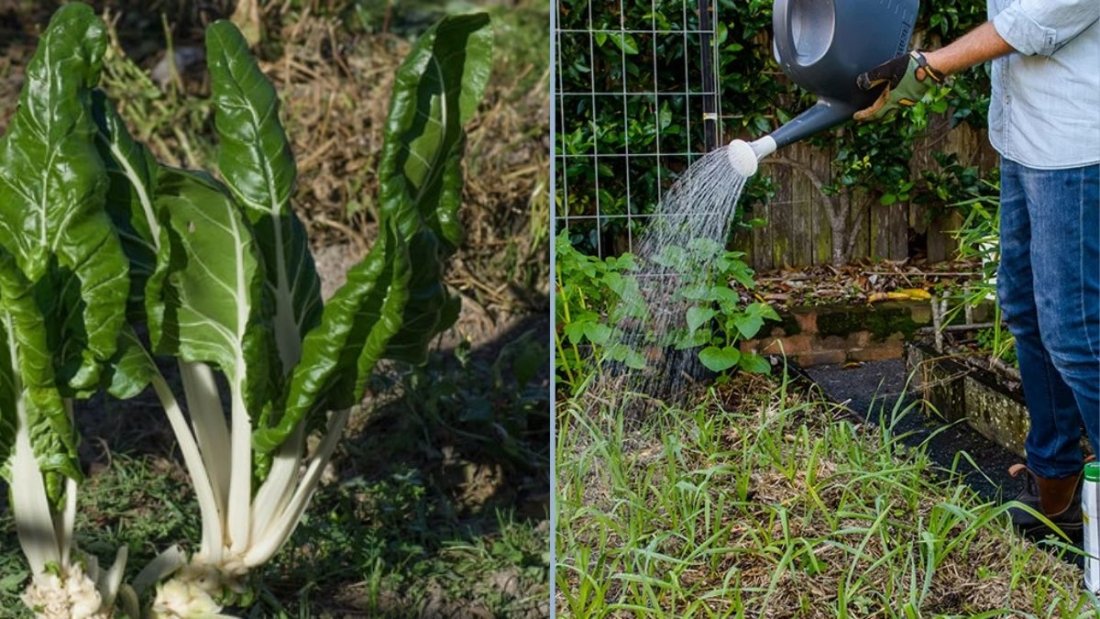
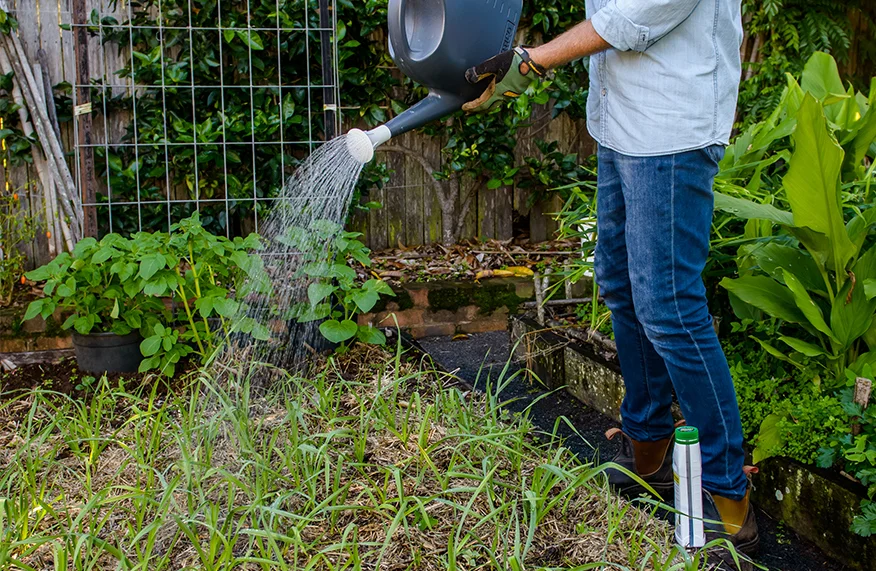
Watering the Smart Way
One of the best advantages of the Torpedopot is its automated watering system. Unlike traditional pots where water tends to pool on top or drain too quickly, the Torpedopot delivers water evenly at the root zone, ensuring steady hydration.
Here’s what makes the difference:
- Consistent moisture helps prevent blossom end rot and fruit cracking.
- Oxygenated roots encourage faster nutrient absorption.
- No risk of overwatering—perfect for busy gardeners.
Still, monitor the soil occasionally. If the surface feels dry, adjust the water flow slightly higher for a day or two.
Feeding Your Pepper Plants Organically
To achieve a yield of over 200 peppers, consistent feeding is essential—but organically, of course. Use slow-release organic fertilizers or liquid feeds every 2–3 weeks during the growing season.
Top organic feeding options:
- Vermicompost tea: rich in beneficial microbes and balanced nutrients.
- Banana peel fertilizer: packed with potassium for flowering and fruiting.
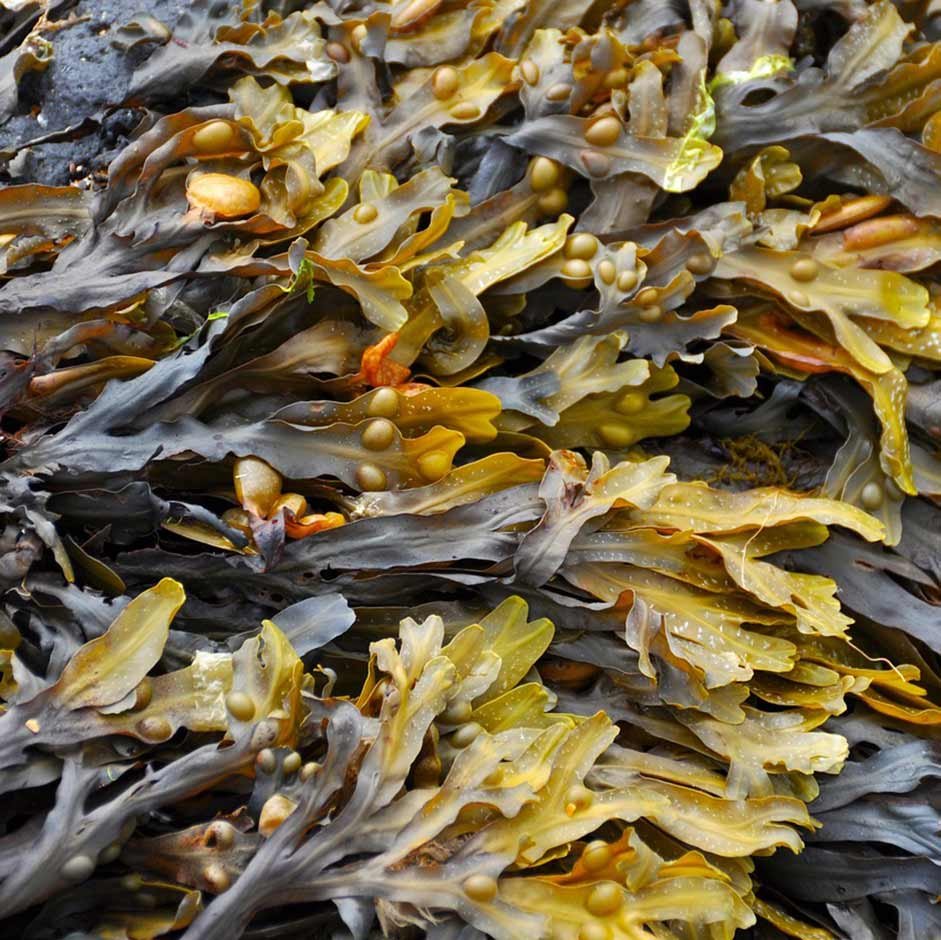
- Seaweed extract: promotes healthy foliage and enhances fruit flavor.
- Compost mulch: helps retain soil moisture and suppress weeds.
Avoid chemical fertilizers; they can upset the delicate ecosystem inside your Torpedopot and alter the natural pepper flavor.
From Flowers to Fruits
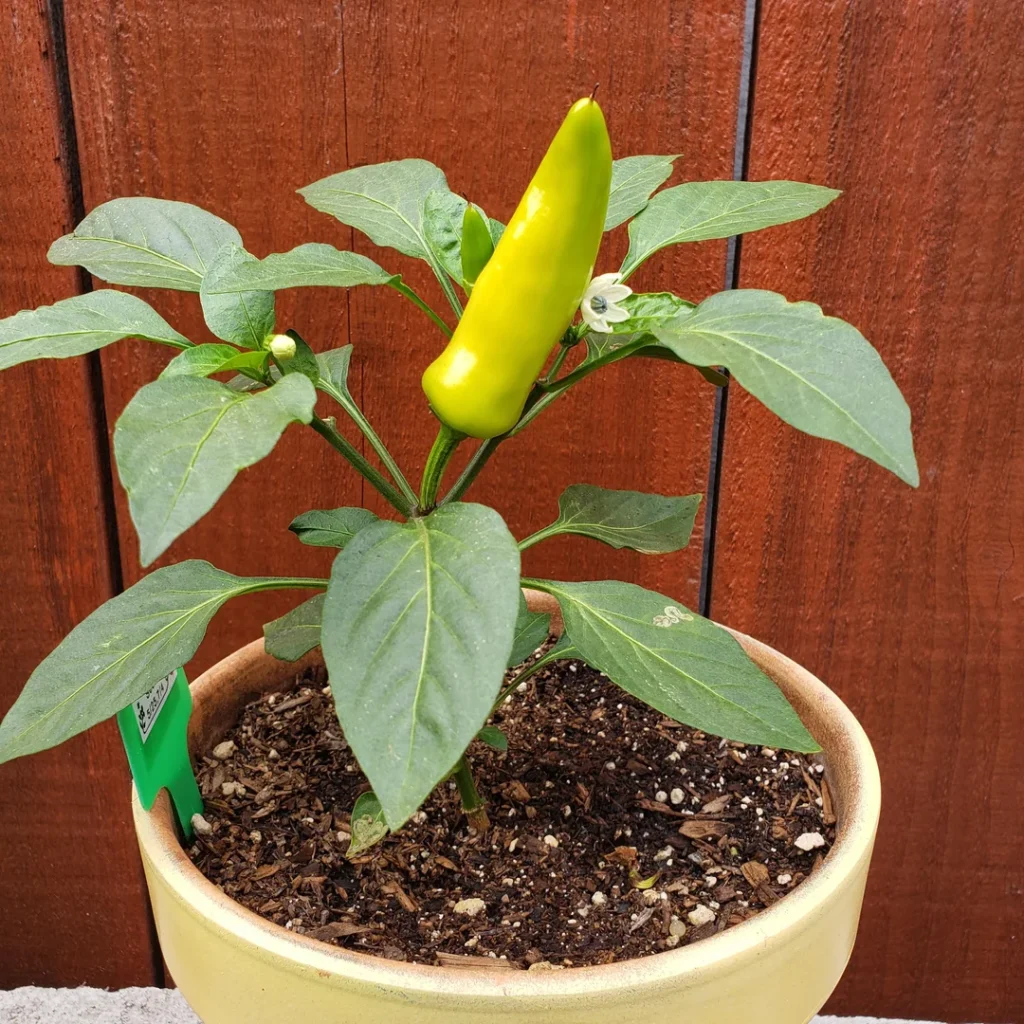
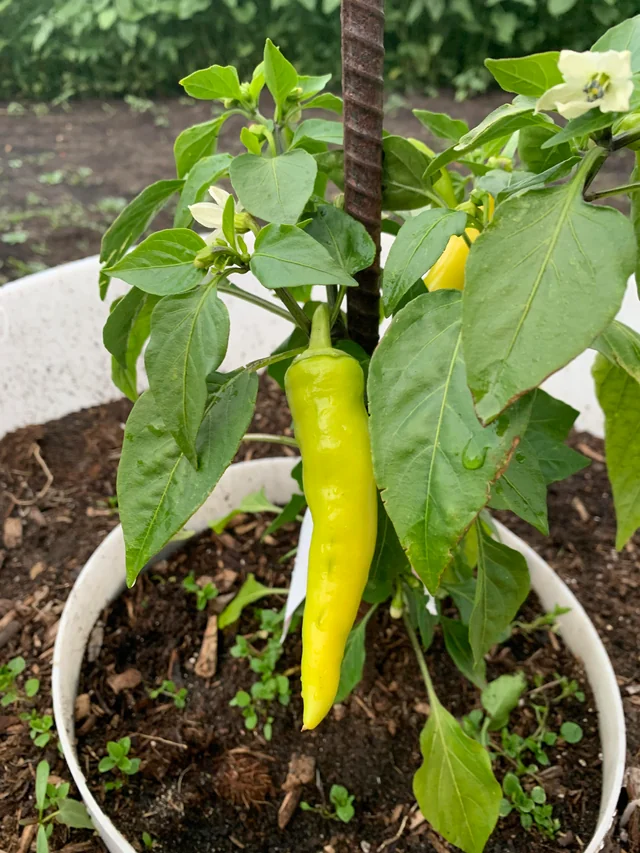
After about 50–60 days, your Hungarian pepper plants will start flowering. Small white blooms appear, which then transform into tender green peppers.
To encourage continuous fruiting:
- Pollination: In open spaces, bees will help. Indoors, gently tap or shake the stems to aid pollination.
- Pruning: Trim lower leaves and suckers to allow airflow and direct energy toward fruit growth.
- Consistent feeding: Use compost tea when flowering begins for optimal yields.
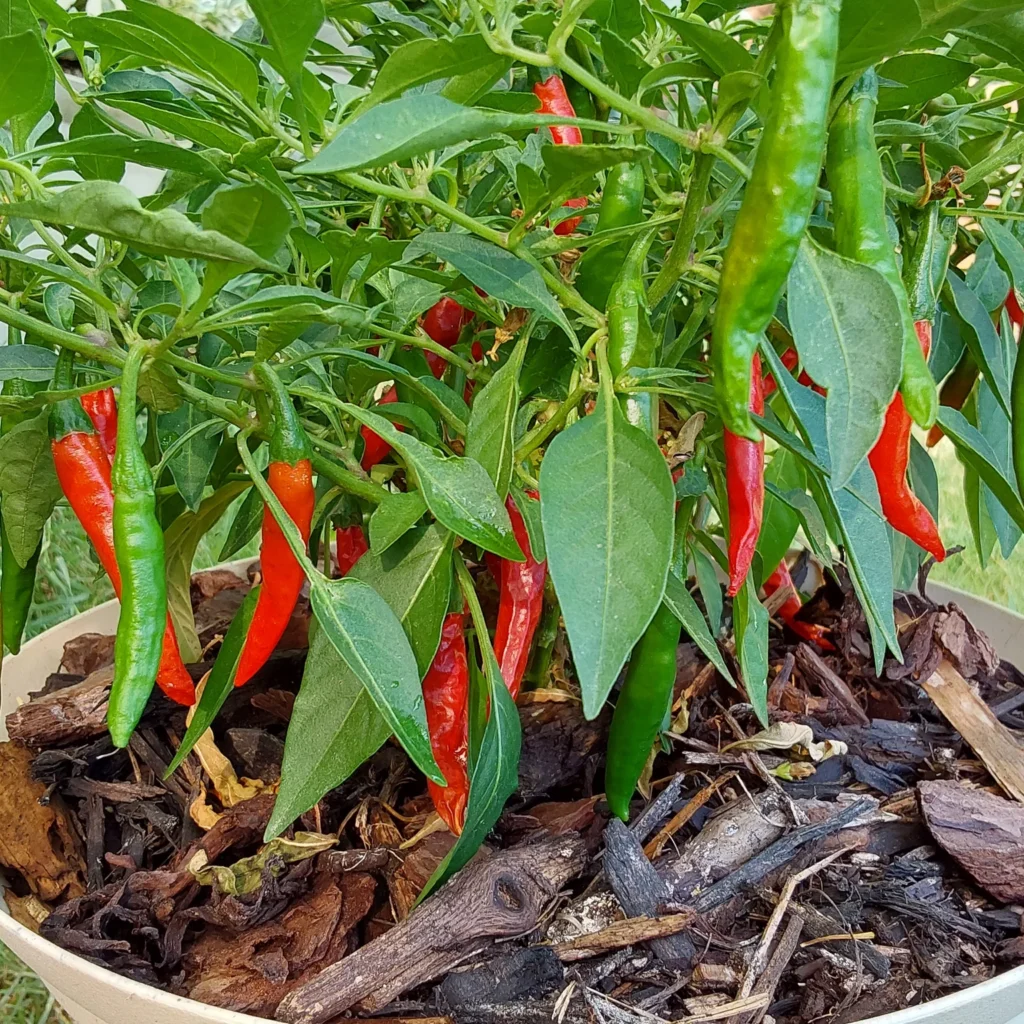
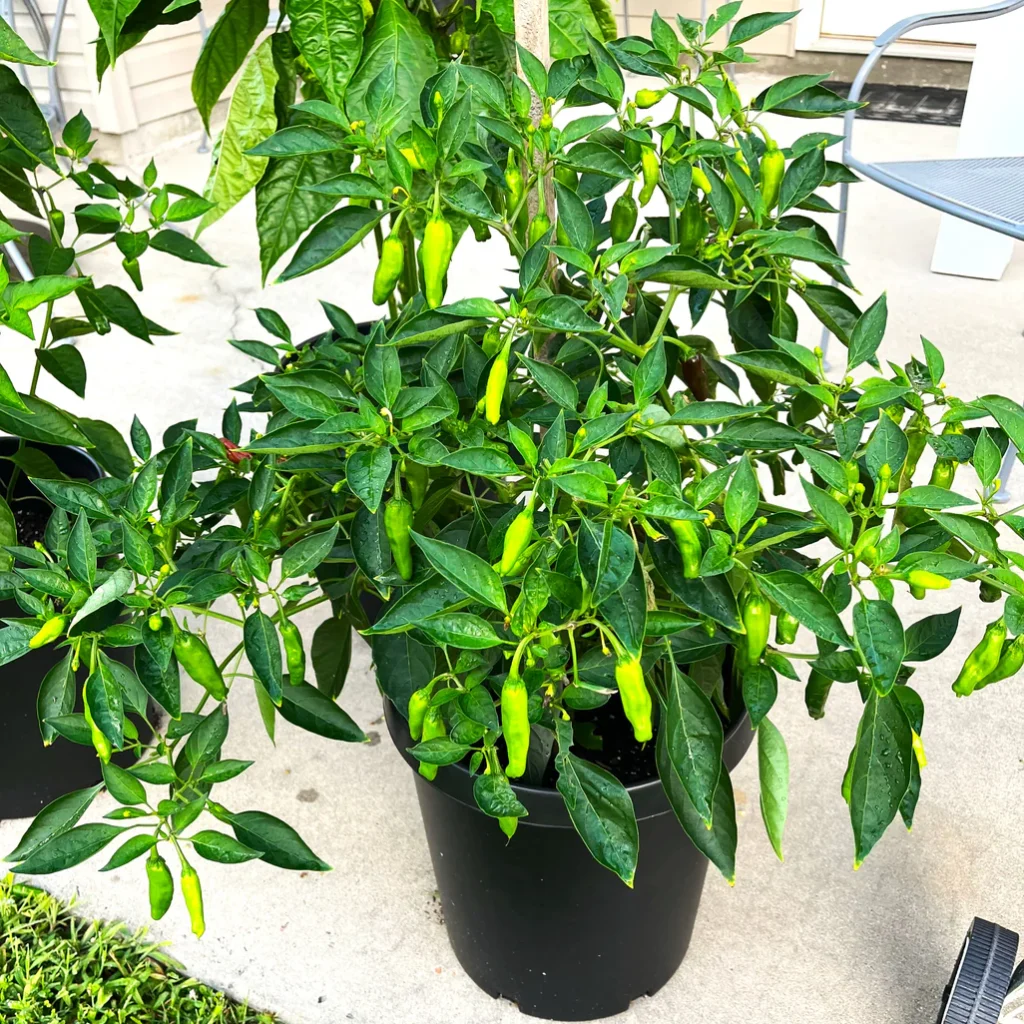
Soon, your Torpedopot will be full of glossy, elongated peppers—first green, then turning a stunning golden yellow to red as they ripen.
Organic Pest Management
Even in controlled systems, pests can appear, especially aphids or spider mites. But chemical sprays aren’t needed—organic care works perfectly.
Try these natural remedies:
- Neem oil spray: Mix 5 ml neem oil, 1 liter of water, and a few drops of mild soap. Spray once a week.
- Garlic-chili spray: Blend garlic and chili with water, strain, and apply on leaves.
- Companion planting: Grow marigolds or basil nearby to repel pests naturally.
Maintaining good air circulation and removing yellowing leaves regularly will also prevent fungal diseases.
Harvest Time – 200+ Peppers and Counting!
The moment of reward comes around 70–80 days after planting. Hungarian peppers can be harvested when they’re:
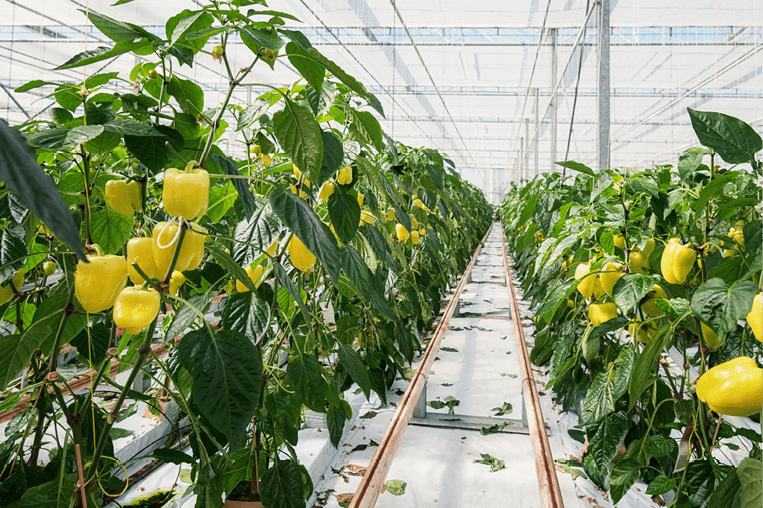
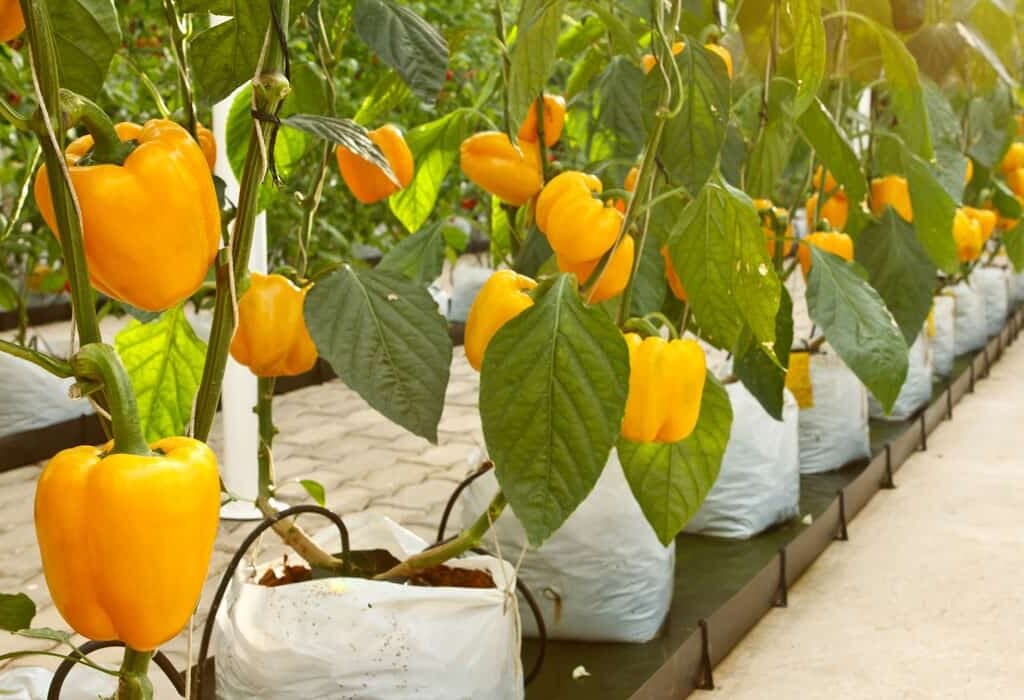
- Light green or yellow for a mild flavor.
- Red and fully ripe for a deeper, sweeter, slightly hotter taste.
Use clean scissors to clip the peppers off the stems, leaving a small portion of stem attached to each fruit. Frequent harvesting encourages the plant to produce more.
With optimal care, each plant can yield 40–60 peppers, and multiple plants in a Torpedopot can easily surpass 200 fruits in one growing season!
Post-Harvest Uses
Hungarian peppers are incredibly versatile. You can:
- Slice them fresh into salads or stir-fries.
- Pickle them for long-term storage.
- Roast and stuff them with cheese or rice.
- Dry them to make homemade chili powder or flakes.
Their mild-to-medium heat makes them perfect for both spicy food lovers and those who prefer gentle warmth in their meals.
End-of-Season Care
When the growing season ends or plants slow down production:
- Trim dead foliage and compost it.
- Empty and refresh the soil if needed.
- Clean your Torpedopot system thoroughly to prevent residue buildup.
- Save seeds from the healthiest ripe peppers for next season.
Proper maintenance ensures your system stays productive for many years, supporting multiple harvest cycles with minimal effort.
Why the Torpedopot System Excels for Peppers
Let’s recap why this self-growing system yields such impressive results:
| Feature | Benefit for Peppers |
|---|---|
| Self-watering | Prevents under or overwatering |
| Oxygenation system | Promotes robust root development |
| Nutrient delivery | Steady, balanced feeding for heavy fruiting |
| Minimal soil compaction | Easier nutrient uptake |
| Eco-friendly | Supports organic growing principles |
The Torpedopot allows nature and technology to work in harmony, giving your plants an almost ideal environment—especially beneficial for heat-loving crops like Hungarian peppers.
Final Thoughts
Harvesting over 200 Hungarian peppers may sound ambitious, but with the right system and organic care, it’s absolutely achievable. The self-growing Torpedopot makes the process not only efficient but also deeply rewarding.
By combining modern growing technology with traditional organic methods, you get the best of both worlds—lush plants, abundant harvests, and chemical-free produce bursting with natural flavor.
Whether you’re growing on a small balcony, backyard, or greenhouse, this method proves that sustainable, high-yield gardening is within everyone’s reach. So get your hands on a Torpedopot, some Hungarian pepper seeds, and watch your next spicy, colorful harvest come alive—one pepper at a time.