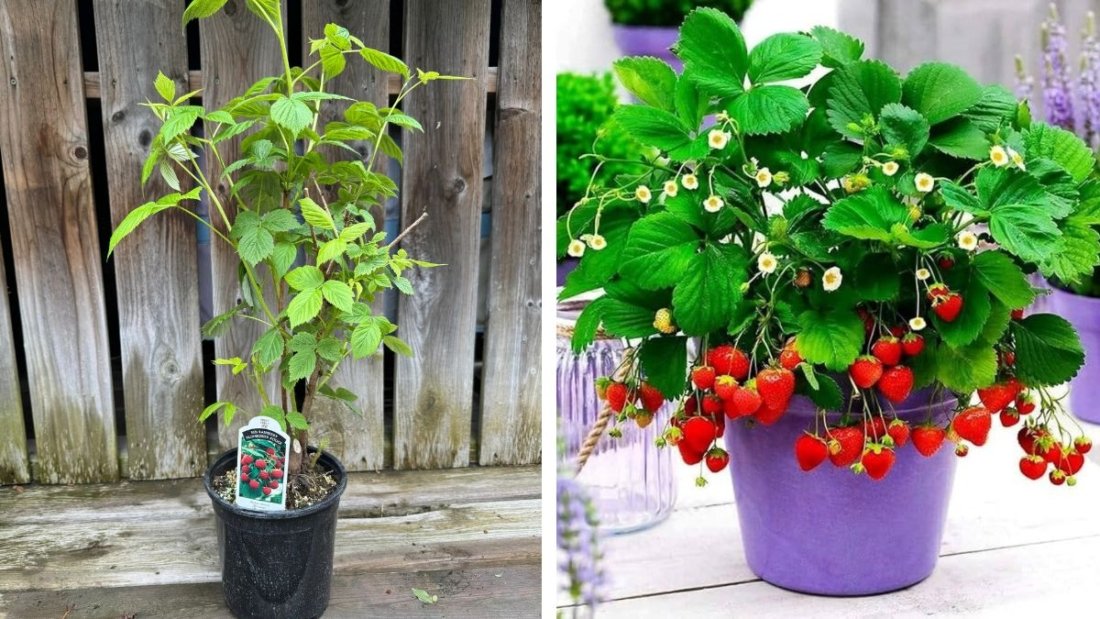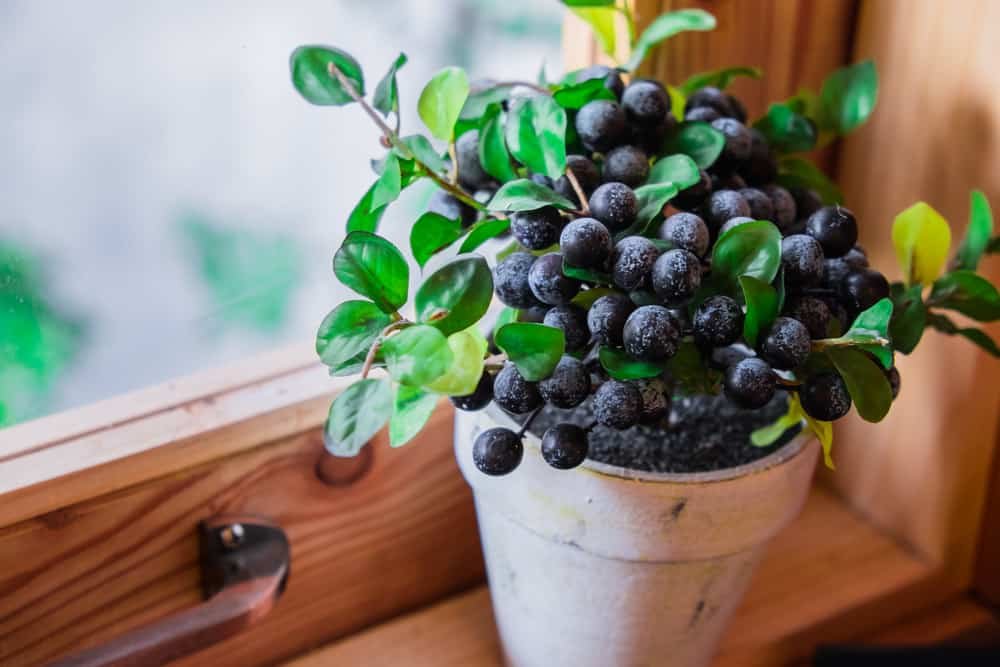
Growing blackberries at home can be one of the most rewarding gardening experiences — especially when you taste the juicy, sweet berries fresh from the bush. Whether you have a spacious garden or a small backyard, blackberries are surprisingly easy to grow if you know how to set up their planting area correctly. This complete guide covers everything from soil preparation and spacing to trellis setup and long-term care so you can enjoy a thriving, productive blackberry patch for years.
1. Understanding Blackberry Plants

Before you start planting, it’s important to know a bit about blackberry varieties. Blackberries are part of the Rubus genus, which also includes raspberries. There are three main types of blackberry plants:
- Erect blackberries: These grow upright and don’t usually need support. They’re easy to manage and ideal for smaller gardens.
- Semi-erect blackberries: These varieties benefit from a trellis or wire support to keep the canes upright and prevent fruit from touching the ground.
- Trailing blackberries: These produce long, flexible canes that require a sturdy trellis. They often yield the largest berries and are perfect for gardeners with a bit more space.
When choosing your blackberry variety, consider your local climate. Some varieties are cold-hardy, while others thrive in warmer conditions. Popular types include ‘Arapaho’, ‘Navaho’, ‘Triple Crown’, and ‘Ouachita’.
2. Choosing the Right Location
Blackberry bushes need full sun — at least 6 to 8 hours daily — to produce sweet, flavorful berries. Choose a location with well-drained soil since waterlogging can lead to root rot.
Avoid areas where tomatoes, potatoes, or peppers were previously planted, as these plants can carry Verticillium wilt, a soil-borne disease that affects blackberries.
If possible, plant your bushes on a gentle slope or raised bed. This ensures better drainage and air circulation, reducing the risk of fungal diseases.
3. Preparing the Soil
Healthy soil is key to vigorous growth and large harvests. Blackberries prefer slightly acidic soil, with a pH between 5.5 and 6.5. You can test your soil with a home testing kit or send a sample to a local extension office.
To prepare the soil:
- Remove any weeds or old roots.
- Loosen the top 12–18 inches of soil.
- Mix in plenty of organic matter, such as compost or well-rotted manure.
- If your soil is heavy clay, add coarse sand or perlite to improve drainage.
Blackberries have deep root systems, so ensure the soil is well-aerated and rich in nutrients before planting.
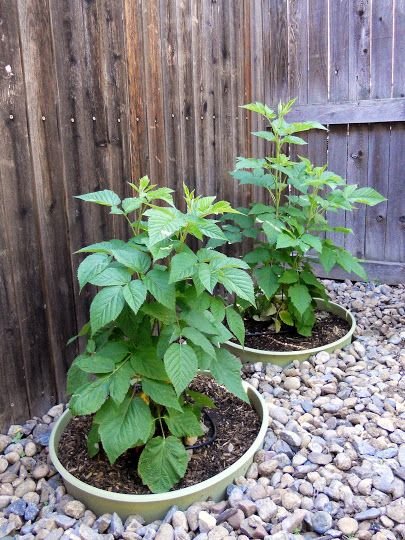
4. Planting Blackberry Bushes
The best time to plant blackberries is in early spring once the danger of frost has passed, though in mild climates, you can also plant in late fall.
Steps for planting:
- Dig holes about 18–24 inches apart in rows spaced 3–4 feet apart.
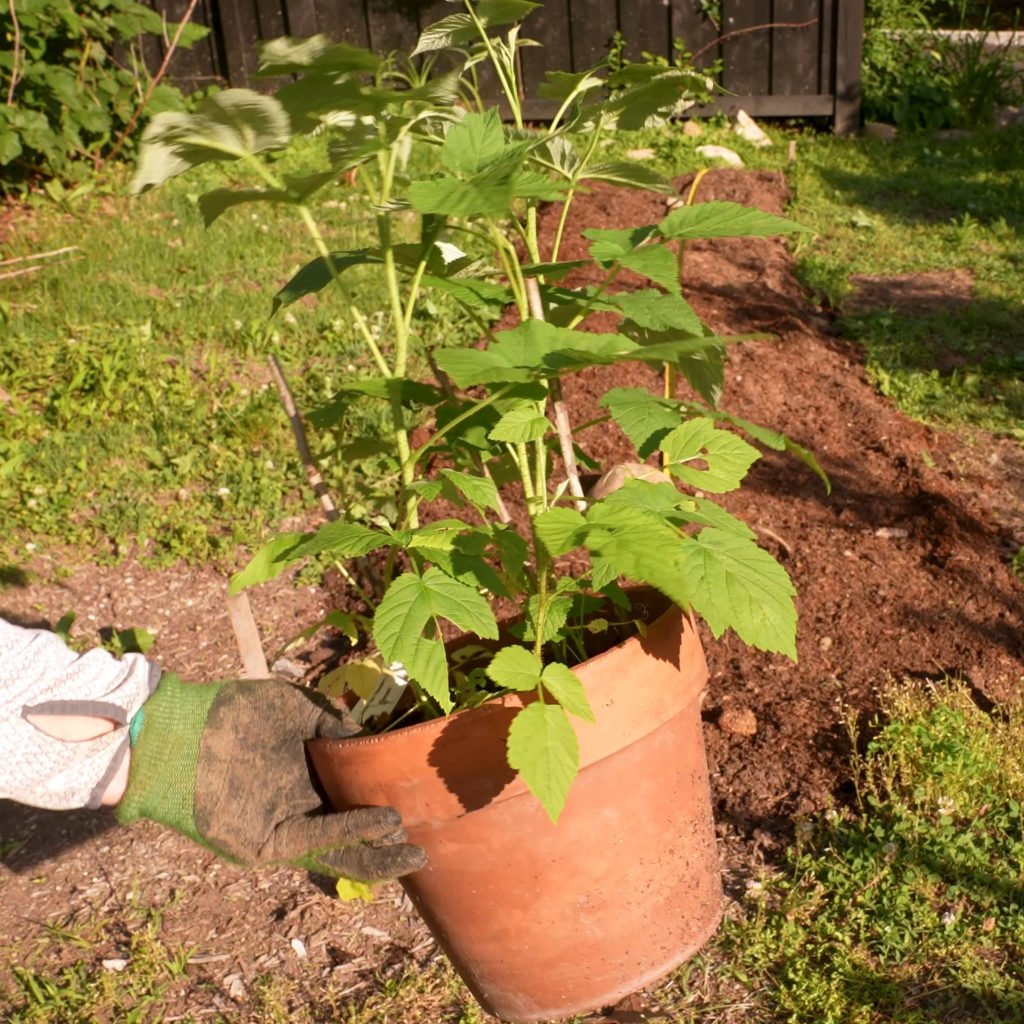
- Make each hole large enough to comfortably spread the roots.
- Place the plant in the hole so the crown (where the roots meet the stem) is level with the soil surface.
- Backfill with soil, firm it gently, and water thoroughly.
- Mulch around the base with straw, wood chips, or leaves to retain moisture and suppress weeds.
If planting multiple rows, leave at least 6–8 feet between them for easy access and air movement.
5. Setting Up a Trellis System
A strong trellis setup is essential for semi-erect and trailing blackberry varieties. It supports the canes, improves sunlight exposure, and keeps fruits clean and easy to harvest.
Here’s a simple setup:
- Install sturdy posts 15–20 feet apart along the row.
- Run two or three horizontal wires between the posts — one about 2 feet above the ground, another at 4 feet, and optionally one at 5–6 feet.
- As the blackberry canes grow, tie them loosely to the wires using garden twine or soft ties.
This structure will help your plants grow vertically and make pruning and harvesting much simpler.
6. Watering and Feeding Your Blackberries
Blackberries love consistent moisture, especially during fruit development. Water your plants deeply once or twice a week, depending on rainfall. Avoid overhead watering, which can encourage leaf diseases — instead, use drip irrigation or water at the base of the plant.
For feeding, start with balanced fertilizer (10-10-10) in early spring. Once the plants begin producing fruit, switch to a phosphorus-rich or potassium-rich fertilizer to encourage better flowering and fruiting. Avoid excessive nitrogen, which promotes leaf growth but reduces fruit production.
Mulching also plays a big role in moisture retention and temperature control. Refresh the mulch layer every spring to keep the soil healthy and weed-free.
7. Pruning and Cane Management
Blackberries grow on two-year canes called floricanes. The first-year growth, called primocanes, produces leaves and shoots, while the second-year canes bear fruit before dying off.
Here’s how to manage pruning:
- In late winter or early spring, remove any dead or weak canes from the previous year.
- Once the new canes grow to about 3 feet tall, pinch off the tips to encourage side branching. These side shoots will bear fruit the following season.
- After harvest, cut spent canes down to the ground to make room for new growth.
Keeping your blackberry patch tidy not only encourages better fruiting but also improves air circulation, reducing disease risk.
8. Common Pests and Diseases
While blackberries are relatively hardy, they can occasionally face pest and disease challenges. Watch out for:
- Aphids – These small insects suck sap from leaves. Spray with neem oil or insecticidal soap.
- Spider mites – Common in hot, dry conditions. Keep humidity up and spray with water to dislodge them.
- Cane borers – These pests tunnel into canes. Prune and destroy affected canes to prevent spreading.
- Powdery mildew or rust – These fungal diseases can be minimized by proper spacing and air circulation.
Regularly inspect your plants and remove any infected leaves promptly. Using mulch and proper watering techniques will go a long way in keeping your blackberries healthy.
9. Harvesting and Enjoying Your Blackberries
Patience pays off — your blackberry bushes may take a year or two before producing their first full harvest. Once they do, you’ll enjoy an abundance of sweet, plump berries from midsummer through early fall.
How to harvest:
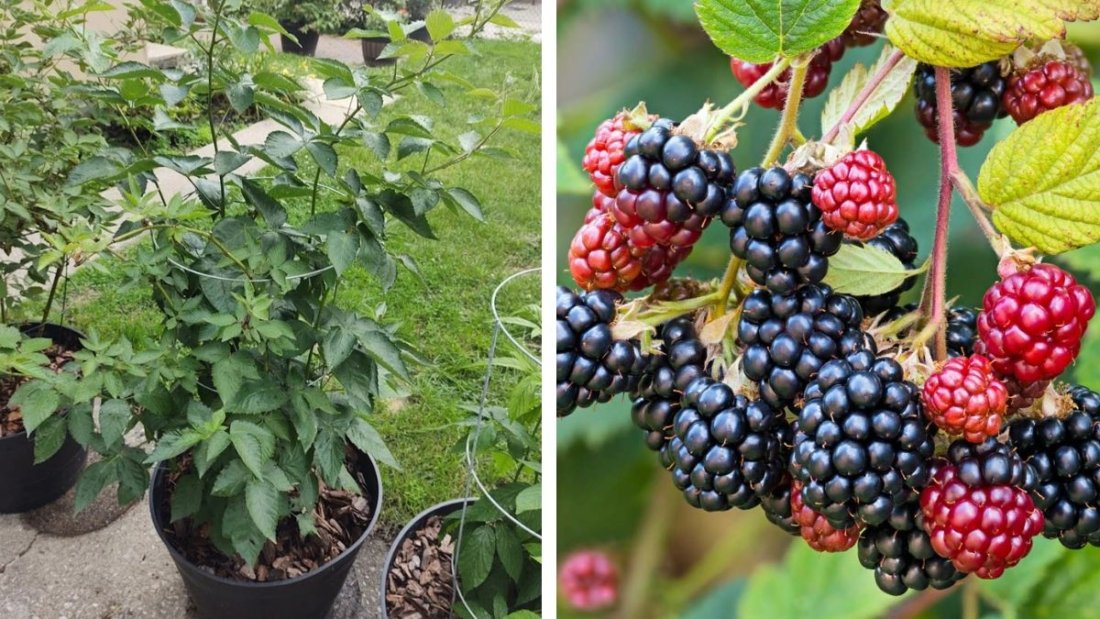
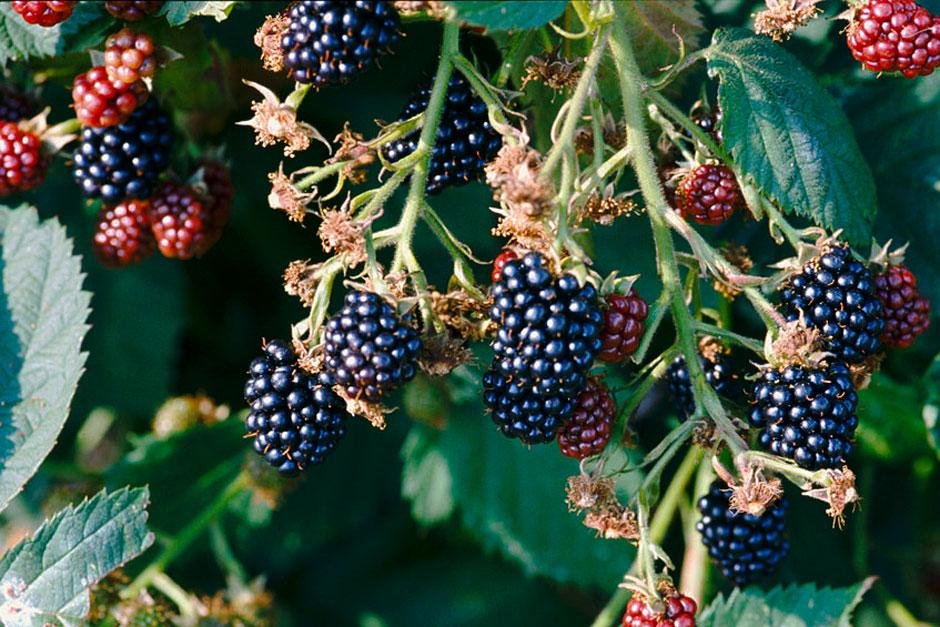
- Wait until the berries turn fully black, glossy, and come off the plant easily.
- Harvest every few days as berries ripen quickly.
- Handle gently to avoid bruising and store in a cool place or refrigerator immediately.
Fresh blackberries are perfect for smoothies, jams, pies, and fresh eating. You can also freeze them for long-term use.
10. Long-Term Care and Maintenance
Blackberries are perennial plants, meaning they return year after year with the right care. To keep them productive:
- Replenish mulch and compost annually.
- Maintain proper pruning cycles.
- Replace old or unproductive canes after several years.
- Every 5–6 years, consider renovating your patch by digging up and replanting the healthiest shoots in new soil.
With consistent attention, a well-maintained blackberry patch can remain productive for up to 15 years or more.
Conclusion
Growing blackberries at home is easier than it looks — and the rewards are incredibly satisfying. With proper soil preparation, trellis support, regular pruning, and consistent watering, you can enjoy a steady supply of juicy, homegrown berries for years to come.
Whether you’re planting your first bush or building a small berry garden, this complete setup guide ensures your blackberries will thrive, producing sweet, flavorful fruit season after season. So grab your gloves, prepare your soil, and start your journey toward a bountiful blackberry harvest today!