If you’re fascinated by exotic fruits, Salak, also known as Snake Fruit, is one that deserves your attention. With its distinctive reddish-brown scaly skin and a flavor that’s both sweet and tangy, Salak stands out as one of Southeast Asia’s most intriguing fruits. Native to Indonesia, Malaysia, and Thailand, Salak has been gaining popularity worldwide—not only for its unique appearance but also for its remarkable nutritional benefits and potential as a home-grown tropical fruit.
In this article, we’ll take you on a journey through the world of Salak—covering everything from its origins, varieties, and cultivation techniques to its care requirements and harvesting secrets.
What is Salak (Snake Fruit)?

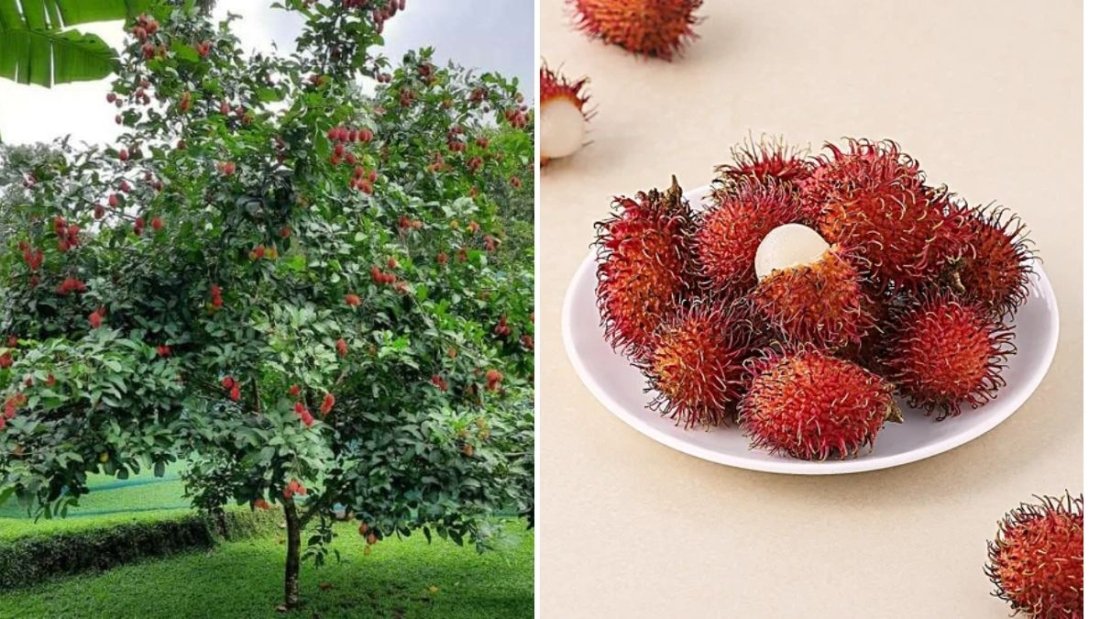
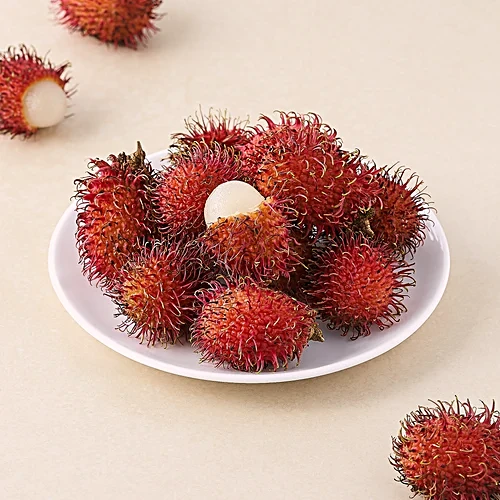
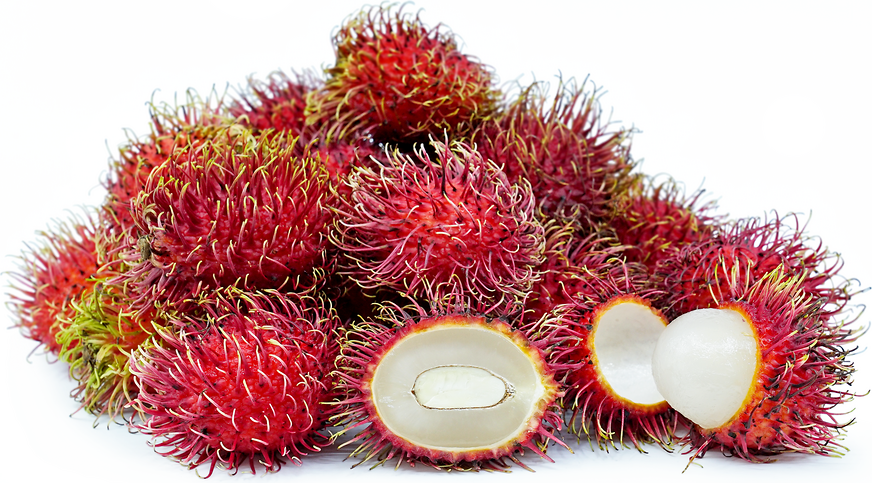
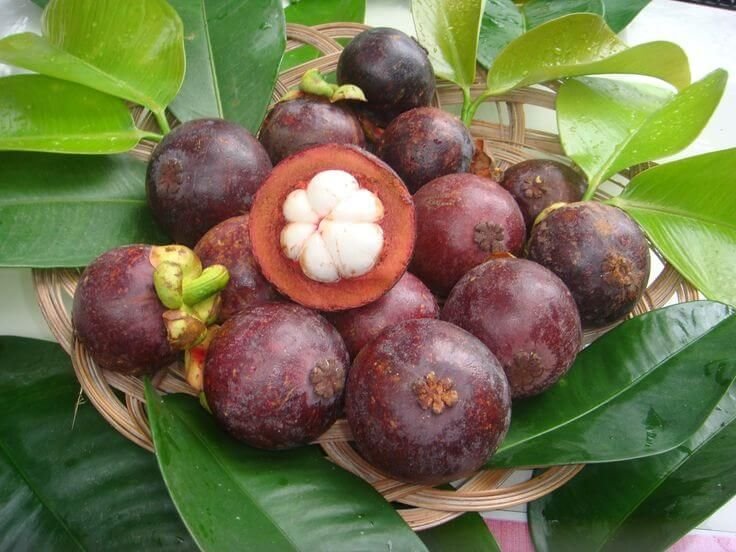
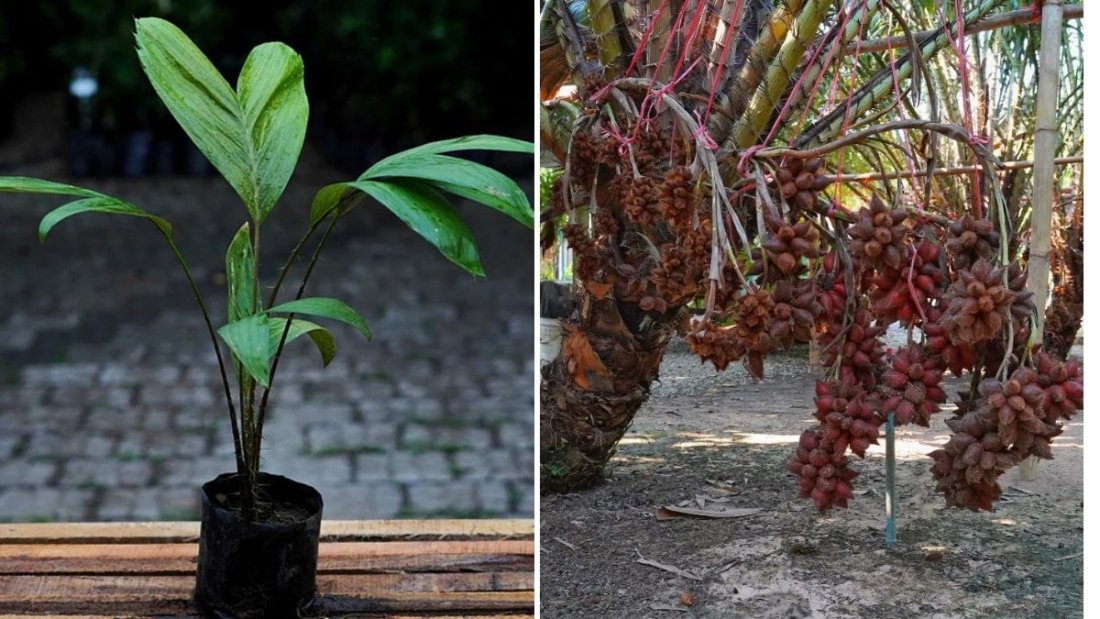
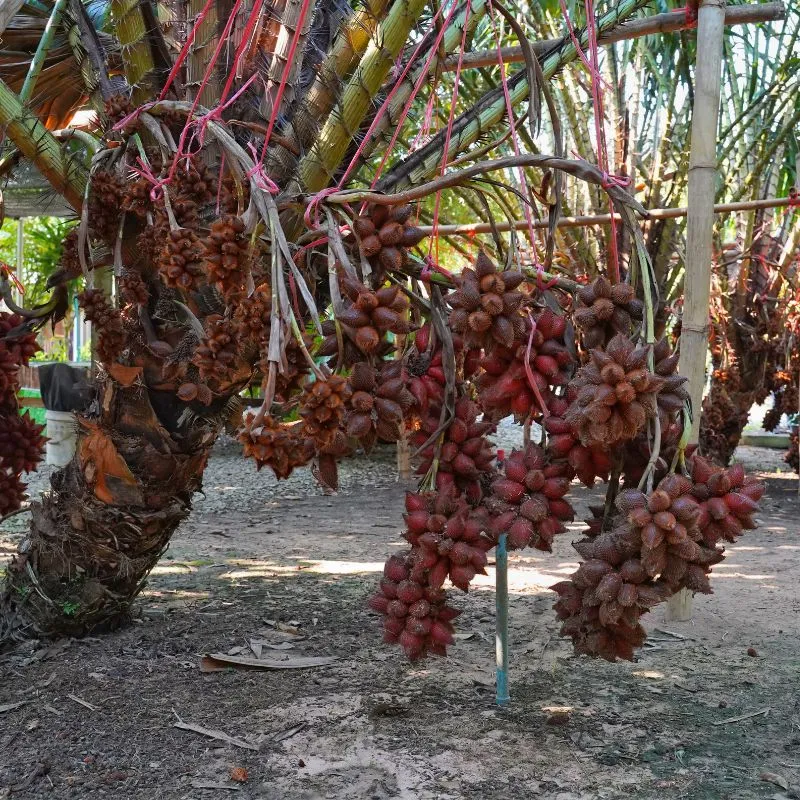
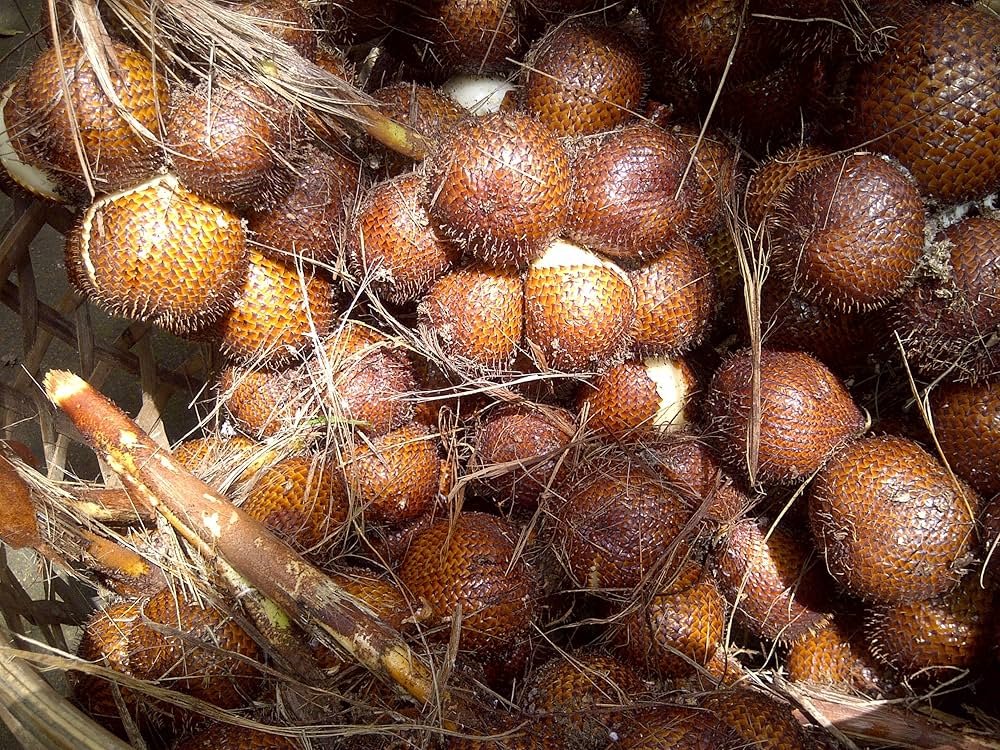
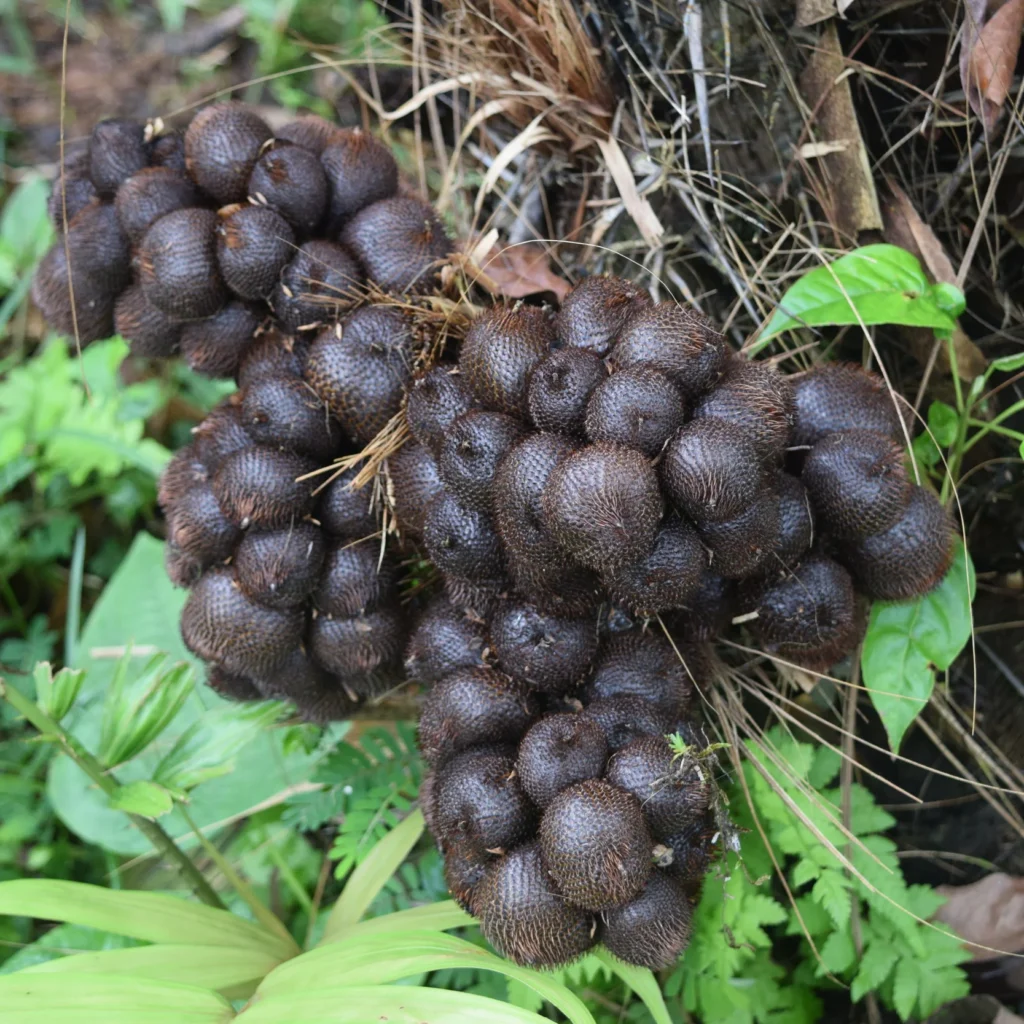
Salak (scientific name Salacca zalacca) is a species of palm tree belonging to the Arecaceae family. The plant produces clusters of reddish-brown fruits covered in tough, scaly skin that resembles a snake’s scales—hence the name Snake Fruit.
Inside the skin are three lobes of cream-colored flesh, each containing a seed. The taste is unlike anything else—it’s a combination of apple, pineapple, and banana, with a crisp yet juicy texture. The fruit is popular as a fresh snack, used in desserts, and even fermented into salak wine in some regions.
Origin and Distribution
Salak originated in Indonesia, particularly from the islands of Java and Sumatra, and has been cultivated there for centuries. Today, it’s grown widely in Thailand, the Philippines, and Malaysia, and has recently attracted attention in Australia, India, and tropical parts of the Americas.
There are multiple regional varieties, but the most well-known are:
- Salak Pondoh (Indonesia) – Sweet, crisp, and aromatic; a popular commercial variety.
- Salak Bali (Bali) – Known for its juiciness and balanced flavor.
- Salak Gula Pasir (Sugar Salak) – Extremely sweet, often eaten fresh without additional sugar.
Plant Description
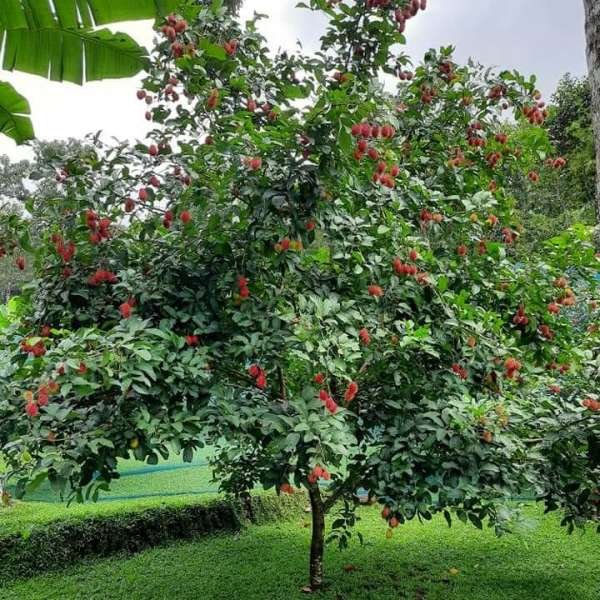
Salak grows as a short-stemmed, clumping palm that rarely exceeds 2–4 meters in height. The plant is dioecious, meaning male and female flowers grow on separate plants. Therefore, both male and female plants are needed for fruiting.
Key characteristics:
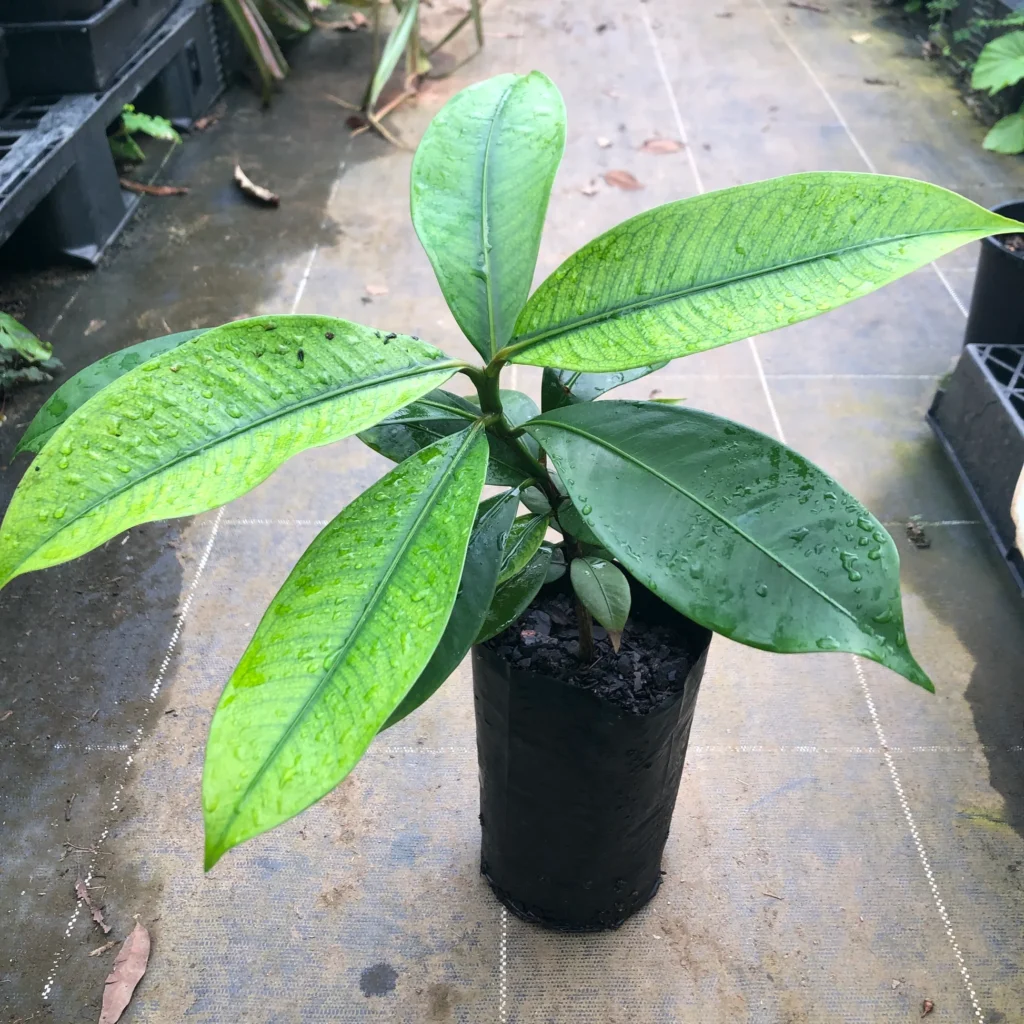
- Leaves: Long, pinnate leaves up to 6 meters, with sharp spines along the petioles.
- Flowers: Small and cream-colored, emerging from the base of the plant.
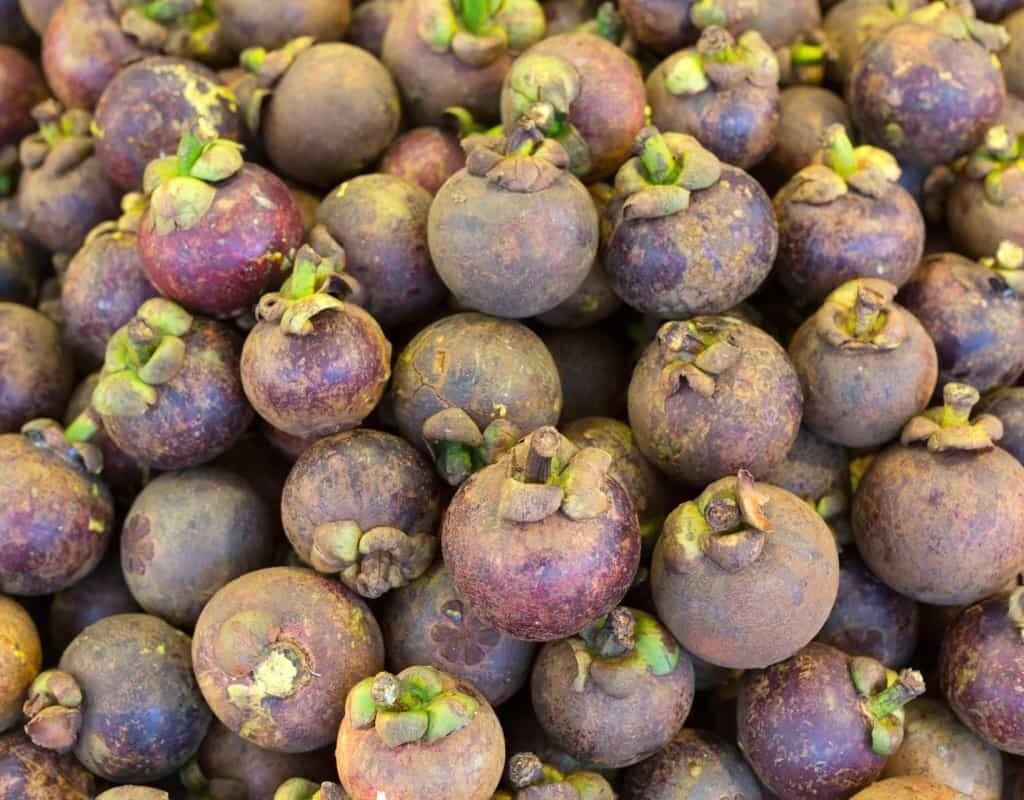
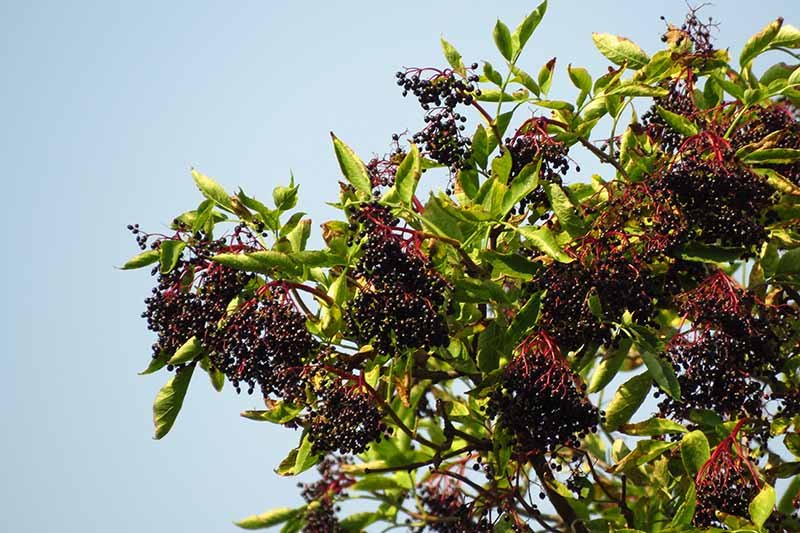
- Fruit: Oval-shaped, about 4–7 cm long, covered in brownish scaly skin.
How to Grow Salak (Snake Fruit)

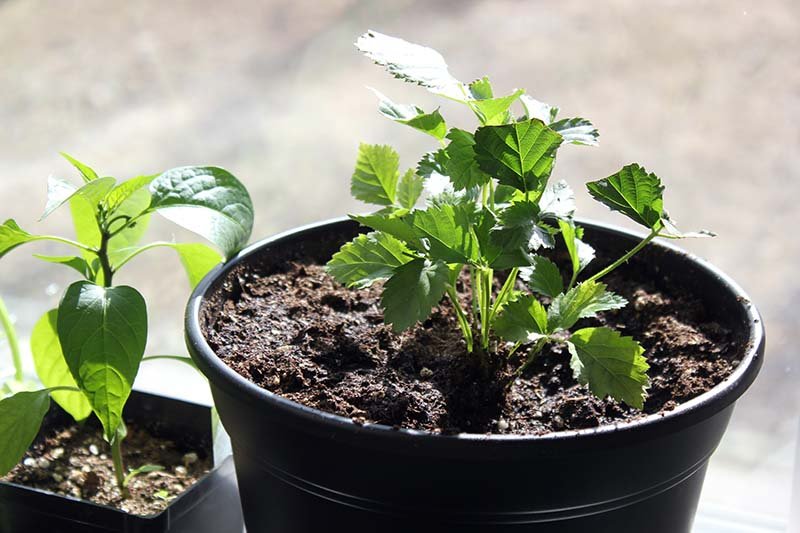
Growing Salak is a rewarding experience if you have the right conditions. It’s best suited for tropical and subtropical regions, but with proper care, it can also be cultivated in large containers in warm climates.
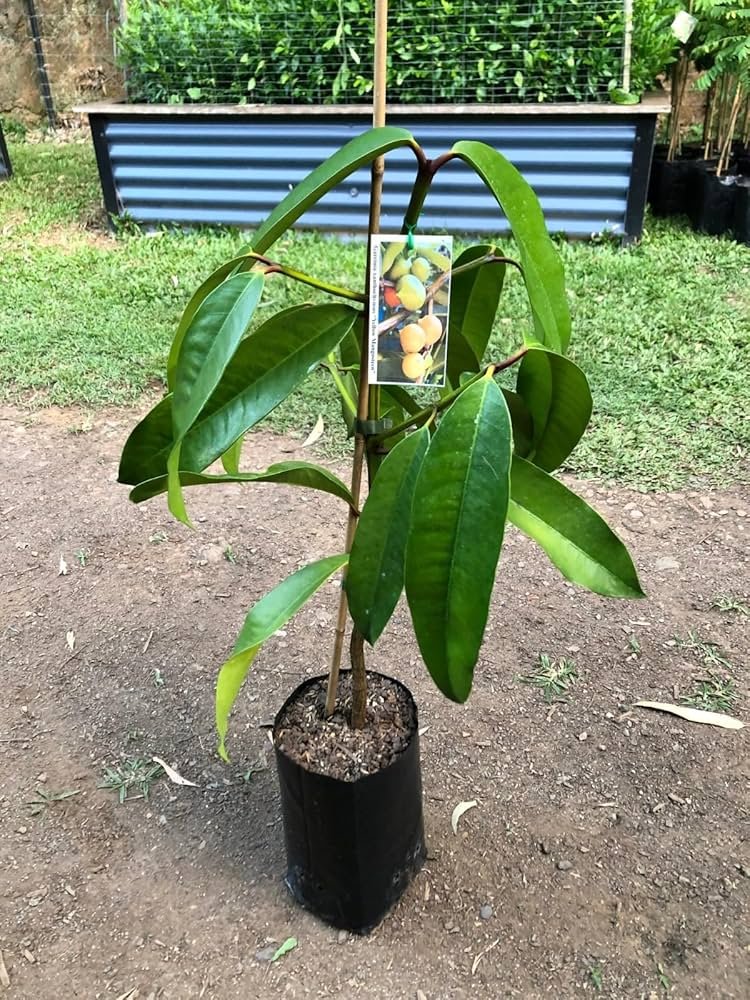
1. Propagation Methods
Salak can be propagated in two main ways:
- By Seeds:
This is the most common method for hobby growers. Use fresh seeds, as they lose viability quickly.- Clean the seeds and soak them in water for 24 hours.
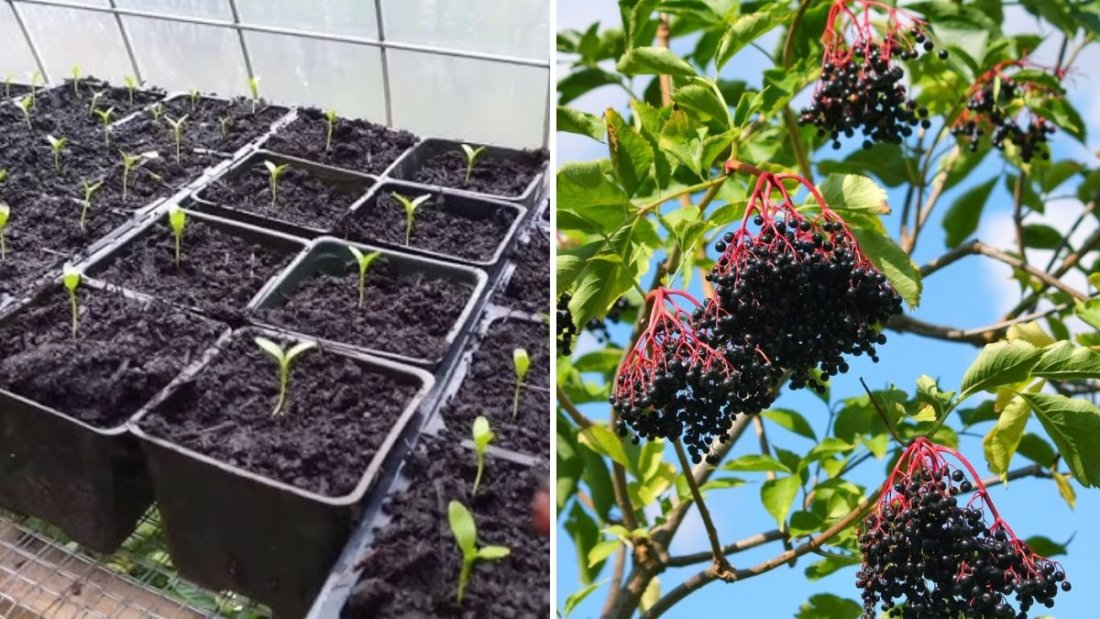
- Sow them in a moist, well-draining mix of sand and compost.
- Keep them in a warm, shaded area (25–30°C).
- Germination usually occurs within 1–3 months.
- By Suckers:
Mature plants produce offshoots or suckers that can be separated and replanted. This is faster and ensures the new plant retains the characteristics of the parent.
2. Soil Requirements
Salak thrives in fertile, well-draining soil rich in organic matter. The ideal pH is 5.5 to 6.5. It grows best in loamy or sandy-loam soils with good moisture retention.
You can prepare the soil by mixing:
- 50% garden soil
- 30% compost or cow manure
- 20% river sand or cocopeat
3. Climate and Temperature
Salak prefers a hot, humid tropical climate with average temperatures between 25–32°C (77–90°F). It does not tolerate frost or prolonged drought.
Humidity above 70% is ideal, and partial shade helps protect the plant from harsh sun, especially during early growth.
4. Planting Procedure
- Choose a partially shaded location or plant under taller fruit trees like bananas or coconuts.
- Dig a hole about 60 cm deep and wide.
- Fill with prepared soil mix and organic compost.
- Plant the seedling or sucker and water thoroughly.
- Maintain a spacing of 2–3 meters between plants.
Watering and Fertilization
Watering
Salak loves moisture but dislikes waterlogging. Keep the soil consistently moist, especially during the dry season. Mulch around the base to retain humidity.
Fertilization
Feed the plant regularly with organic fertilizers like compost, vermicompost, or well-rotted manure. You can also supplement with NPK fertilizers in the ratio 10:10:10 every 3–4 months during the growing phase.
A good feeding schedule:
- Young plants (1–2 years): Organic compost every 2 months.
- Mature plants: 500 g manure + 100 g NPK twice a year.
Flowering and Pollination
Salak plants start to flower after 3–4 years. Since they are dioecious, you’ll need both male and female plants for fruit production. The ratio is usually 1 male for every 10 females.
Pollination occurs naturally through insects, but in small gardens, manual pollination is recommended. Simply transfer pollen from a male flower to a female flower using a brush or by gently shaking the male flower over the female cluster.
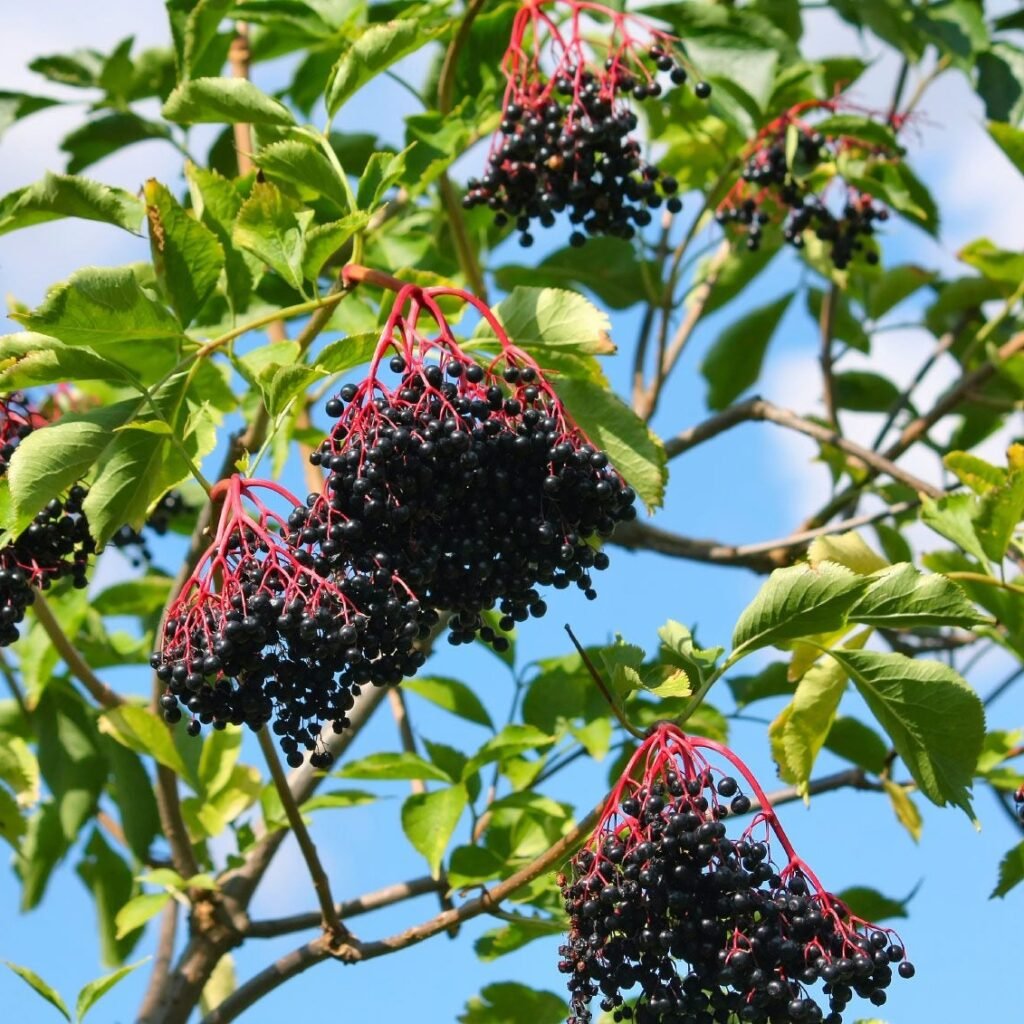
Harvesting Salak Fruits
Salak fruits mature in about 6–7 months after pollination. The fruits are ready for harvest when the skin turns dark brown and develops a shiny, firm texture.
- Harvesting is done by hand, using gloves to avoid spines.
- A single mature plant can produce 10–20 kg of fruit per year, depending on care and variety.
Post-Harvest Handling
After harvest:
- Store Salak fruits in a cool, dry place; they can last up to 2 weeks.
- For commercial use, fruits are often graded and packed in ventilated baskets or boxes.
- Some are processed into candies, syrups, pickles, or chips.
Nutritional and Health Benefits
Salak is not just delicious—it’s also a nutritional powerhouse.
Per 100 grams, the fruit contains:
- Calories: ~80
- Carbohydrates: 20 g
- Vitamin C: 8–10 mg
- Potassium, iron, calcium, and phosphorus
Health benefits:
- Improves digestion and gut health due to its dietary fiber.
- Boosts memory and concentration thanks to high beta-carotene.
- Supports eye health and immunity.
- Acts as a natural energy booster.
Common Pests and Diseases
Although relatively hardy, Salak can be attacked by:
- Scale insects and mealybugs – controlled with neem oil sprays.
- Root rot – prevented by ensuring proper drainage.
- Fruit borers – can be minimized by removing damaged fruits promptly.
Growing Salak in Containers
If you don’t have space for a full orchard, you can grow Salak in large pots (60–80 liters).
- Use rich, loamy soil with good drainage.
- Keep the pot in a warm, semi-shaded area.
- Maintain humidity and consistent watering.
- Fertilize every 2 months with compost.
While container-grown plants may produce smaller yields, they’re excellent for home gardeners who love tropical fruit diversity.
Economic Importance
Salak farming has become an income-generating crop in many tropical countries. With increasing demand for exotic fruits, there’s potential for export markets. Processed products like Salak chips, jams, and syrups add further value.
Small-scale farmers benefit from intercropping Salak with bananas, papayas, or coconuts, maximizing land use and income.
Fun Ways to Enjoy Snake Fruit
You can enjoy Salak fresh, or try these creative ways:
- Fruit salads with lime juice and honey.
- Candied Salak for sweet snacks.
- Pickled Salak with chili and vinegar.
- Salak juice or wine for a tropical twist.
Final Thoughts
Salak, the Snake Fruit, truly lives up to its exotic reputation—offering beauty, taste, and nutrition all in one. Whether you’re a tropical fruit enthusiast, a gardener looking for something unique, or a student working on a cultivation project, Salak farming is a fascinating and rewarding endeavor.
With patience, proper care, and the right growing conditions, you can enjoy fresh Salak fruits straight from your own garden—an unforgettable taste of the tropics!