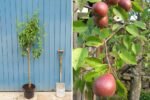
Planting a red grape vine in your own garden is like sowing a promise — a promise of rich color, sweet fruit, and endless beauty. The very moment you place that young vine into the soil, you’re starting a journey that connects you to nature’s rhythm. When I planted my red grape vine, I didn’t just add another plant to my garden — I began cultivating a living legacy that will reward me year after year with luscious clusters of crimson fruit.
In this article, I’ll share my complete experience and detailed guide — from planting and caring for red grape vines to pruning, propagation, and harvest — so you can grow your own vineyard at home, no matter how small your space may be.
Why I Chose a Red Grape Vine
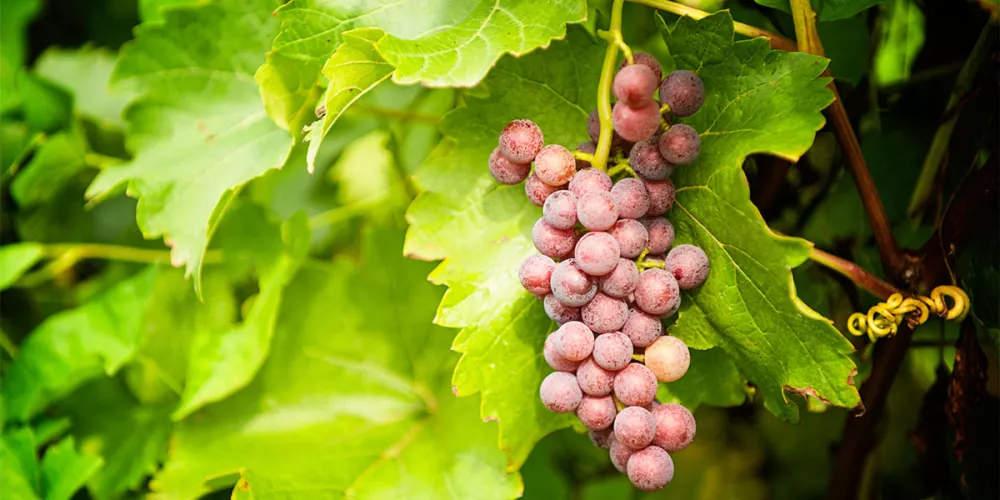
I’ve always admired the charm of grapevines climbing along fences and arbors, their leaves glowing in the sunlight and fruit hanging like jewels in late summer. Among all grape varieties, red grapes stood out to me for their rich flavor, striking color, and versatile use.
Red grapes are not just beautiful; they’re incredibly nutritious — packed with antioxidants, vitamins, and polyphenols that promote heart health and vitality. Whether eaten fresh, turned into juice, or used in homemade jams and wine, red grapes bring both flavor and wellness to the table.
So, with a sunny patch in my backyard and a heart full of enthusiasm, I decided to plant a red grape vine — a choice I’ve never regretted.
Selecting the Perfect Red Grape Variety
Before planting, I spent time choosing the right red grape variety suited to my region’s climate and soil. Red grapes come in many types, each with distinct characteristics and uses.
Here are a few popular varieties to consider:
- Red Flame Seedless: A popular table grape known for its sweet, crisp flavor and attractive color.
- Crimson Seedless: Late-ripening, firm, and perfect for fresh eating.
- Catawba: An American heritage grape, excellent for juice, jellies, and light wines.
- Mars Red Grape: A disease-resistant, seedless variety ideal for home gardens.
After researching, I chose the Crimson Seedless, since it grows well in warm climates, produces abundantly, and requires minimal maintenance — perfect for a no-fuss gardener like me.
Preparing the Soil and Site

Red grapes love sunshine, so the first step was finding the sunniest spot in my garden. They need at least 6–8 hours of direct sunlight daily for optimal growth and sweetness. I chose a south-facing fence where the vine could climb freely.
Soil Preparation
I tested my soil and found it slightly acidic — perfect, since grapes thrive in soil with a pH between 5.5 and 7.0. Still, I made sure to enhance it with:
- Compost and well-rotted manure for organic matter.
- A bit of coarse sand for drainage, since grapevines dislike soggy roots.
After loosening the soil to about 12 inches deep, I was ready to plant.
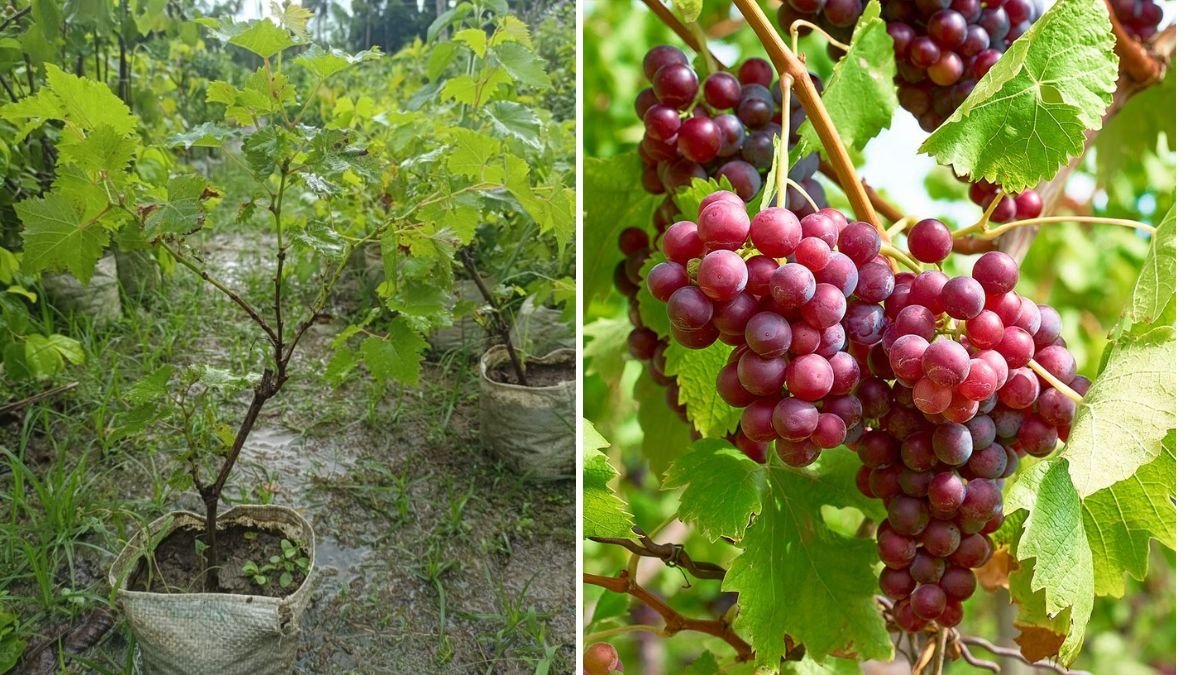
Planting My Red Grape Vine
I planted the vine in early spring, just after the last frost. The process was simple but meaningful:
- I dug a hole deep enough to spread out the roots naturally (around 12–14 inches deep).
- I placed the vine inside, making sure the crown (where stem meets root) sat just above soil level.
- I gently backfilled the soil, firmed it around the base, and watered thoroughly.
- Finally, I mulched the area with dry leaves to retain moisture and prevent weeds.
Within weeks, small green shoots appeared — the beginning of something special.
Building Support: The Trellis Setup

Grapevines are natural climbers. Without support, they can sprawl across the ground, leading to disease and poor fruiting. I set up a simple trellis system using wooden posts and galvanized wire.
- The bottom wire sat at 3 feet, and the top wire at 6 feet high.
- I tied the young vine gently to a bamboo stick to guide its upward growth.
- Once it reached the top wire, I encouraged side shoots to grow horizontally — these would later become fruiting arms.
Watching the vine climb and spread over the months was incredibly rewarding — a visual sign of progress and patience paying off.
Caring for the Red Grape Vine
Watering
In the first year, I watered regularly — about once a week — ensuring the soil stayed moist but never soggy. Once the vine matured, I reduced watering. Grapes are drought-tolerant, and overwatering can cause root issues.
Fertilizing
In early spring, I added a small dose of balanced fertilizer (10-10-10) to promote new growth. After that, I relied mostly on compost and mulch to keep the soil fertile naturally.
Mulching
Mulch not only conserved moisture but also suppressed weeds and regulated soil temperature during hot summers. A 3-inch layer of straw or dry leaves worked perfectly.
The Art of Pruning
Pruning might sound intimidating, but it’s the key to healthy, productive vines. Grapes bear fruit on new growth from last year’s canes, so regular pruning ensures a balance between fruiting and new shoots.
How I Pruned My Vine
- In late winter, before buds swelled, I trimmed away about 90% of last season’s growth.
- I left two strong horizontal arms (cordons) extending from the main trunk.
- Each cordon had short side shoots (spurs) with 3–4 buds each.
- These buds would produce new shoots that bear fruit in summer.
Pruning may seem harsh at first, but the results are worth it — stronger vines, better air circulation, and sweeter grapes.
Propagation: Making More Red Grapes
As my vine grew, I wanted to propagate it and share with friends. Grapes are easily propagated from cuttings.
Here’s how I did it:
- I cut 8-inch sections from healthy one-year-old canes during winter.
- Each cutting had at least 3 buds.
- I dipped the base in rooting hormone and planted it in a pot with a mix of soil and sand.
- I kept the soil moist and placed the pots in partial sun.
- Within 6–8 weeks, new shoots appeared — proof that roots had developed.
By early summer, I had new baby grapevines ready for transplanting!
Pest and Disease Control
My red grape vine, being hardy, required minimal pest management. Still, I kept an eye out for common issues.
- Aphids: Washed off with a spray of water or neem oil.
- Powdery Mildew: Prevented by pruning for good airflow and avoiding overhead watering.
- Birds: Covered the ripening fruit clusters with netting — they love red grapes as much as we do!
Healthy vines in full sunlight rarely suffer from serious diseases, so maintaining sunlight and airflow was my best natural defense.
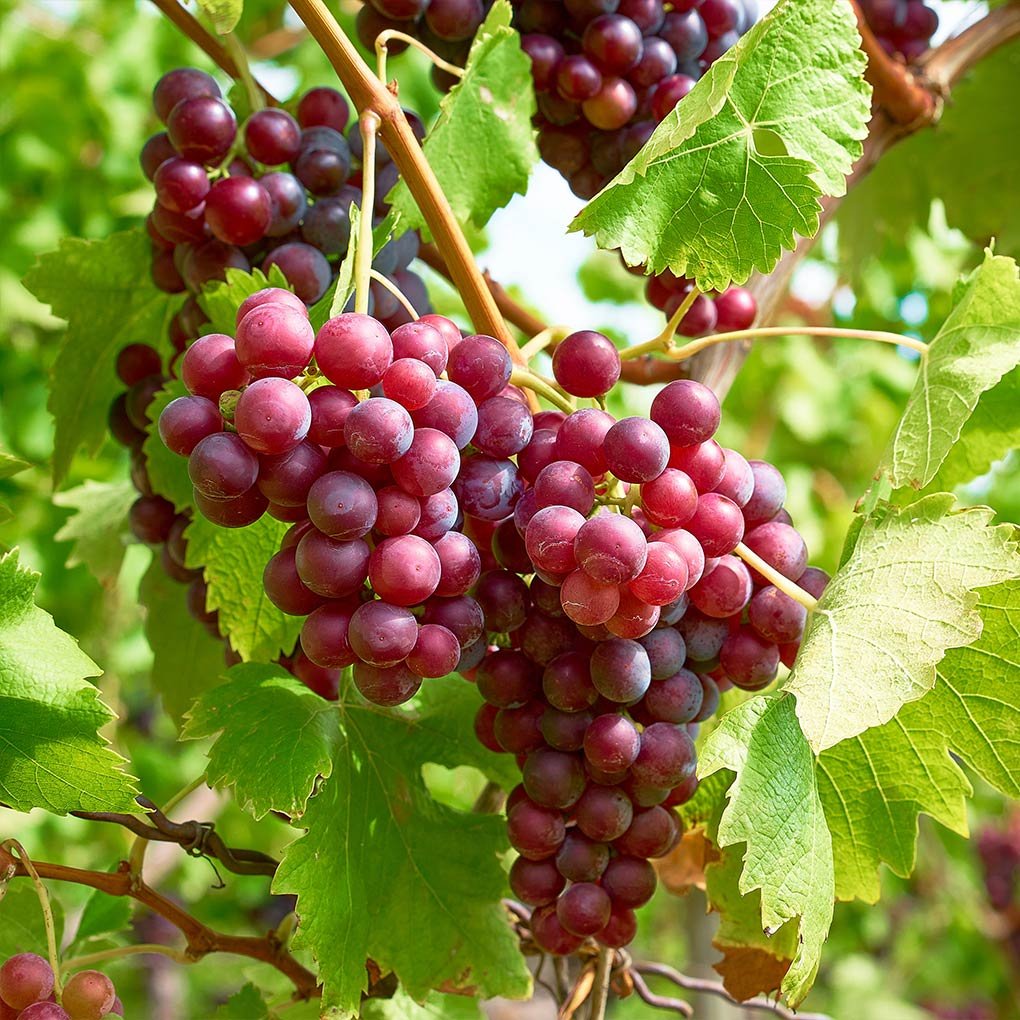
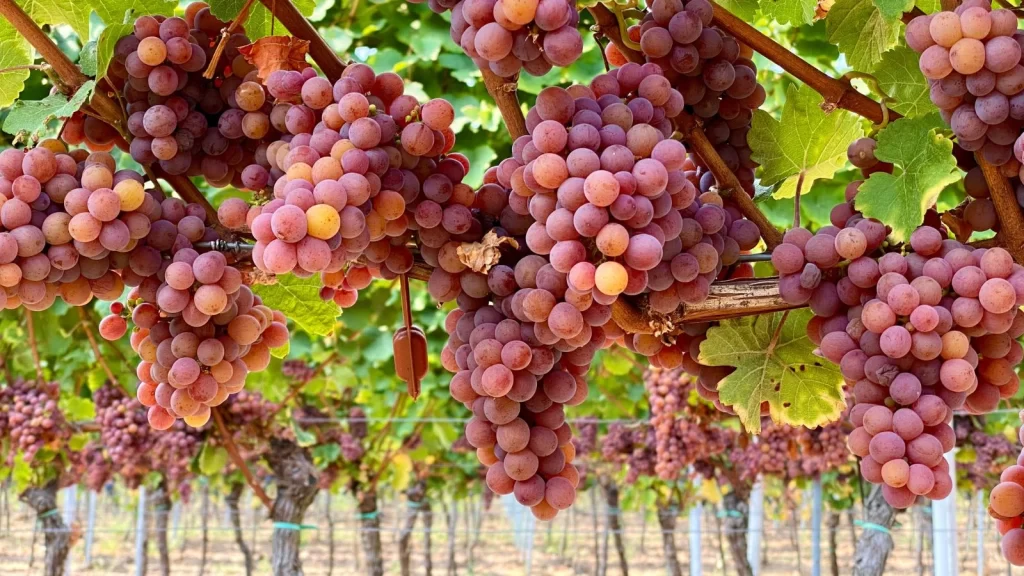
The First Harvest
By the third year, my red grape vine finally produced a decent crop. As summer waned, clusters of deep crimson grapes began to turn sweeter day by day. I knew they were ready when they were:
- Fully colored
- Soft to the touch
- Sweet and aromatic to taste
I used garden shears to cut the clusters gently, and within minutes, I was tasting the fruits of my labor — sweet, tangy, and sun-warmed. It was one of the most satisfying moments in my gardening journey.
Uses of Red Grapes
After harvesting, I explored various ways to enjoy my red grapes:
- Fresh eating: Perfectly sweet for snacking.
- Homemade juice: Blended with a little honey for natural sweetness.
- Grape jelly: A delicious spread for breakfast.
- Drying into raisins: Sun-dried over a week for chewy treats.
- Small-batch wine: My first attempt at home fermentation turned out beautifully fragrant.
Every cluster from my vine became a celebration of nature’s gift.
Health Benefits of Red Grapes
Aside from their flavor, red grapes are a powerhouse of nutrients:
- Rich in antioxidants (resveratrol) – Supports heart and skin health.
- High in Vitamin C & K – Strengthens immunity and bones.
- Natural Polyphenols – Improve blood circulation.
- Low Calories, High Fiber – Great for digestion and weight management.
No wonder red grapes are often called “nature’s perfect fruit.”
Winter Care
As the growing season ended, I prepared my vine for dormancy:
- Removed fallen leaves and pruned dead shoots.
- Added a layer of mulch to protect roots from frost.
- Checked the trellis for stability before winter winds.
By spring, the vine woke up again — ready to grow stronger and fruit even more abundantly.
Final Thoughts
Planting that red grape vine in my garden turned out to be more than just a gardening project — it became a lesson in patience, care, and reward. Watching it grow from a slender stick into a lush, fruiting vine reminded me how nature rewards consistency.
If you’ve ever thought about growing grapes at home, don’t hesitate. Start with a sunny spot, a simple trellis, and a single vine. With minimal effort and regular pruning, you’ll soon be harvesting your own red grapes bursting with flavor and color.
Every time I step into my garden and see my grapevine thriving, I’m reminded that some of life’s sweetest rewards are the ones we nurture ourselves.
Leave A Comment