Boysenberries are a delicious and unique fruit that every home gardener should consider growing. They’re a hybrid of blackberry, raspberry, and loganberry — combining the best traits of each to create large, juicy, sweet-tart berries perfect for jams, pies, and fresh eating.
The best part? You don’t need to spend a lot of money buying new plants every season. Boysenberries are incredibly easy to propagate — meaning you can start new boysenberry plants right at home using simple techniques like tip layering, root division, or stem cuttings.
In this complete guide, you’ll learn how to start new boysenberry plants from existing ones, care for them as they grow, and enjoy a continuous supply of these mouthwatering berries for years to come.
What Are Boysenberries?
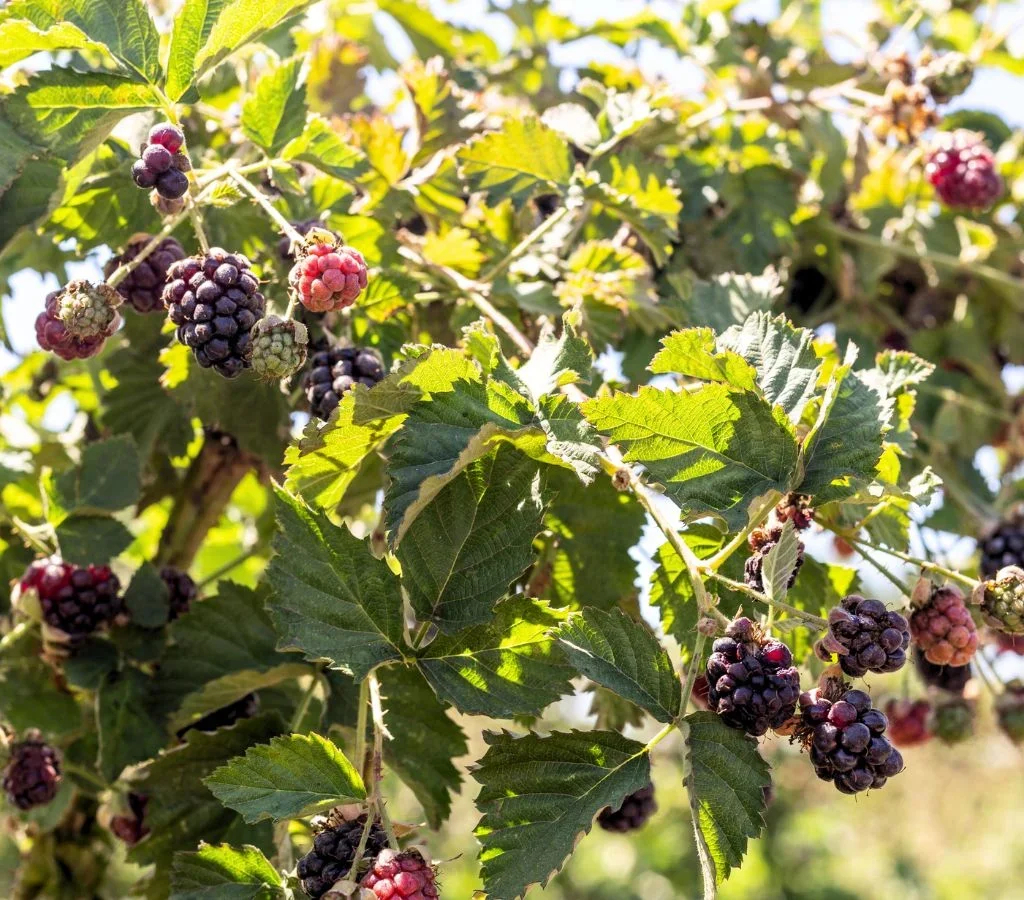
Boysenberries (Rubus ursinus × idaeus) are a cross between blackberries, raspberries, and loganberries. This hybrid gives them a distinctive flavor — sweet yet slightly tart — and a rich, dark color.
They grow on trailing canes that can spread several feet, producing clusters of berries in late spring to early summer. Boysenberries thrive in mild climates and can be easily grown in garden beds, raised containers, or along trellises.
Why Propagate Boysenberries at Home?

There are several reasons why growing your own boysenberry plants is a smart and rewarding choice:
- Cost-effective: A single mature plant can produce dozens of new plants at no extra cost.
- Sustainability: Propagating at home reduces waste and reliance on commercial nurseries.
- Healthier plants: You can select your healthiest, most productive parent plants for propagation.
- Endless harvests: With proper care, boysenberry plants can live and produce for years.
So, if you already have one or two healthy boysenberry plants, you have the potential to create a thriving berry patch — right from your backyard.

Step 1: Choose Healthy Parent Plants

To start new boysenberry plants, you first need to choose strong, disease-free parent plants. Look for:
- Vigorous growth with thick, green canes
- No signs of rust, mold, or insect damage
- Healthy, established root systems
Healthy parent plants ensure your new boysenberry plants will be just as productive and resilient.
Step 2: Pick the Best Time to Propagate
The best time to start new boysenberry plants depends on your method of propagation:
- Tip layering: Late summer to early fall
- Stem cuttings: Late winter or early spring
- Root division: Early spring before new growth starts
Each method has its own advantages, so you can choose the one that works best for your garden setup.
Step 3: Propagation Methods for Boysenberries
There are three main ways to start new boysenberry plants: tip layering, stem cuttings, and root division. Let’s look at each one in detail.
Method 1: Tip Layering (Most Reliable Method)
Tip layering is one of the easiest and most successful ways to propagate boysenberries. It uses the plant’s natural ability to root when its canes touch the soil.
Steps:

- Select a healthy cane: Choose a long, flexible cane from the current season’s growth.
- Bend the tip to the soil: Gently bend the end of the cane to the ground, leaving the rest attached to the parent plant.
- Bury the tip: Bury 2–3 inches of the cane tip in loose soil or compost. Use a small stone or garden pin to keep it in place.
- Water regularly: Keep the soil moist but not waterlogged.
- Wait for roots to develop: In 4–6 weeks, roots will begin to form where the cane touches the soil.
- Separate and transplant: Once roots are well established (usually in early spring), cut the new plant away from the parent and transplant it to its permanent location.
This method mimics how boysenberries spread naturally, making it simple and low-maintenance.
Method 2: Stem Cuttings
Stem cuttings are another effective method for propagating boysenberries, especially if you want to start many plants at once.
Steps:
- Take cuttings: In late winter or early spring, cut healthy canes into 6–8 inch sections. Each piece should have at least 2–3 leaf nodes.
- Prepare the cuttings: Remove any leaves from the lower half and make a diagonal cut at the bottom end.
- Optional: Dip the bottom end in rooting hormone powder to encourage faster rooting.
- Plant the cuttings: Insert them into small pots filled with a mix of potting soil and perlite or sand.
- Maintain moisture: Water well and cover with a clear plastic dome or bag to retain humidity.
- Root development: Keep them in a bright, warm area out of direct sunlight. In 4–6 weeks, new roots should begin forming.
- Transplant: Once rooted, transplant the new plants outdoors after the last frost.
This method works well for indoor propagation and allows you to start boysenberry plants year-round in controlled conditions.
Method 3: Root Division
Root division is ideal for older boysenberry plants with large, established root systems.
Steps:
- Dig up the parent plant: In early spring, carefully dig around the base of the plant and lift it from the ground.
- Divide the roots: Use a sharp knife or pruning shears to separate sections of the root mass, ensuring each section has at least one cane and several healthy roots.
- Replant immediately: Place each divided section into its own planting hole or pot filled with rich, well-draining soil.
- Water thoroughly: Keep the soil evenly moist for the first few weeks as the roots reestablish.
This method provides instant new plants that are genetically identical and already mature enough to produce fruit sooner.

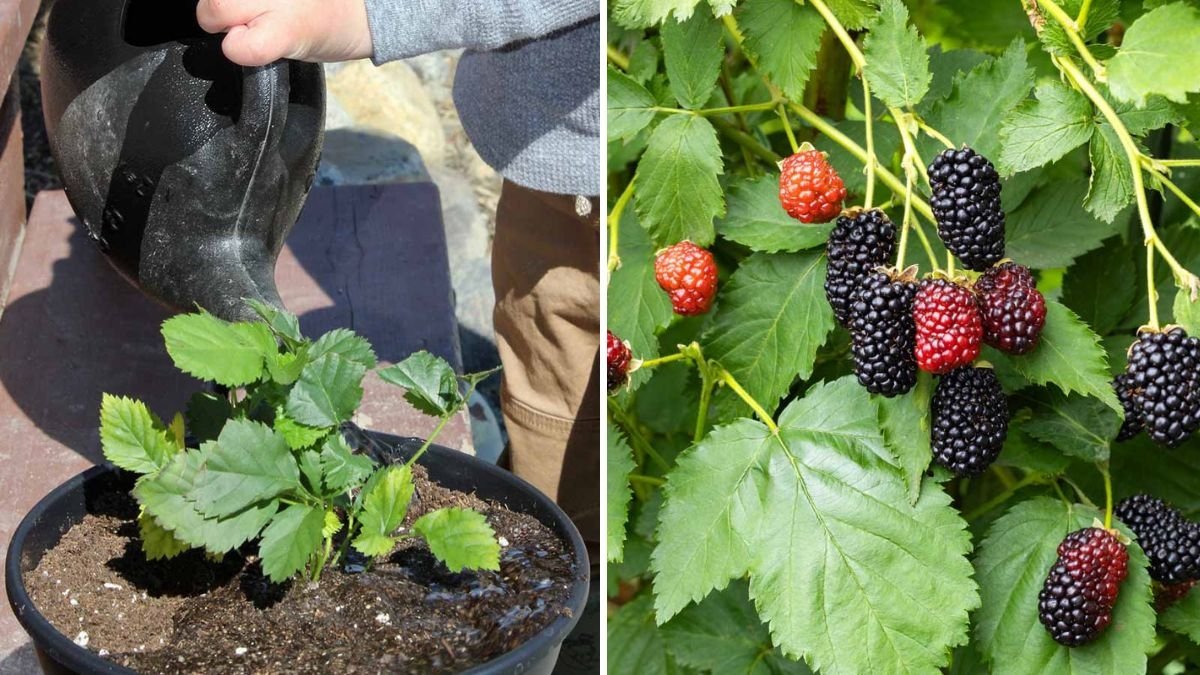
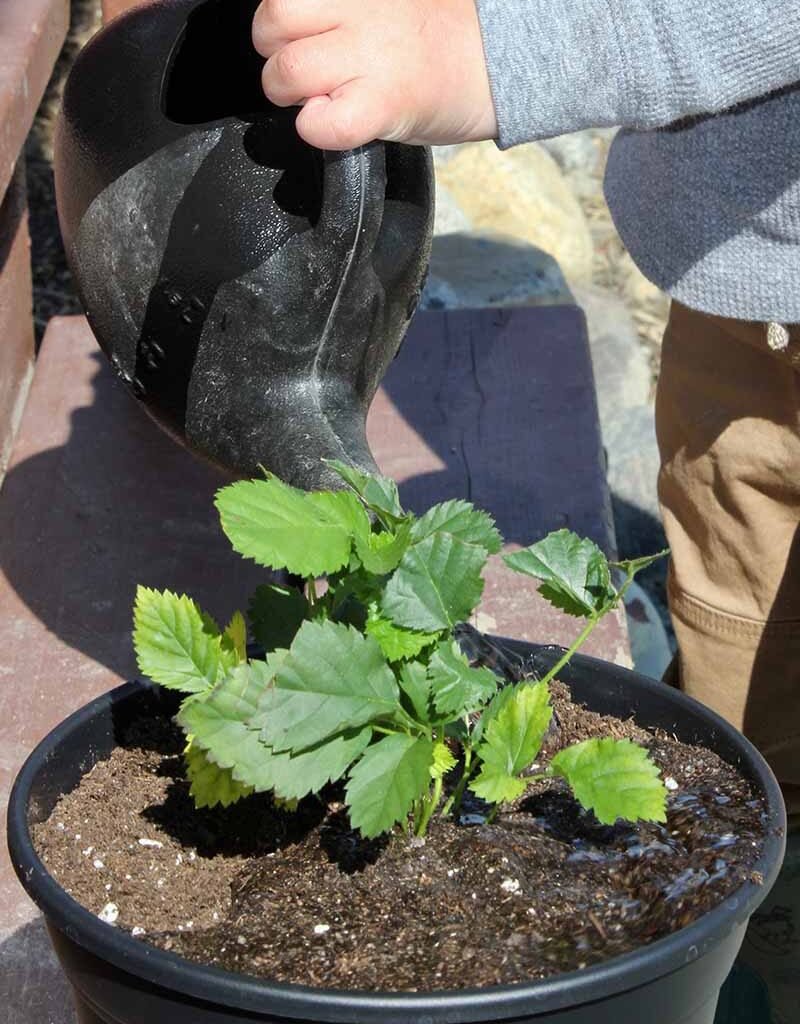
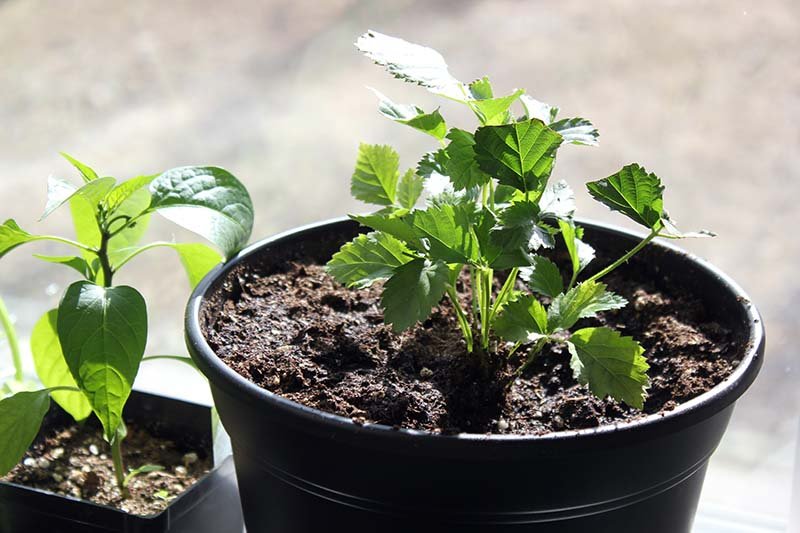
Step 4: Planting Your New Boysenberry Plants
Once your new plants are ready, it’s time to plant them in the garden or large containers.
Ideal Growing Conditions:
- Sunlight: Full sun (at least 6–8 hours daily)
- Soil: Loamy, well-draining soil rich in organic matter
- pH: Slightly acidic to neutral (6.0–7.0)
Planting Steps:
- Dig a hole twice as wide as the root ball and slightly deeper.
- Place the new plant in the hole, covering the roots completely but keeping the crown above the soil line.
- Fill in the soil, press gently, and water thoroughly.
- Add a layer of mulch to retain moisture and control weeds.
If planting multiple boysenberries, space them about 3–4 feet apart to allow room for growth and airflow.
Step 5: Caring for Your Young Boysenberry Plants
Once established, boysenberries require relatively little maintenance — but young plants need a bit of attention to thrive.
Watering:
Keep the soil consistently moist, especially during the first growing season. Avoid waterlogging, as it can lead to root rot.
Feeding:
Apply compost or a balanced organic fertilizer in early spring and midsummer to encourage healthy growth and berry production.

Training and Support:
Boysenberries are trailing plants, so they need support to stay healthy and productive. Train the canes onto a trellis, fence, or wire frame to improve air circulation and make harvesting easier.
Pruning:
After fruiting, cut back old canes to ground level and leave the new canes for next season’s fruit. This rejuvenates the plant and maintains strong production.
Step 6: Harvesting Boysenberries
Boysenberries usually start bearing fruit in their second year. The berries are ready to harvest when they turn deep maroon to almost black and come off the stem easily.
Harvesting tips:
- Handle berries gently to avoid bruising.
- Pick in the cool hours of the morning.
- Store freshly picked berries in the refrigerator and use them within a few days, or freeze them for later use.
Step 7: Expanding Your Boysenberry Patch
Once your plants are mature, you can repeat the same propagation process each year to expand your berry patch or share plants with friends.
One healthy plant can produce multiple new ones annually — allowing you to create a thriving, productive berry garden with minimal cost.
Common Problems and Solutions
| Problem | Cause | Solution |
|---|---|---|
| Yellowing leaves | Poor drainage or overwatering | Improve soil drainage and water less frequently |
| Poor fruiting | Lack of sunlight or nutrients | Move to full sun and apply compost or fertilizer |
| Cane borers | Insect infestation | Prune out affected canes and apply organic insect control |
| Powdery mildew | High humidity | Increase airflow and spray neem oil if needed |
Conclusion
Starting new boysenberry plants is easy, inexpensive, and incredibly rewarding. Whether you choose tip layering, stem cuttings, or root division, you’ll soon have a collection of thriving plants that produce sweet, flavorful berries every summer.

With proper care — including pruning, watering, and feeding — your boysenberry patch can last for years, giving you a bountiful harvest and a garden full of life.
So grab your gardening gloves and start propagating — because there’s nothing quite like enjoying a handful of fresh, homegrown boysenberries straight from your own plants!
Leave A Comment