
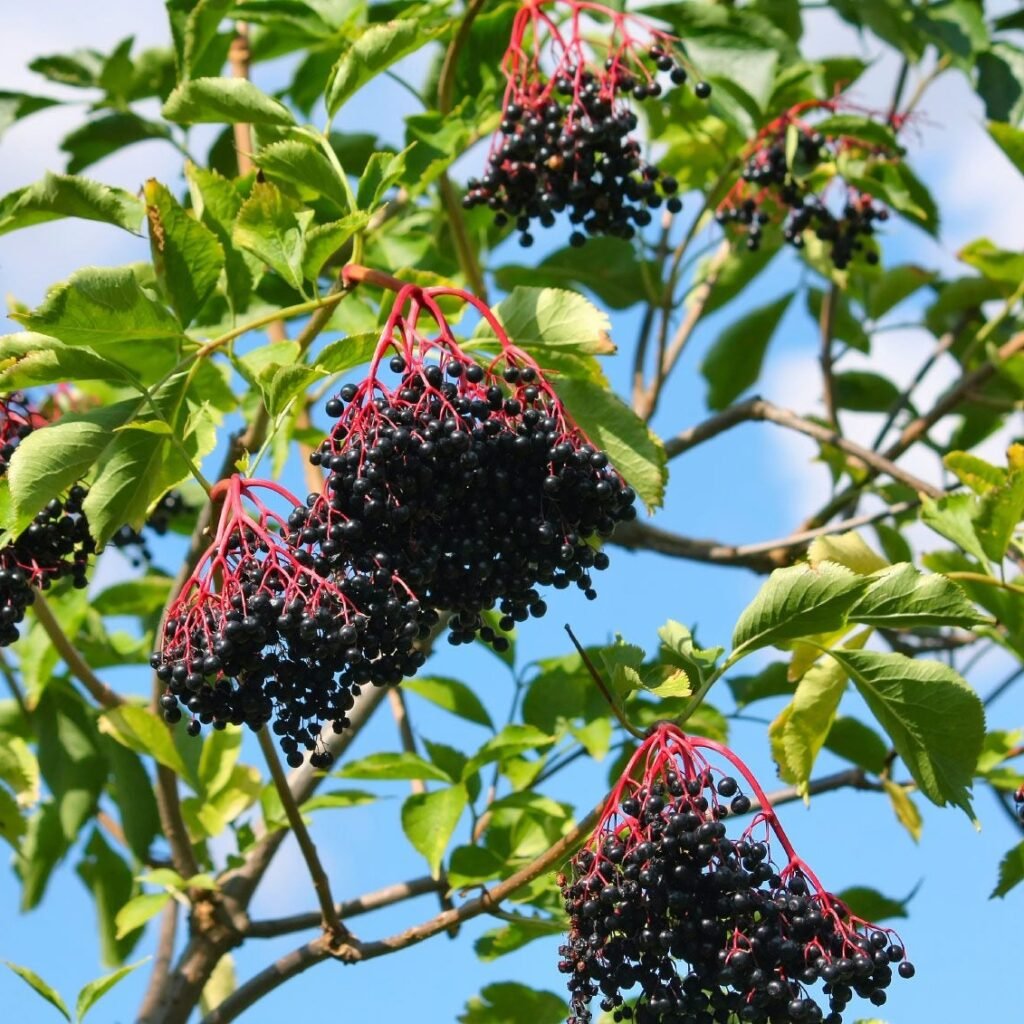
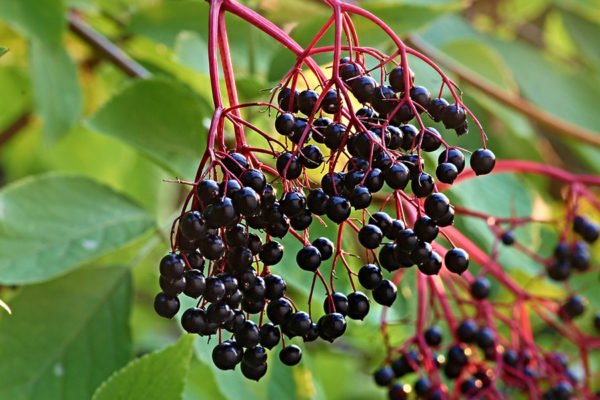
If you’ve ever dreamed of having your own elderberry patch, you’re in for a treat! Elderberries (Sambucus spp.) are hardy, fast-growing shrubs known for their clusters of deep purple berries that are packed with antioxidants, vitamins, and immune-boosting benefits. What makes them even more amazing is how easy and affordable it is to propagate them — you can literally grow hundreds of elderberry plants for just a few bucks!
In this complete guide, we’ll walk you through everything you need to know about growing elderberries on a budget — from choosing the right varieties and taking cuttings to planting, caring, and harvesting these incredible plants right in your backyard.
Why Grow Elderberries?
Before jumping into the how-to, let’s take a moment to appreciate why elderberries deserve a spot in your garden:
- Nutrient-rich fruits: Elderberries are loaded with vitamin C, fiber, and antioxidants.
- Medicinal uses: They’re used in syrups, teas, and natural remedies for colds and flu.
- Beautiful shrubs: Their lacy leaves, fragrant flowers, and dark berries make them visually appealing landscape plants.
- Easy to propagate: Once you have a few plants, you can multiply them easily and affordably.
With minimal investment and a little patience, you can grow dozens — even hundreds — of plants to share, sell, or expand your garden.
Step 1: Choosing the Right Elderberry Variety
Elderberries come in several types, but two are most common for home growers:
- American Elderberry (Sambucus canadensis):
Best suited for warmer climates. It’s highly productive and tolerant of a range of soil conditions. - European Elderberry (Sambucus nigra):
Prefers cooler climates and is often grown for medicinal and culinary use in Europe.
When selecting plants, choose varieties that thrive in your growing zone. If possible, start with at least two varieties for better cross-pollination and higher fruit yields.
Step 2: Collecting and Preparing Elderberry Cuttings
The easiest and cheapest way to grow elderberries is from cuttings rather than seeds. You can take cuttings from a mature elderberry plant in late winter or early spring when it’s still dormant.
Here’s how:
- Select healthy branches: Choose 1-year-old stems that are about the thickness of a pencil.
- Cut into sections: Each cutting should be around 8–10 inches long and have at least 3–4 nodes (the bumps where leaves grow).
- Trim the ends: Make a clean, angled cut at the bottom and a flat cut at the top to remember which side goes into the soil.
- Optional rooting hormone: Dip the bottom end of each cutting into rooting hormone powder to speed up root formation.
Once your cuttings are ready, you can either start them in water, soil, or directly in pots.
Step 3: Rooting Elderberry Cuttings
There are two main methods to root elderberry cuttings — in water or in soil.
Rooting in Water:
- Place your cuttings in a jar filled with clean, non-chlorinated water.
- Make sure only the lower nodes are submerged.
- Keep the jar in a bright spot with indirect sunlight.
- Change the water every few days to prevent bacterial growth.
Within 2–4 weeks, you’ll notice white roots emerging from the lower nodes. Once roots are a few inches long, transfer the cuttings into pots or directly into the garden.
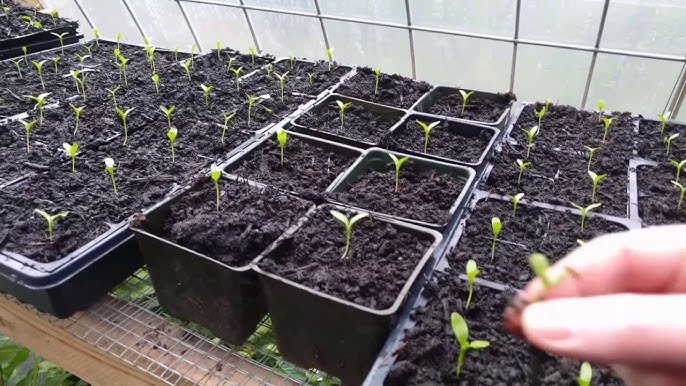
Rooting in Soil:
- Fill small containers with a mix of potting soil and perlite (50:50).
- Insert the cuttings so at least two nodes are below the soil surface.
- Water well and cover with a clear plastic dome or bag to retain humidity.
- Keep them in a warm, bright spot but out of direct sunlight.
After 4–6 weeks, gently tug on a cutting — if it resists, it’s developing roots!
Step 4: Transplanting and Spacing
Once your elderberry cuttings have developed a strong root system, it’s time to transplant them into larger containers or directly into your garden.
Transplanting Steps:
- Choose a sunny location with well-draining soil. Elderberries love moisture but hate waterlogged roots.
- Space the plants about 4–6 feet apart to give them room to spread.
- Dig a hole deep enough to cover the root ball and firm the soil around it.
- Water thoroughly after planting.
Mulch around the base with straw or wood chips to conserve moisture and suppress weeds.
Step 5: Caring for Your Elderberry Plants
Elderberries are low-maintenance, but a little care goes a long way in ensuring a healthy, productive harvest.
Watering:
Elderberries need consistent moisture, especially during their first year. Water deeply once or twice a week during dry spells.
Fertilizing:
Apply a balanced organic fertilizer or compost in early spring. Elderberries aren’t heavy feeders, but a yearly boost helps maintain vigor and berry production.
Pruning:
Prune your plants during the dormant season to remove dead or weak wood. Encourage new growth by cutting back older stems — the best berries grow on 1- and 2-year-old canes.
Pest and Disease Management:
Elderberries are generally hardy but can attract aphids, borers, or powdery mildew. Keep airflow good around the plants and use organic pest control methods when needed.
Step 6: Harvesting Elderberries
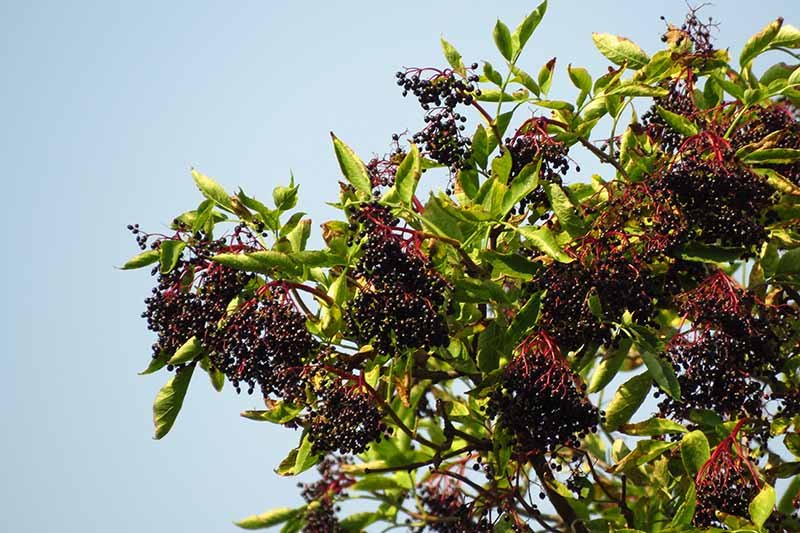
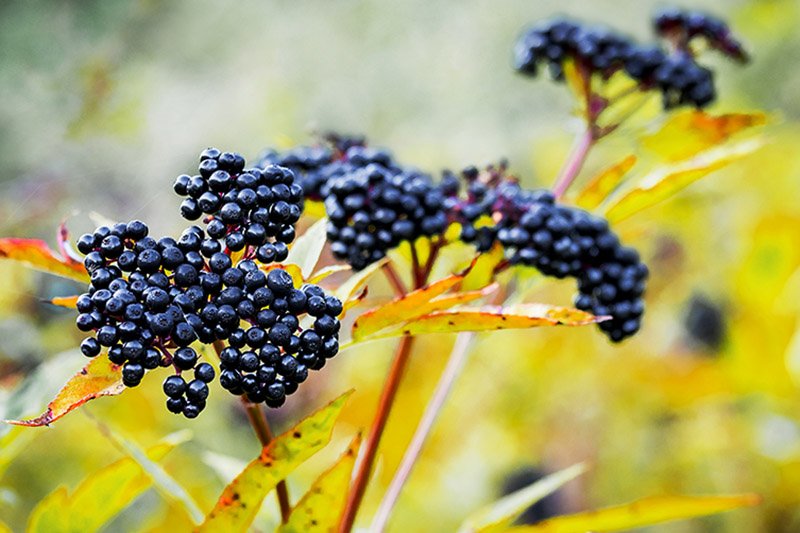
Elderberries typically start producing fruit in their second or third year. You’ll know they’re ready when the berries turn dark purple or nearly black and hang in heavy clusters.
Harvesting Tips:
- Pick whole clusters rather than individual berries.
- Avoid unripe, green berries — they’re toxic if consumed raw.
- Always cook elderberries before eating or using in recipes.
You can turn your harvest into delicious elderberry syrup, wine, jam, or even natural remedies for the cold season.
Step 7: Expanding Your Elderberry Garden
Once your first batch of elderberry plants is established, you can take new cuttings from them each winter. This means your initial investment can multiply exponentially every year!
For example:
- Start with 5 cuttings.
- Each year, take 10 cuttings from each plant.
- Within 2–3 years, you could have hundreds of elderberry plants — all for the cost of a few original stems!
You can keep some for your property, gift them to friends, or even sell them locally for profit.
Bonus Tip: Growing Elderberries in Containers
If you’re short on space, elderberries can also be grown in large containers (at least 15–20 gallons). Use a rich, well-draining potting mix and keep them well-watered. Container-grown elderberries may not grow as large as those in the ground but will still yield plenty of berries.
Common Mistakes to Avoid
- Planting in poor drainage: Elderberries dislike soggy roots — ensure good drainage.
- Skipping cross-pollination: You’ll need at least two varieties for a good berry yield.
- Neglecting pruning: Without regular pruning, elderberry bushes can become tangled and less productive.
- Harvesting too early: Wait until the berries are fully ripe and dark for the best flavor and nutrients.
Conclusion
Growing elderberries doesn’t have to be expensive or complicated. With just a few healthy cuttings, some patience, and basic care, you can create a thriving elderberry patch — yielding nutritious fruits for years to come.
Whether you’re looking to boost your self-sufficiency, start a small nursery, or simply enjoy the beauty and bounty of these incredible shrubs, elderberries are one of the easiest and most rewarding plants to grow.
So grab your pruning shears, take a few cuttings, and start growing your own elderberry empire — all for just a few bucks!

Leave A Comment