
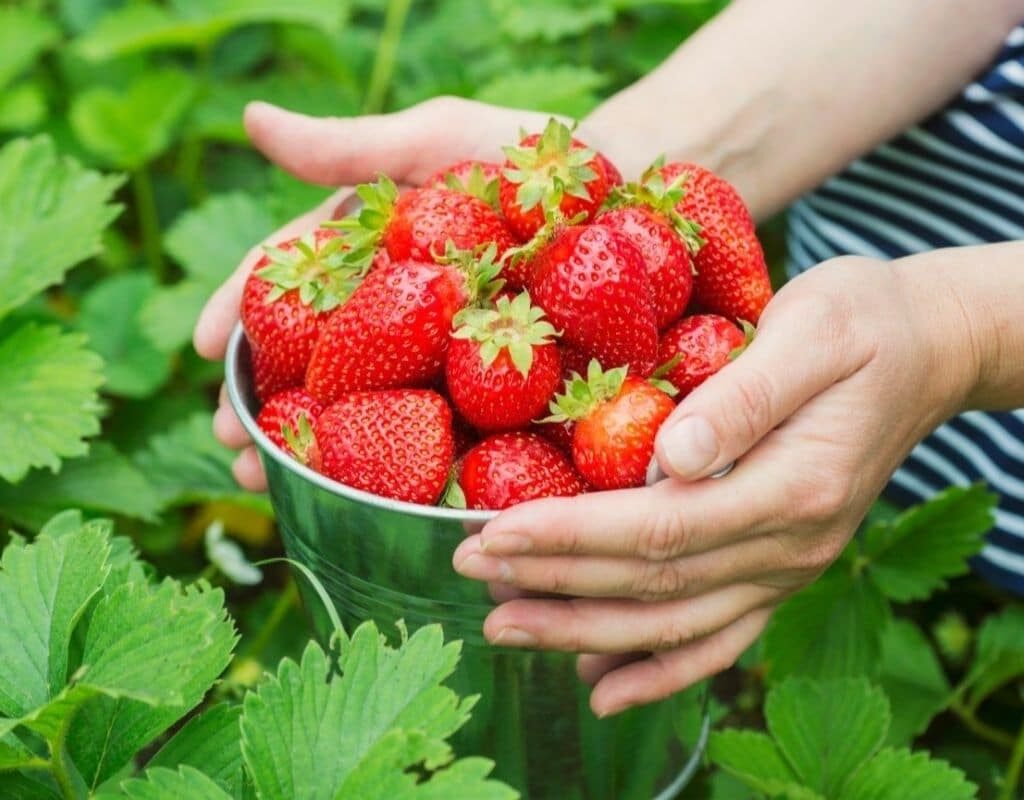
Growing strawberries is one of the most rewarding experiences for home gardeners. The sight of those bright red, sweet, and aromatic fruits dangling from lush green plants is pure joy. But what if you don’t have much space or a traditional garden bed? Here’s a brilliant solution — growing strawberries in plastic bottles. This innovative, eco-friendly, and affordable technique allows you to enjoy a steady supply of fresh strawberries, even if you only have a balcony, terrace, or sunny window.
In this detailed guide, we’ll explore how to grow strawberries in plastic bottles, what materials you’ll need, and how to ensure your plants thrive and produce a plentiful harvest. Whether you’re a beginner or a seasoned gardener, you’ll be surprised at how effective this small-space method can be.
Why Grow Strawberries in Plastic Bottles?
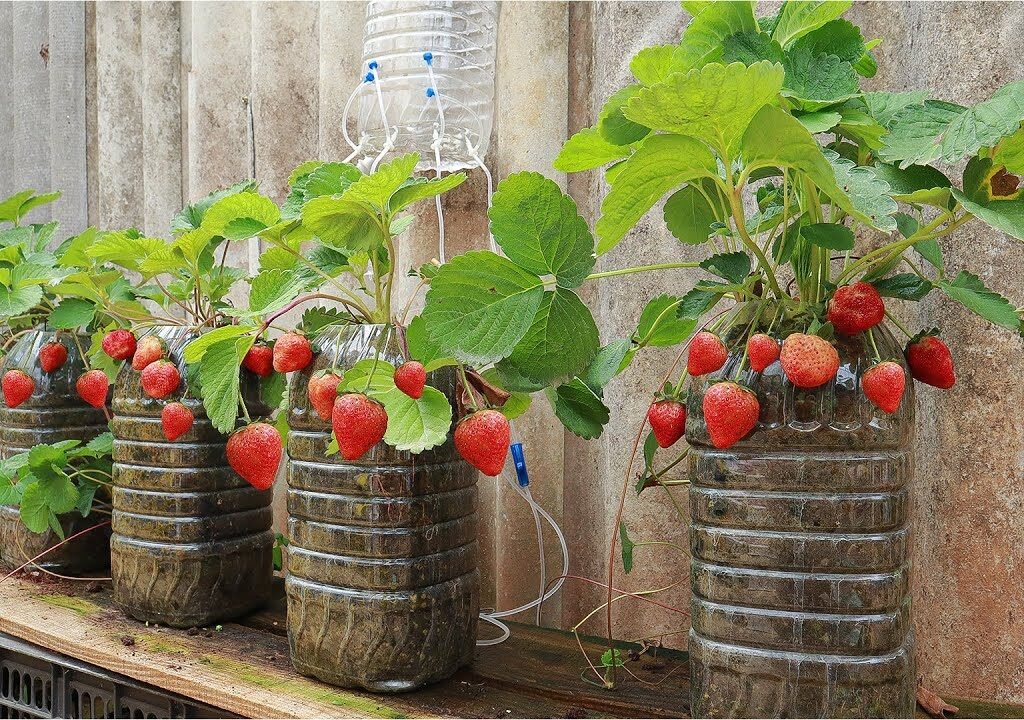
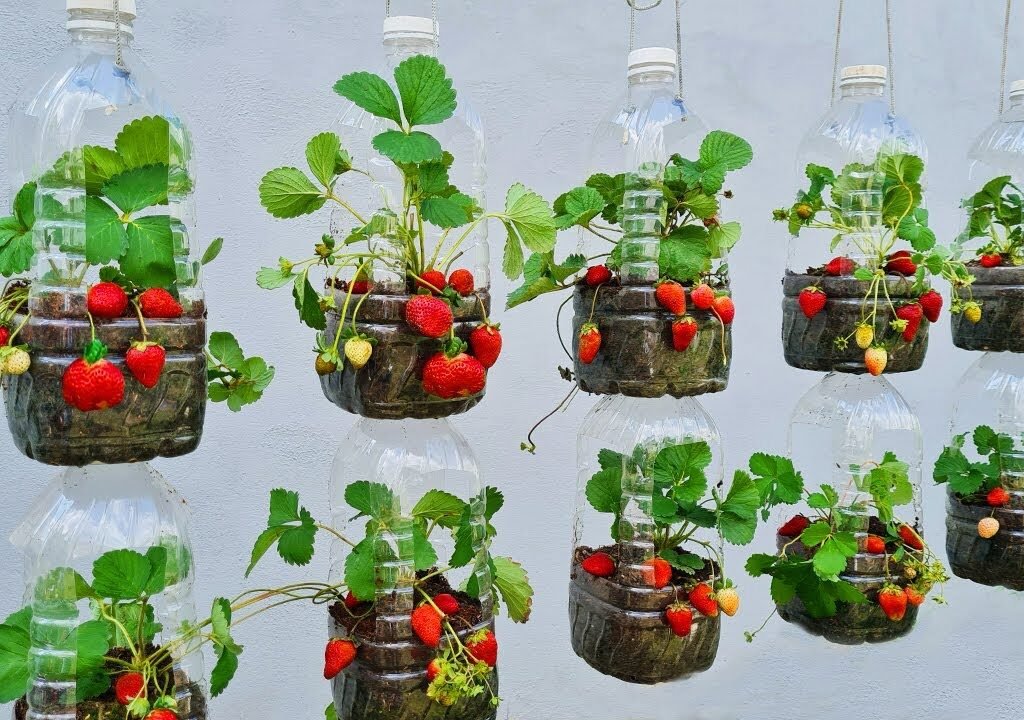
Plastic bottles are an amazing resource for urban or small-space gardening. Instead of throwing them away, you can repurpose them into mini vertical planters or hanging pots for your strawberries. Here’s why this method is so popular:
- Space-saving: Plastic bottles can be hung vertically, stacked on a wall, or placed along a balcony railing, maximizing your growing area.
- Eco-friendly: It’s a sustainable way to reuse plastic waste and reduce environmental impact.
- Cost-effective: You don’t need fancy pots or raised beds — just recycled bottles and basic soil.
- Portable: You can easily move bottles around to ensure your plants get enough sunlight or protection from rain.
- Efficient watering: With a clever setup, you can create a self-draining or drip system that keeps plants hydrated without overwatering.
This method is not only practical but also adds a creative touch to your home garden.
Materials You’ll Need
To start growing strawberries in plastic bottles, gather the following items:
- 2-liter plastic bottles (transparent or colored, but clear ones help monitor soil moisture)
- Sharp knife or scissors for cutting
- Potting mix (light, well-draining, rich in organic matter)
- Compost or cow dung manure for nutrients
- Perlite or coco peat (optional, for better aeration)
- Strawberry seedlings or runners
- Watering can or spray bottle
- String or wire (if hanging vertically)
- Small stick or skewer (to make drainage holes)
Once you have all these, you’re ready to begin your DIY strawberry project!
Step-by-Step Guide to Growing Strawberries in Plastic Bottles
1. Preparing the Bottles
Start by washing and drying the bottles thoroughly to remove any residues.
- Horizontal Method:
Cut a rectangular window along the side of the bottle, leaving enough plastic at the edges for strength. - Vertical Hanging Method:
Cut off the top portion of the bottle to create an opening for soil and plants.
Make small holes at the bottom for drainage.
You can also create several planting holes along the sides if you want multiple strawberry plants in one bottle — perfect for a vertical garden look.
2. Creating Drainage and Airflow
Strawberries dislike soggy soil, so good drainage is key. Use a heated nail or skewer to poke 4–6 holes at the bottom and lower sides of the bottle.
If you’re growing multiple bottles vertically, ensure the upper bottles don’t drip excessively onto the lower ones — a simple drip tray can help manage water flow.
3. Preparing the Soil Mix
Strawberries thrive in light, fertile, and slightly acidic soil (pH 5.5–6.5). Prepare a perfect growing mix using:
- 40% garden soil or coco peat
- 30% compost or aged cow dung
- 20% sand or perlite
- 10% vermicompost or leaf mold
Mix these well to ensure aeration and moisture retention. Fill your bottle with this soil mix, leaving about an inch of space at the top for watering.
4. Planting the Strawberries
You can grow strawberries from runners, seedlings, or even small nursery plants.
- Make a small hole in the soil deep enough to hold the roots.
- Place the strawberry plant so that the crown (where leaves meet roots) stays just above the soil surface.
- Gently firm the soil around the plant and water lightly.
If planting horizontally, position the plant near the opening. For vertical bottles, plant at the top or in side holes so the fruits can dangle naturally as they grow.
5. Watering and Moisture Management
Strawberries need consistent moisture but should never sit in water. Water lightly every day or every other day, depending on the weather.
A drip irrigation setup or a wick watering system works wonderfully for vertical bottles — it ensures steady hydration without waste.
In hotter climates, misting the plants during the day can help maintain humidity and prevent leaf drying.
6. Providing Sunlight
Strawberries love sunlight! They need at least 6–8 hours of direct sunlight daily for best fruit production.
If you’re growing them indoors or on a shaded balcony, consider rotating the bottles or using reflective surfaces to maximize light exposure.
Too much shade can lead to weak plants and smaller, less sweet fruits.
7. Fertilizing for Sweet and Juicy Fruits
Feed your strawberry plants every 2–3 weeks with a balanced organic fertilizer. Compost tea, diluted fish emulsion, or a potassium-rich liquid feed are great options.
When the plants start flowering, switch to a high-potassium fertilizer (like banana peel compost tea) to encourage bigger and sweeter fruits.
Avoid excess nitrogen — it promotes leaf growth instead of fruiting.
8. Pollination and Flower Care
Most strawberry varieties are self-pollinating, but hand-pollination can boost yields. Use a small paintbrush or gently tap flowers to transfer pollen between blooms.
This ensures better fruit set, especially for indoor or balcony gardens where pollinators might be limited.
9. Pest and Disease Control
Common issues for strawberries include aphids, slugs, and fungal infections.
- Spray neem oil weekly to deter insects.
- Keep the bottles clean and avoid waterlogging.
- Remove yellow or infected leaves promptly.
- Mulch the soil surface with dry leaves or coco husk to retain moisture and prevent fungal growth.
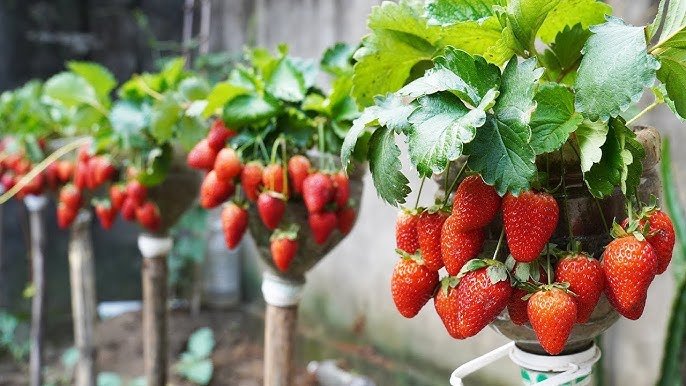
10. Harvesting Your Strawberries
Depending on the variety, your plants will start producing fruits in about 3–4 months.
Harvest strawberries when they are fully red and firm, as they don’t ripen much after picking. Use scissors to cut them with a small stem attached to avoid damaging the plant.
Freshly picked strawberries taste incredibly sweet and juicy — a true reward for your patience and care!
Pro Tips for Bigger and Healthier Strawberries
- Rotate your bottles: Change the position weekly so each plant gets equal sunlight.
- Prune runners: Unless you want new plants, trim runners so the main plant focuses on fruiting.
- Rejuvenate soil: After every harvest season, replace the top 2 inches of soil with fresh compost.
- Winter care: If you live in a cooler region, move bottles indoors or cover them with a frost blanket.
- Reuse bottles smartly: Combine small bottles into a vertical tower to create a stunning strawberry wall.
The Joy of Bottle Gardening
Growing strawberries in plastic bottles is not just a gardening trick — it’s a creative and sustainable lifestyle choice. You’re turning waste into productive space, producing organic fruits, and enjoying the satisfaction of watching your plants thrive in something as simple as a reused bottle.

This method also works beautifully for children or beginners who want to learn about plant care in a fun and engaging way.
With just a few bottles, some soil, and patience, you can transform a dull balcony or patio into a vibrant strawberry haven — bursting with life, color, and delicious rewards.
Final Thoughts
If you thought growing strawberries required a large garden, this method will surprise you. By using plastic bottles creatively, you can grow sweet, juicy strawberries anywhere — from balconies and patios to sunny kitchen windows.
It’s affordable, eco-friendly, and surprisingly productive. So grab a few bottles, get your soil mix ready, and start your strawberry adventure today. You’ll not only enjoy fresh fruit but also the satisfaction of sustainable gardening at its finest.
Leave A Comment