If you love spicy food or enjoy adding a fiery kick to your dishes, growing your own Bird’s Eye Chili (Thai Chili Pepper) is an absolute treat. These compact plants are perfect for container gardening, produce an abundance of small yet incredibly hot peppers, and thrive even in limited spaces like balconies or patios. What’s more, you can grow them organically, ensuring pure, chemical-free heat straight from your garden to your kitchen.
In this complete guide, we’ll explore everything you need to know about growing Bird’s Eye Chili organically in containers—from choosing the right pot and soil mix to harvesting, pest control, and even saving seeds for next season.
Understanding the Bird’s Eye Chili (Thai Chili Pepper)
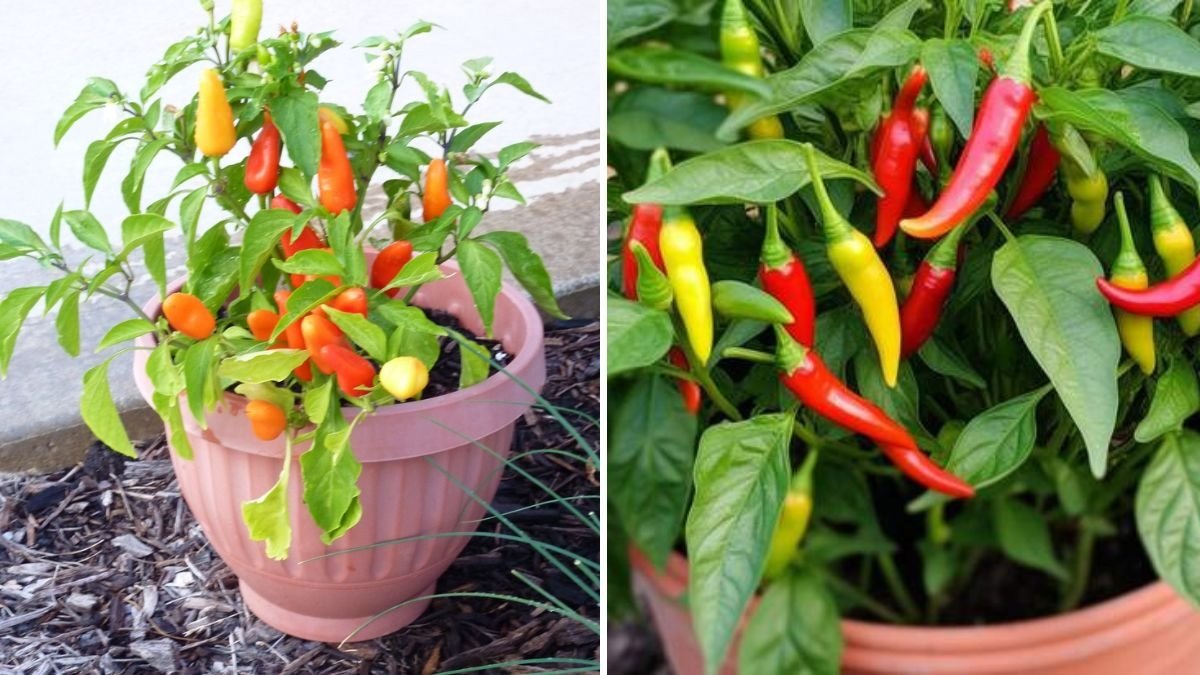
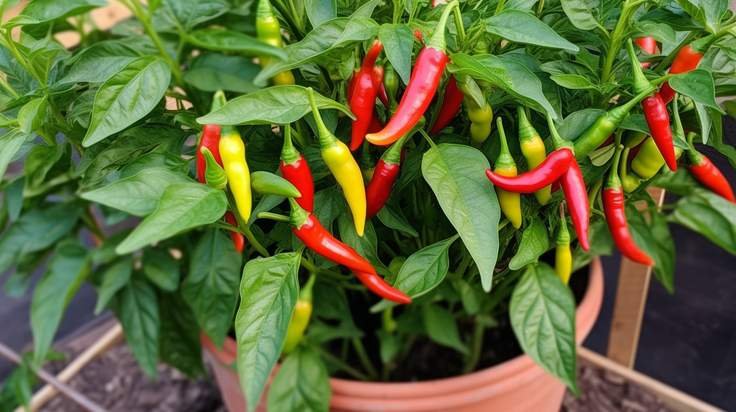
The Bird’s Eye Chili, also known as Thai Chili, is a small but mighty pepper native to Southeast Asia. It’s a staple in Thai, Vietnamese, Filipino, and Indian cuisines, known for its intense heat that ranges between 50,000 to 100,000 Scoville Heat Units (SHU)—much hotter than the average jalapeño!
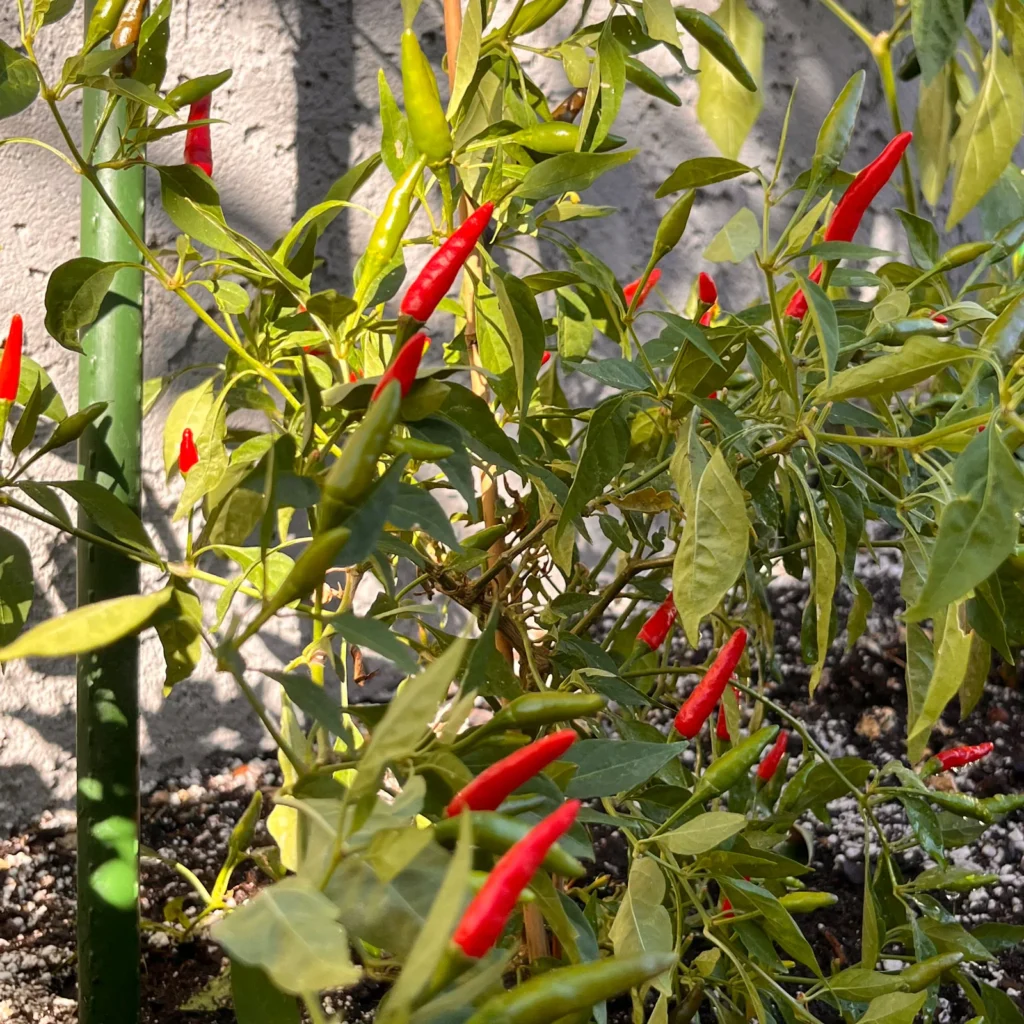
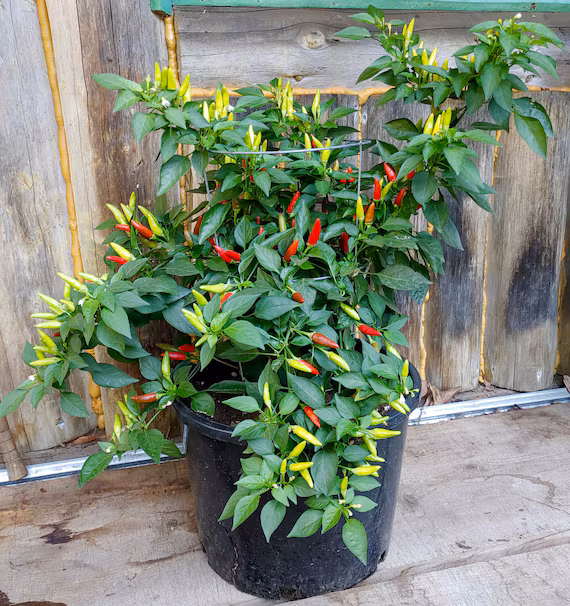
The plant itself is small, bushy, and highly productive. Each plant can produce dozens of slender, colorful fruits that start green and ripen to bright red. Bird’s Eye Chilis are perfect for container gardening, as they don’t need much space yet provide continuous harvests for months.
Choosing the Right Container
One of the most important steps in container gardening is selecting the right pot. Bird’s Eye Chili plants grow best in containers that are at least 12 to 14 inches deep and wide enough to support their root system.
Tips for container selection:
- Use pots made of terracotta, fabric grow bags, or food-grade plastic.
- Ensure there are drainage holes at the bottom to prevent waterlogging.
- If you plan to grow multiple plants, give each one its own pot to avoid overcrowding.
Place the container in a sunny location—Bird’s Eye Chili thrives in 6–8 hours of direct sunlight each day.
Preparing the Organic Soil Mix
Healthy soil is the foundation of an organic garden. Bird’s Eye Chili prefers well-draining, nutrient-rich soil with a slightly acidic pH between 6.0 and 6.8.
Here’s an ideal organic potting mix recipe:
- 40% garden soil or composted cow dung manure
- 30% coco peat or coconut coir (for water retention)
- 20% organic compost or vermicompost
- 10% perlite or coarse sand (for drainage and aeration)
You can also mix in a handful of neem cake powder or bone meal to enrich the soil with slow-release nutrients and natural pest resistance.
Sowing the Seeds
You can start Bird’s Eye Chili either from seeds saved from ripe chilies or from store-bought seed packets.
How to sow seeds:
- Soak the seeds in warm water for 8–10 hours to soften the seed coat.
- Fill small seed trays or cups with your prepared potting mix.
- Sow the seeds about ¼ inch deep, two per cell, and lightly cover with soil.
- Mist with water and cover the tray with clear plastic or cling wrap to retain moisture.
- Place in a warm area with indirect sunlight (25–30°C).
Seeds usually germinate in 7–14 days. Once seedlings develop 3–4 true leaves, transplant them into your prepared containers.
Caring for Bird’s Eye Chili Plants
1. Sunlight and Temperature
These chili peppers are tropical plants that love warmth. Place your container where it receives plenty of sun—a south-facing balcony or terrace is ideal.
- Optimal temperature: 22–32°C (72–90°F)
- Avoid exposing them to cold drafts or frost.
2. Watering
Overwatering is a common mistake. Bird’s Eye Chili prefers slightly moist but never soggy soil.
- Water only when the top 1 inch of soil feels dry.
- In hot weather, you may need to water daily; in cooler conditions, every 2–3 days is sufficient.
- Use rainwater or dechlorinated water for best results.
3. Feeding Organically
For steady growth and fruiting, feed your chili plant every 15–20 days with:
- Compost tea or vermicompost tea for overall nutrition.
- Banana peel fertilizer for potassium boost during flowering.
- Fish emulsion or seaweed extract for micronutrients.
Avoid using chemical fertilizers, as they can harm soil microbes and affect the flavor of the chilies.
4. Pruning and Support
Once the plant grows about 10–12 inches tall, pinch off the growing tip to encourage bushy growth and more branching.
You can use bamboo sticks or small stakes to support the plant as it becomes heavy with fruit.
Organic Pest and Disease Control
Even when grown organically, Bird’s Eye Chili plants can attract pests like aphids, whiteflies, and spider mites. Luckily, natural remedies work wonders:
- Neem oil spray: Mix 5 ml neem oil with 1 liter of water and a few drops of liquid soap. Spray every 7–10 days.
- Garlic-chili spray: Blend 5 cloves of garlic, 2 hot chilies, and water; strain and spray on leaves.
- Marigold companion planting: Growing marigolds near your chili plants helps deter common pests.
Watch out for leaf curling, yellowing, or black spots, which may indicate nutrient deficiency or fungal disease. Prune affected leaves and ensure good air circulation around the plants.
Flowering and Fruit Development

After about 60–70 days, the plant will start producing small white flowers. These flowers eventually turn into tiny green chilies that ripen to bright red. To encourage strong fruit set:
- Keep the plant well-fed with compost tea.
- Avoid water stress during flowering.
- If you’re growing indoors, gently shake the plant to aid pollination.
Within 80–100 days from transplanting, you’ll start harvesting your first batch of Bird’s Eye Chilies!
Harvesting the Chilies
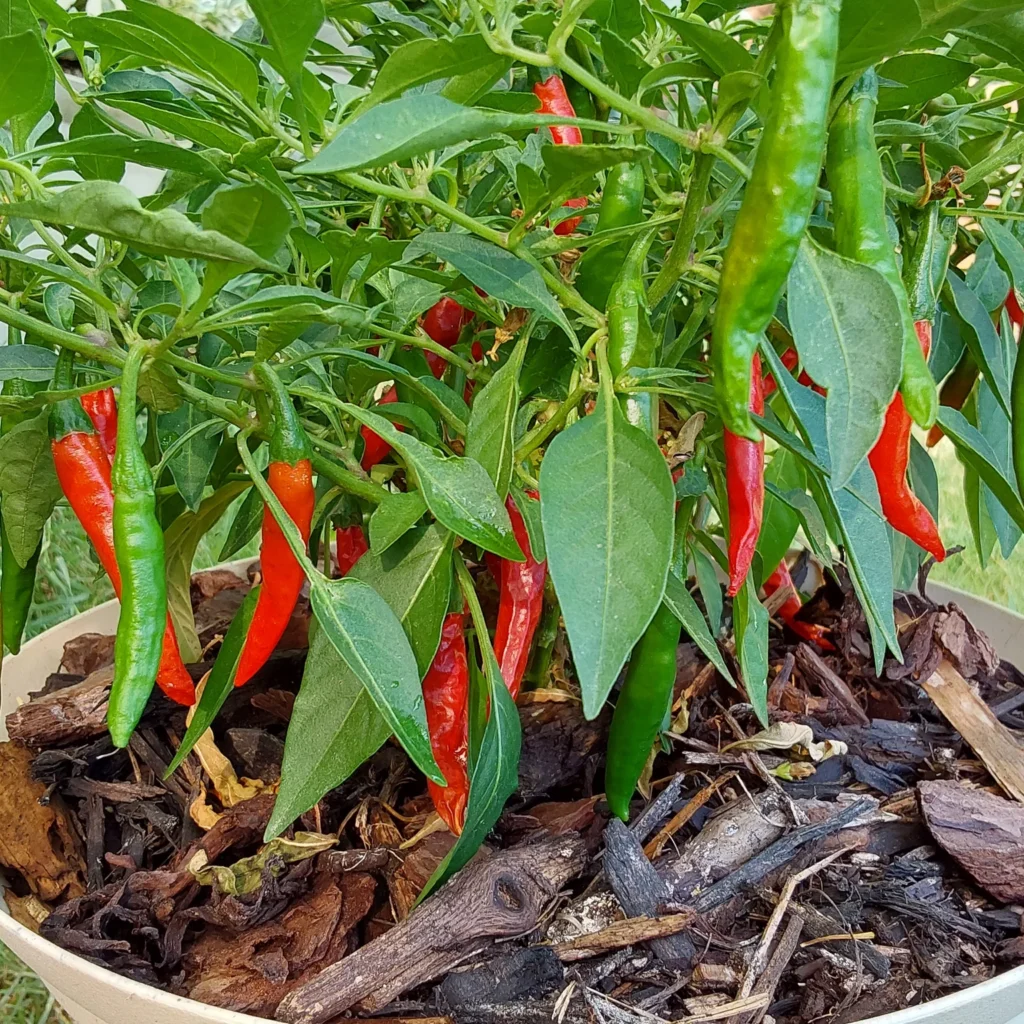
Bird’s Eye Chilies can be harvested when they are green for milder flavor or fully red for maximum heat.
- Use scissors or pruning shears to avoid damaging the plant.
- Regular harvesting encourages the plant to produce more fruits.
- Each plant can yield 50–100 chilies during a productive season.
You can use them fresh, sun-dry them for storage, or make your own chili flakes, powders, and spicy sauces.
Saving Seeds for Next Season
Saving seeds from your organically grown Bird’s Eye Chilies ensures you have a steady supply for years.
- Choose the healthiest, fully ripe red chilies.
- Split them open and scoop out the seeds.
- Dry the seeds on a paper towel for 4–5 days.
- Store them in a labeled paper envelope or airtight glass jar in a cool, dry place.
Properly stored seeds can remain viable for up to 3 years.
Benefits of Growing Bird’s Eye Chili Organically
Growing organically offers numerous benefits—for your health, the environment, and your taste buds!
- Chemical-free produce: No synthetic pesticides or fertilizers.
- Better flavor: Organically grown chilies have a richer, more complex heat.
- Soil health: Compost and organic inputs promote long-term fertility.
- Pollinator-friendly: Natural growing methods attract bees and beneficial insects.
- Sustainability: You can reuse soil, compost kitchen waste, and create a closed-loop garden system.
Common Problems and Quick Fixes
| Problem | Likely Cause | Organic Solution |
|---|---|---|
| Yellowing leaves | Overwatering or nitrogen deficiency | Water less often, feed compost tea |
| No flowering | Lack of sunlight | Move container to sunnier spot |
| Flowers dropping | Water stress or temperature fluctuation | Maintain consistent watering, provide partial shade |
| Small chilies | Low nutrients | Add banana peel or fish fertilizer |
| Leaf curl | Aphid attack | Neem oil spray weekly |
Final Thoughts
Growing Bird’s Eye Chili (Thai Chili Pepper) organically in containers is a rewarding and practical way to bring heat and color into your garden—and your kitchen! These compact plants are easy to care for, incredibly productive, and thrive even in small urban spaces.
By following the steps in this guide—using organic soil, natural fertilizers, and eco-friendly pest control—you’ll enjoy a steady harvest of flavorful, chemical-free chilies.
So, roll up your sleeves, grab a pot, and start growing your own fiery Bird’s Eye Chilies. Once you taste that homegrown spice, you’ll never go back to store-bought again!
Leave A Comment