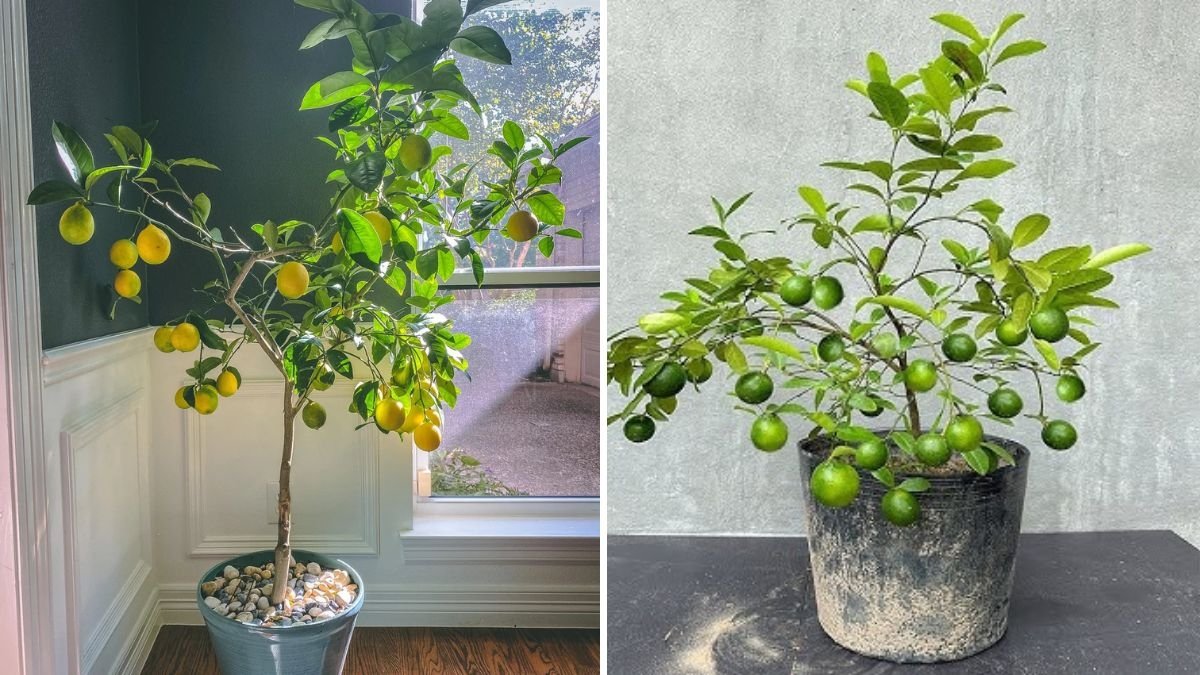
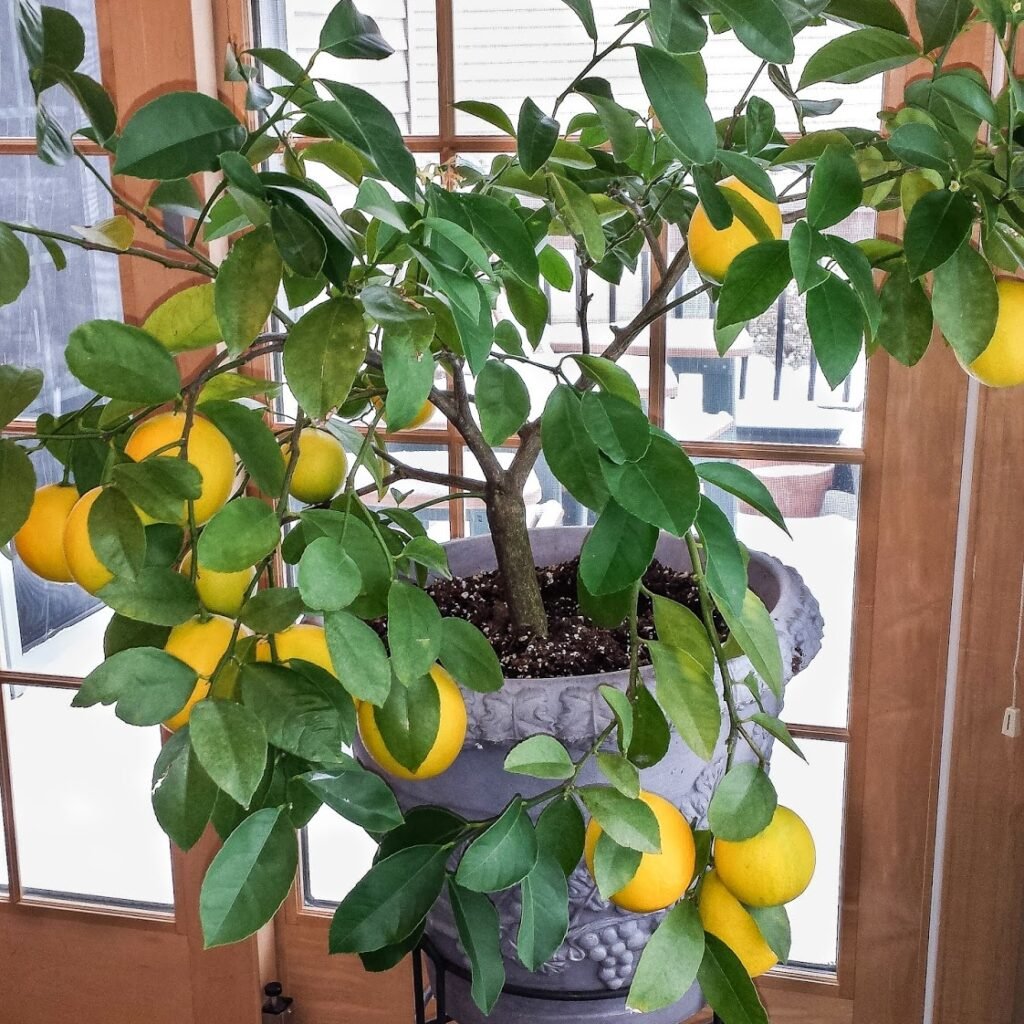
Lemon trees are among the most versatile and rewarding plants to grow at home. They provide fresh, tangy fruit, fragrant leaves, and a vibrant green presence in your home or garden. While most people think growing a lemon tree requires a garden, soil, and years of care, you can grow a lemon tree from seed using just a waste plastic bottle. This method is simple, cost-effective, and perfect for small spaces such as balconies, kitchens, or urban apartments.
In this blog post, we’ll explore a step-by-step guide to grow a lemon tree from seed in a plastic bottle, including seed preparation, bottle setup, care tips, and long-term growth advice. By the end, you’ll know how to transform a simple lemon seed into a thriving plant.
🌱 Why Grow Lemon Trees in Plastic Bottles?
Using plastic bottles as planters offers several advantages:
- Space-Saving: Ideal for apartments, kitchen gardens, and small outdoor spaces.
- Eco-Friendly: Reuses waste plastic, reducing environmental impact.
- Cost-Effective: No need for expensive pots or containers.
- Controlled Growth: Easily manage soil, water, and sunlight for seedlings.
- Educational: Great for beginners and children to learn about plant growth.
This approach allows urban gardeners to grow fruit even without a traditional garden, turning everyday plastic waste into a productive plant container.
🍋 Step 1: Selecting Lemon Seeds
The first step is to choose healthy seeds from ripe lemons:
- Use fresh, fully ripened lemons for seed extraction. Avoid overripe or spoiled fruits.
- Organic lemons are preferred to avoid chemical treatments that may hinder germination.
- Extract seeds carefully, rinse off any pulp, and inspect for damage.
💡 Pro Tip: Soak lemon seeds in room-temperature water for 24 hours before planting. This softens the seed coat and encourages quicker germination.
🌿 Step 2: Preparing the Plastic Bottle
Plastic bottles are perfect mini-planters for lemon seeds:
- Choose a 1.5–2 liter bottle or larger.
- Cut the bottle horizontally, keeping the bottom half as the planter. Keep the top half to use as a mini-greenhouse if needed.
- Punch a few drainage holes at the bottom to prevent waterlogging.
- Fill the bottle with well-draining soil. A mix of garden soil, compost, and sand works best.
- Leave about 2–3 inches of space at the top for watering and seedling growth.
💡 Pro Tip: Transparent bottles allow you to monitor root growth and soil moisture, ensuring healthy seedlings.
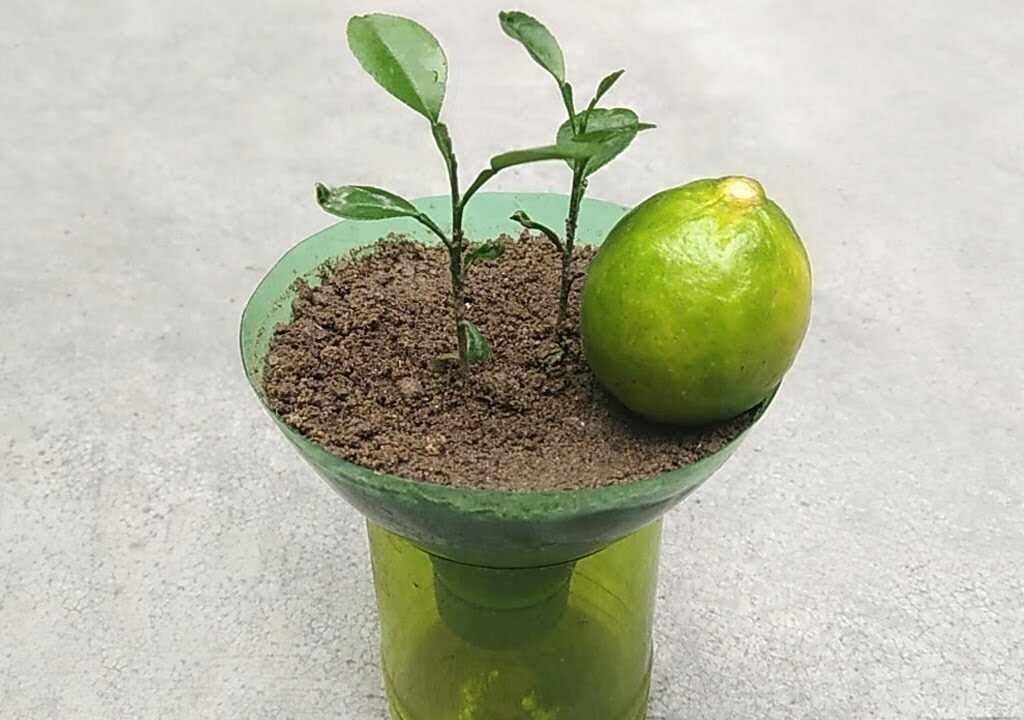
🌱 Step 3: Planting Lemon Seeds
Once the seeds and bottles are ready:
- Plant seeds about 1/4 inch deep in the soil.
- Cover lightly and water gently to avoid disturbing the seeds.
- If planting multiple seeds in one bottle, space them slightly apart to prevent overcrowding.
💡 Pro Tip: Label your bottles with the planting date to track germination progress.
🌿 Step 4: Providing Ideal Germination Conditions
Lemon seeds require warmth, moisture, and light to germinate:
- Temperature: Keep seeds in a warm area, ideally 20–25°C (68–77°F).
- Watering: Maintain moist but not waterlogged soil. Overwatering may cause seeds to rot.
- Light: Place bottles in bright, indirect sunlight. Avoid direct sunlight during the initial germination stage.
- Humidity: Use the top half of the bottle or plastic wrap to create a mini-greenhouse effect, retaining moisture and warmth.
💡 Pro Tip: Check soil regularly and mist lightly if it begins to dry out.
🌱 Step 5: Germination and Early Growth
With proper care, lemon seeds typically sprout within 2–4 weeks:
- Roots: Small white roots emerge first, anchoring the seedling.
- Shoots: Green shoots appear above the soil once roots are established.
- Growth Rate: Healthy seedlings grow faster with consistent moisture, warmth, and indirect sunlight.
💡 Pro Tip: Thin out weaker seedlings to allow stronger ones to thrive, ensuring healthy growth.
🌿 Step 6: Caring for Lemon Seedlings
Once seedlings emerge, they need consistent care:
- Watering: Keep soil evenly moist, but avoid overwatering.
- Sunlight: Provide 4–6 hours of indirect sunlight daily.
- Fertilization: After 3–4 weeks, apply a diluted organic fertilizer to encourage strong growth.
- Pruning: Remove dead or damaged leaves to focus energy on healthy shoots.
💡 Pro Tip: Rotate bottles occasionally to ensure seedlings grow straight and receive uniform sunlight.
🌱 Step 7: Transitioning to Larger Containers
As seedlings grow, they may outgrow the bottle:
- Select a larger pot with drainage holes.
- Carefully remove the plant from the bottle, keeping roots intact.
- Transplant into new soil, water immediately, and place in partial shade for a few days to reduce transplant shock.
💡 Pro Tip: Lemon seedlings can remain in bottles for several months, but eventually, they will need more space to grow strong roots.
🌿 Step 8: Long-Term Care for Lemon Trees
Lemon trees require ongoing care to thrive and produce fruit:
- Sunlight: Mature plants need 6–8 hours of direct sunlight per day.
- Watering: Water deeply and regularly, ensuring the soil stays moist but not waterlogged.
- Fertilization: Use organic compost or citrus-specific fertilizer for healthy foliage and fruit production.
- Pruning: Trim dead branches and shape the tree to encourage strong growth.
💡 Pro Tip: Protect young plants from pests and extreme weather to prevent damage. Neem oil works well for organic pest control.
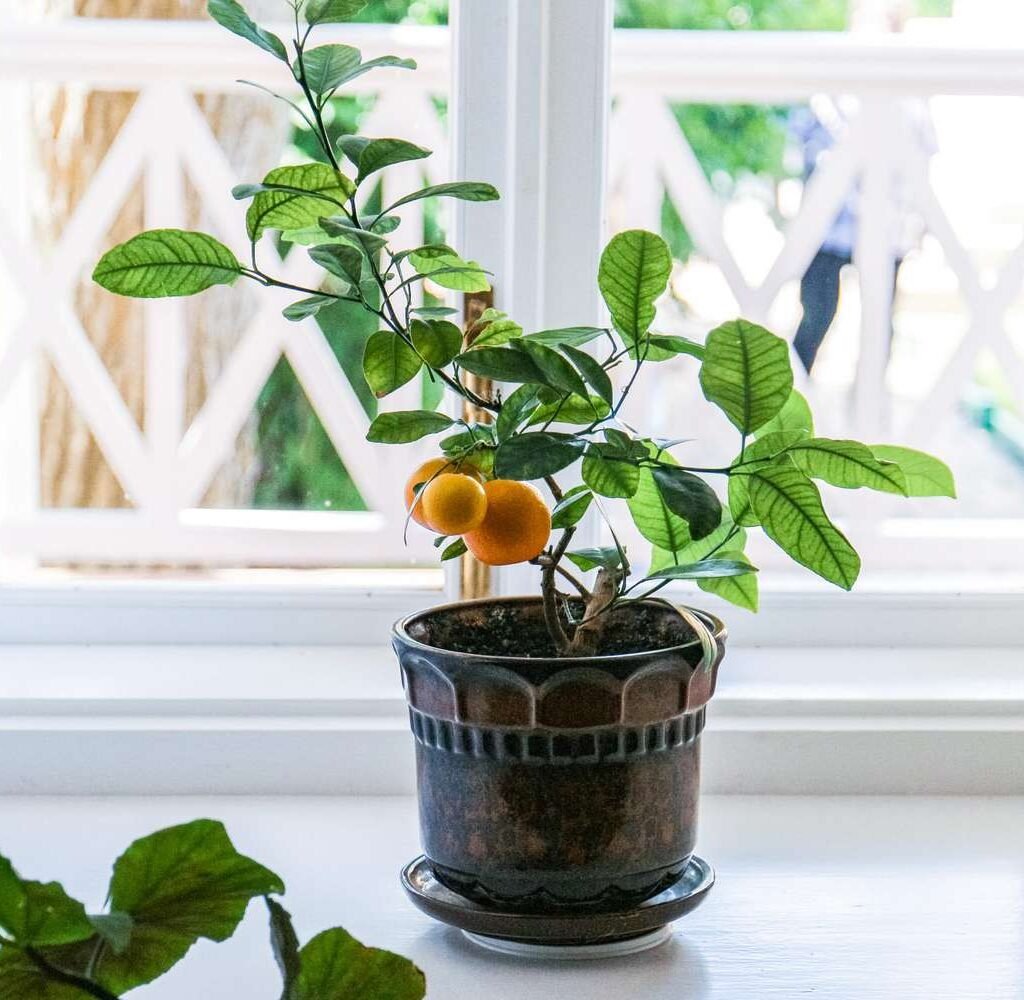
🌱 Step 9: Patience for Fruit Production
Growing lemon trees from seeds requires patience:
- Indoor Plants: May take 3–5 years to produce fruit.
- Outdoor Plants in Tropical Climates: May bear fruit in 2–3 years under ideal conditions.
- Pollination: For fruit production, ensure proper pollination if growing multiple trees outdoors.
💡 Pro Tip: Even if fruiting takes years, lemon seedlings provide lush greenery and a beautiful addition to your kitchen garden.
🌿 Step 10: Advantages of Growing Lemons in Plastic Bottles
- Urban-Friendly: Grow lemons indoors, even without a garden.
- Budget-Friendly: Reuse waste bottles and minimal soil.
- Eco-Friendly: Reduces plastic waste and promotes sustainable gardening.
- Educational: Demonstrates plant growth and development to beginners and children.
- Visual Monitoring: Transparent bottles help you track root growth and soil conditions.
💡 Pro Tip: Bottle planting is adaptable to many fruits and herbs, allowing you to create a full kitchen garden in small spaces.
🌱 Step 11: Troubleshooting Common Problems
- Slow Germination: Ensure seeds are fresh and soil remains moist.
- Rotting Roots: Check drainage and avoid overwatering.
- Leggy Seedlings: Increase light exposure to prevent weak, stretched growth.
- Pests: Monitor regularly and use organic solutions to control infestations.
💡 Pro Tip: Daily observation and adjustments make a significant difference in seedling survival.
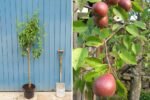
🌿 Step 12: Expanding Your Kitchen Garden
Once you master lemons, you can expand your plastic bottle kitchen garden:

- Plant other citrus fruits such as oranges, limes, or mandarins.
- Combine with herbs like basil, coriander, or mint for a diverse garden.
- Rotate planting cycles to maintain a continuous supply of fresh produce.
💡 Pro Tip: Your balcony or windowsill can become a productive, green oasis with minimal effort and space.
🌱 Conclusion: Grow Your Own Lemon Tree in a Bottle
Growing a lemon tree from seed in a waste plastic bottle is easy, educational, and rewarding. This method allows anyone, even in urban apartments, to grow citrus plants at home, teaching patience, responsibility, and the joy of gardening.
From selecting seeds and preparing bottles to nurturing seedlings and eventually harvesting fruit, plastic bottle planting transforms everyday waste into a thriving mini-garden. With consistent care, proper sunlight, and patience, your lemon seedlings will flourish, offering fresh lemons, greenery, and a fulfilling gardening experience. Start today and turn your kitchen space into a mini citrus orchard, one plastic bottle at a time! 🍋🌱✨
Leave A Comment