If you’ve ever enjoyed the crisp sweetness of fresh snow peas in a salad or stir-fry, you already know why they’re such a favorite among gardeners. Snow peas are tender, versatile, and easy to grow, but with the right techniques, you can take your harvest from a handful to a ton of snow peas in just one season.
This complete guide, inspired by the video “5 Tips How to Grow a Ton of Snow Peas,” will walk you through everything you need to know — from preparing your soil and sowing seeds to caring for your plants and maximizing yield. By the end, you’ll have all the secrets to growing an abundant crop of snow peas right in your backyard or container garden.
Why Grow Snow Peas?
Snow peas are a gardener’s dream. They’re fast-growing, cold-hardy, and nutrient-rich, producing crisp, flat pods that are both edible and delicious. These peas thrive in cool weather and can be grown in small spaces, making them perfect for home gardens, patios, and balconies.
Here are a few reasons to grow them:
- They’re rich in vitamin C, vitamin K, and fiber.
- They fix nitrogen in the soil, improving fertility for future crops.
- They’re low-maintenance and mature quickly — often in 60 days or less.
- Freshly harvested pods taste much sweeter and crunchier than store-bought ones.
With just a few simple adjustments to your gardening routine, you can easily grow more snow peas than you ever thought possible. Let’s explore the five most effective tips for a bountiful harvest.

Tip 1: Choose the Right Variety and Plant at the Right Time
Not all pea varieties are created equal. For the best yield, you’ll want to pick a snow pea variety that suits your climate and space.
Best Snow Pea Varieties for High Yields:
- Oregon Sugar Pod II: A classic high-yielding snow pea that’s disease-resistant and perfect for most climates.
- Mammoth Melting Sugar: Produces large, tender pods with a sweet flavor and vigorous growth.
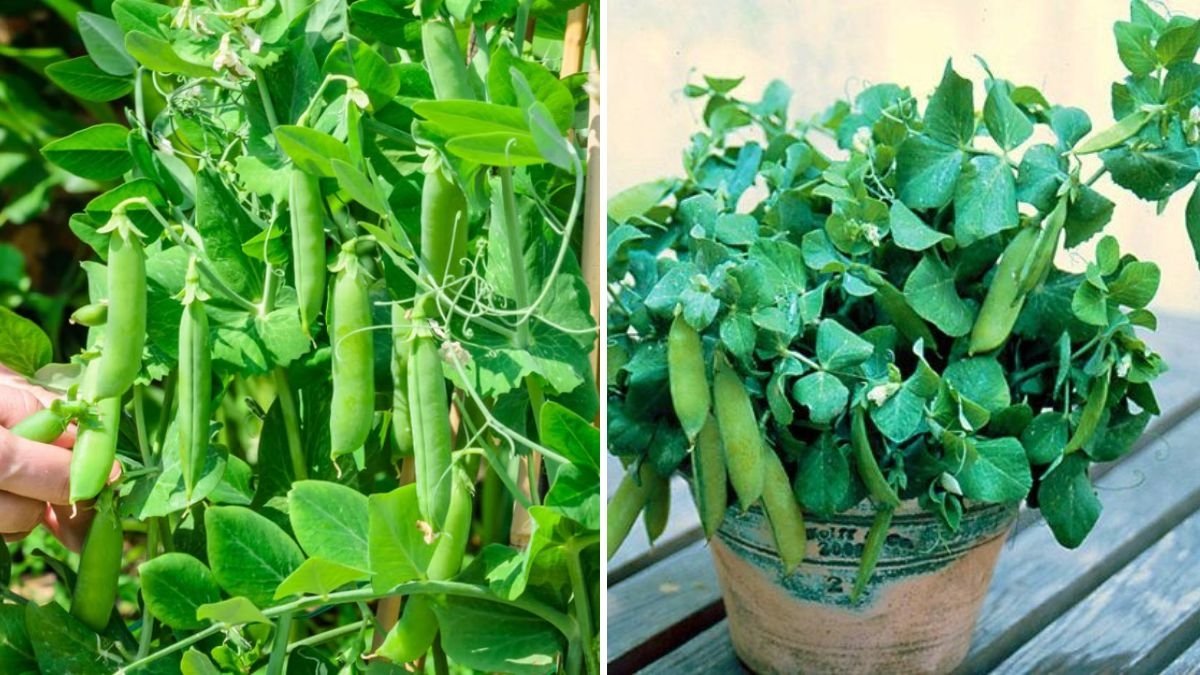
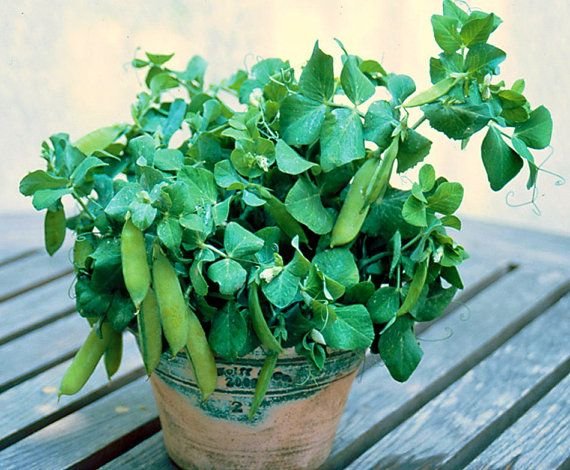
- Avalanche Snow Pea: Compact and productive, excellent for container gardening.
Timing is Key
Snow peas are cool-season crops, meaning they thrive in mild temperatures — ideally between 55°F and 75°F (13°C to 24°C).
- Spring planting: Sow seeds 4–6 weeks before your last expected frost.
- Fall planting: Plant 8–10 weeks before the first expected frost for a late-season harvest.
If temperatures exceed 80°F (27°C), snow peas tend to stop flowering. Plant early in the season so your plants can mature before the weather heats up.
Tip 2: Prepare Nutrient-Rich, Well-Drained Soil
Snow peas prefer soil that is loamy, well-drained, and rich in organic matter. They don’t like waterlogged roots, so drainage is essential for healthy plants.
How to Prepare Your Soil for Maximum Growth:
- Loosen the soil: Dig down at least 8 inches to allow the roots to expand easily.
- Add compost: Mix in 2–3 inches of organic compost or well-rotted manure to boost fertility.
- Check pH levels: Snow peas grow best in slightly acidic to neutral soil (pH 6.0–7.5).
- Avoid nitrogen-heavy fertilizers: Peas fix their own nitrogen, so using too much can lead to leafy plants with fewer pods.
To improve drainage, you can also plant snow peas in raised beds or large containers with a light, airy potting mix.

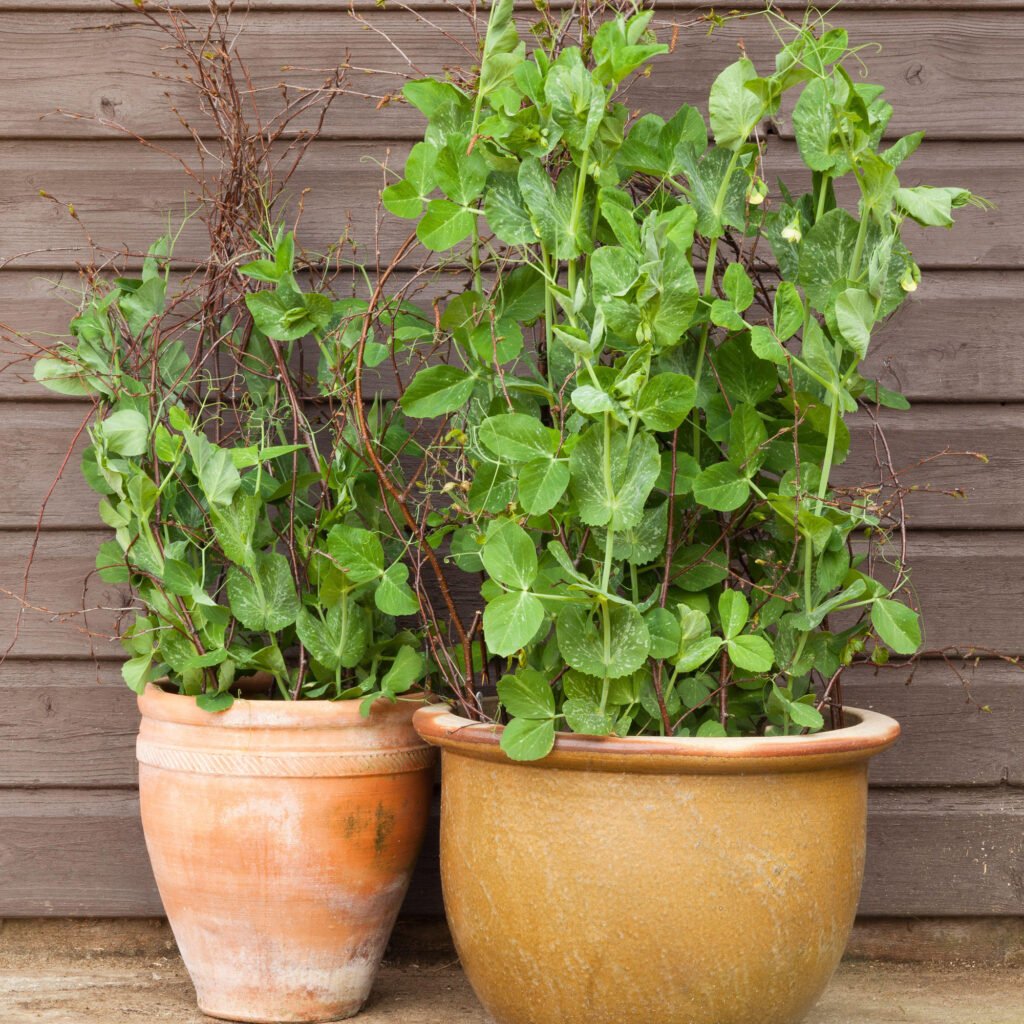
Tip 3: Support Your Plants Early for Strong Growth
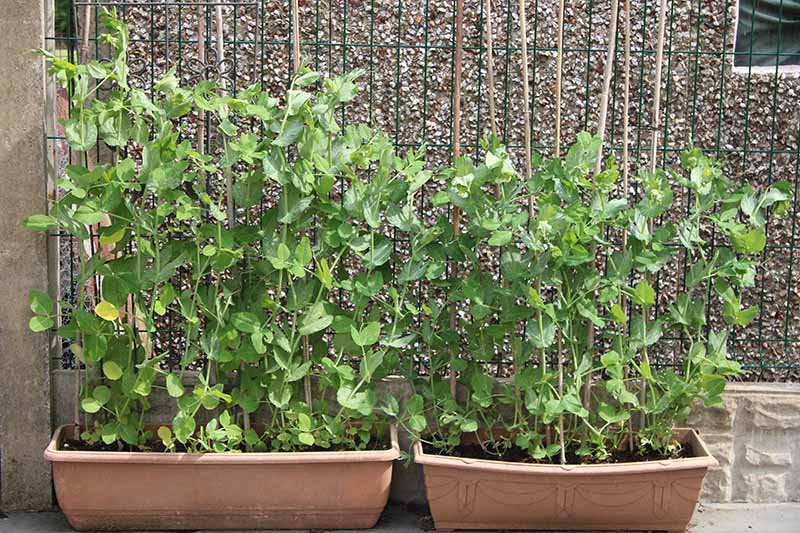
Snow peas are natural climbers, and giving them proper support ensures stronger plants, better airflow, and cleaner pods. Without support, vines can sprawl, leading to fewer pods and greater disease risk.
Best Support Options:
- Trellis: Use a simple A-frame or vertical trellis about 5–6 feet tall.
- Netting or fencing: Stretch garden netting or chicken wire between poles for climbing.
- String lines: Run twine or string between stakes as the vines grow.
Install supports right after planting — it’s much easier than trying to add them later when vines start to tangle. As the plants grow, gently guide them toward the trellis so they can latch on naturally with their tendrils.
Proper support leads to more sunlight exposure and better airflow, reducing the risk of mildew and helping your snow peas grow stronger and more productive.
Tip 4: Master Watering and Feeding for Maximum Yield
Water and nutrients play a major role in determining how many pods your plants will produce — and how sweet they’ll taste.
Watering Tips:
- Keep soil consistently moist but not soggy. Water deeply 2–3 times a week.
- Morning watering is ideal so that the foliage dries out during the day.
- Avoid overhead watering to prevent fungal diseases like powdery mildew.
- Use mulch (like straw or dry leaves) to help retain soil moisture and regulate temperature.
Fertilizing for More Pods:
Snow peas don’t require much fertilizer, but a little organic feeding can go a long way.
- Before planting: Mix in compost or a balanced organic fertilizer.
- Mid-growth: Apply a light dose of compost tea or seaweed extract once the plants start flowering.
- Avoid high-nitrogen fertilizers: These encourage leafy growth instead of pod formation.
Adding a small amount of bone meal or wood ash during flowering can boost phosphorus and potassium levels, which support pod development and sweetness.
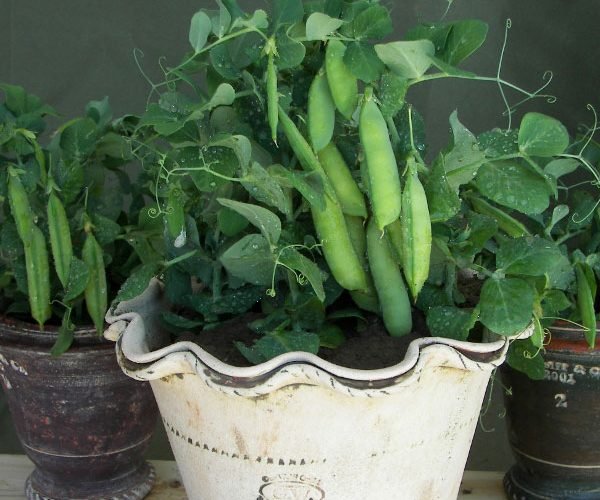
Tip 5: Harvest Smart and Often for Continuous Production
One of the biggest secrets to growing a ton of snow peas is frequent harvesting. The more you pick, the more your plants will produce!
When to Harvest Snow Peas:
- Pick pods when they’re flat, crisp, and about 3–4 inches long — before the peas inside start to swell.
- Harvest early in the morning when sugar levels are at their highest.
- Check your plants every 1–2 days during peak production.
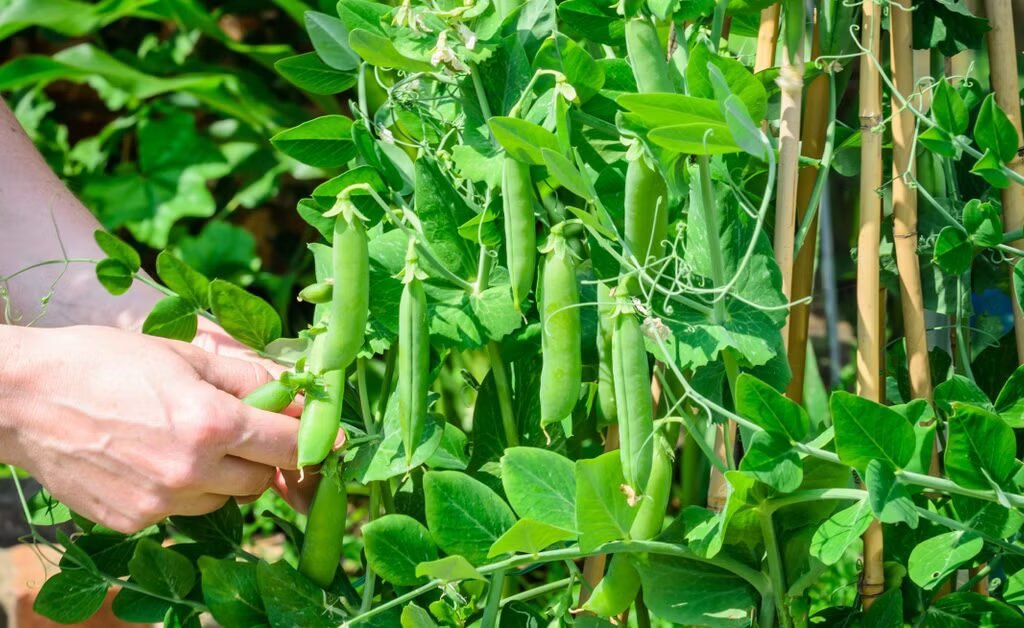
How to Harvest Correctly:
- Use two hands: hold the stem with one hand and snap off the pod gently with the other to avoid damaging the vine.
- Regular picking encourages continuous flowering and pod formation.
If you leave mature pods on the plant too long, the plant will slow down production, thinking its job is done. Frequent harvesting keeps it in “growth mode,” leading to a much larger total yield.
Bonus Tip: Keep Your Plants Healthy and Pest-Free
To grow a ton of snow peas, you must protect your plants from common pests and diseases that can reduce yield.
Common Pests:
- Aphids: Small sap-sucking insects that can distort leaves. Spray with neem oil or insecticidal soap.
- Slugs and snails: Feed on tender shoots. Use crushed eggshells or diatomaceous earth around your plants as a barrier.
- Pea weevils: Can damage pods. Use floating row covers early in the season.
Common Diseases:
- Powdery mildew: Avoid overcrowding and water at the soil level.
- Root rot: Ensure well-draining soil and don’t overwater.
Healthy plants not only produce more pods but also taste sweeter and have better texture.
Maximizing Sweetness in Snow Peas
To grow snow peas that are not just abundant but deliciously sweet, follow these tips:
- Cool weather = sweeter peas. Plant early in spring or late in fall.
- Regular watering: Water stress can make pods fibrous and bitter.
- Quick harvest: Pick pods before they mature too much to maintain tenderness.
- Immediate consumption: Eat peas soon after harvest; they lose sweetness quickly as sugars convert to starch.
After the Harvest: Storing and Saving Seeds
Fresh snow peas are best enjoyed immediately, but you can store or preserve them for later use.
Storage:
- Store fresh pods in a perforated plastic bag in the refrigerator for up to 5 days.
- For long-term storage, blanch the pods for 2 minutes, cool them in ice water, and freeze.
Saving Seeds for Next Season:
- Leave a few pods to fully mature and dry on the vine.
- Once brown and brittle, shell the peas and air-dry the seeds.
- Store them in an airtight container in a cool, dark place.
Seed-saving ensures you have fresh, vigorous plants for next year’s crop — and it’s a sustainable way to keep growing your favorite variety.

Final Thoughts: Turning a Small Garden into a Pea Paradise
Growing snow peas doesn’t require acres of land or complicated equipment — just a little knowledge and consistent care. By following these five essential tips:
- Choose the right variety and timing.
- Prepare rich, well-drained soil.
- Support your vines early for healthy growth.
- Water and feed correctly for robust pod production.
- Harvest frequently and handle your plants gently.
You can easily transform your garden or container setup into a pea-producing powerhouse.
With their sweet flavor, crisp texture, and nutritional benefits, snow peas are a joy to grow and harvest. Once you master these techniques, you’ll find yourself sharing baskets of fresh peas with neighbors, friends, and family — proof that you truly learned how to grow a ton of snow peas!
Leave A Comment